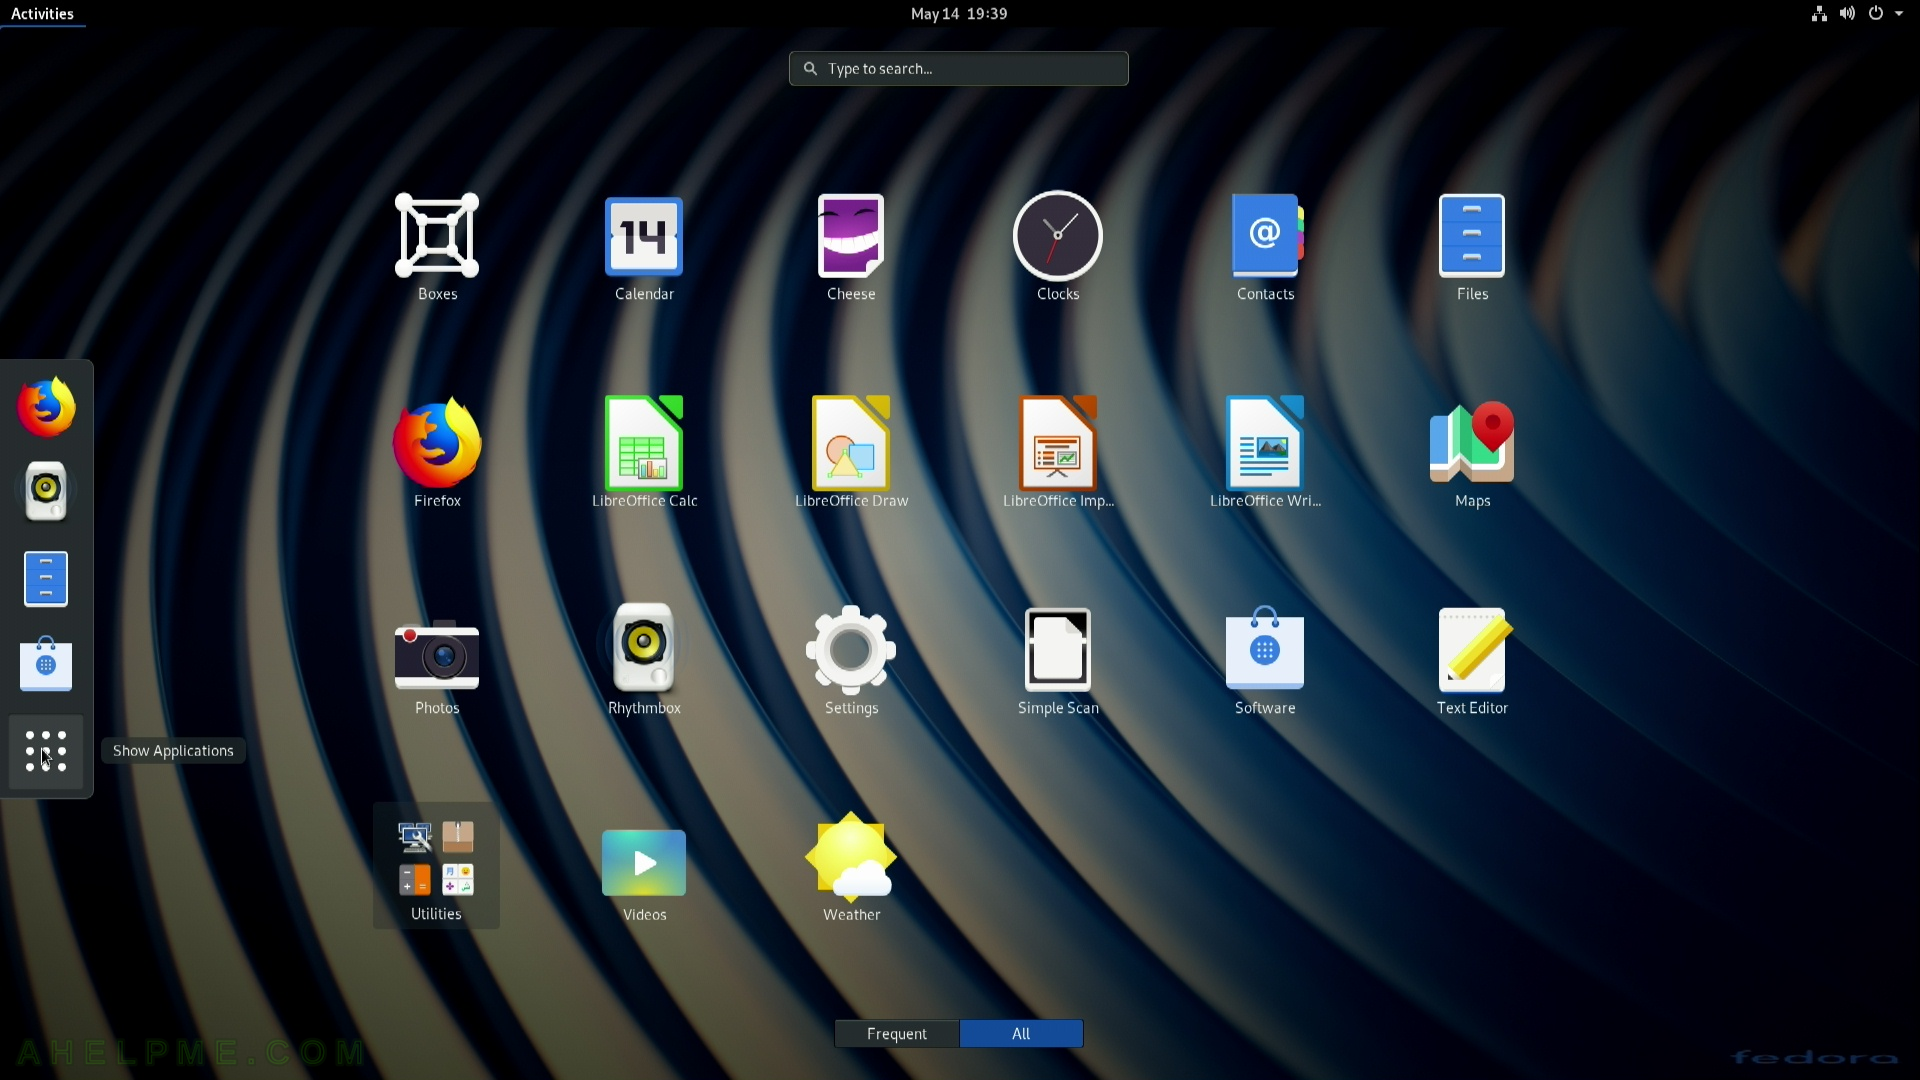
SCREENSHOT 21) Choose your Wi-Fi spot or skip as we did, because we have a wired network.
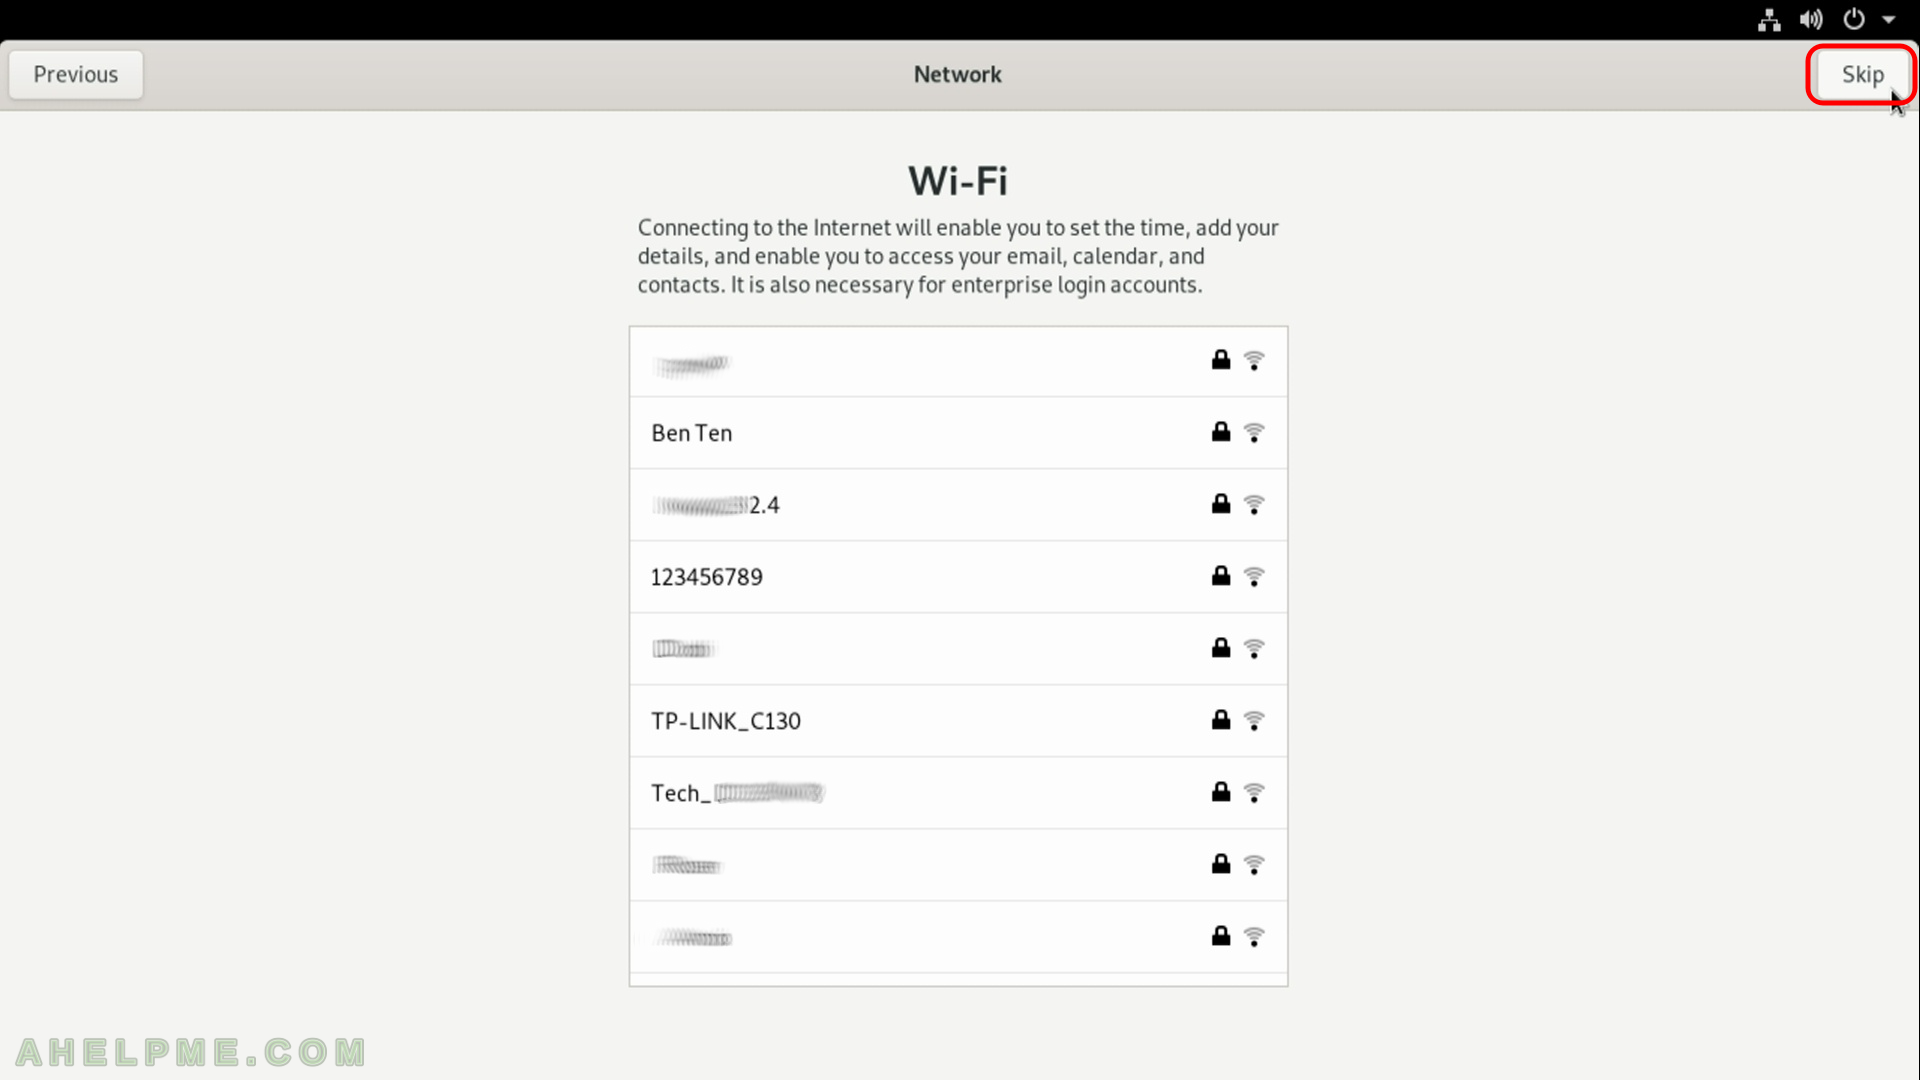
SCREENSHOT 22) Tune your privacy settings, these are defaults on the screen. It is good to report problems and bugs. Click on “Next”.
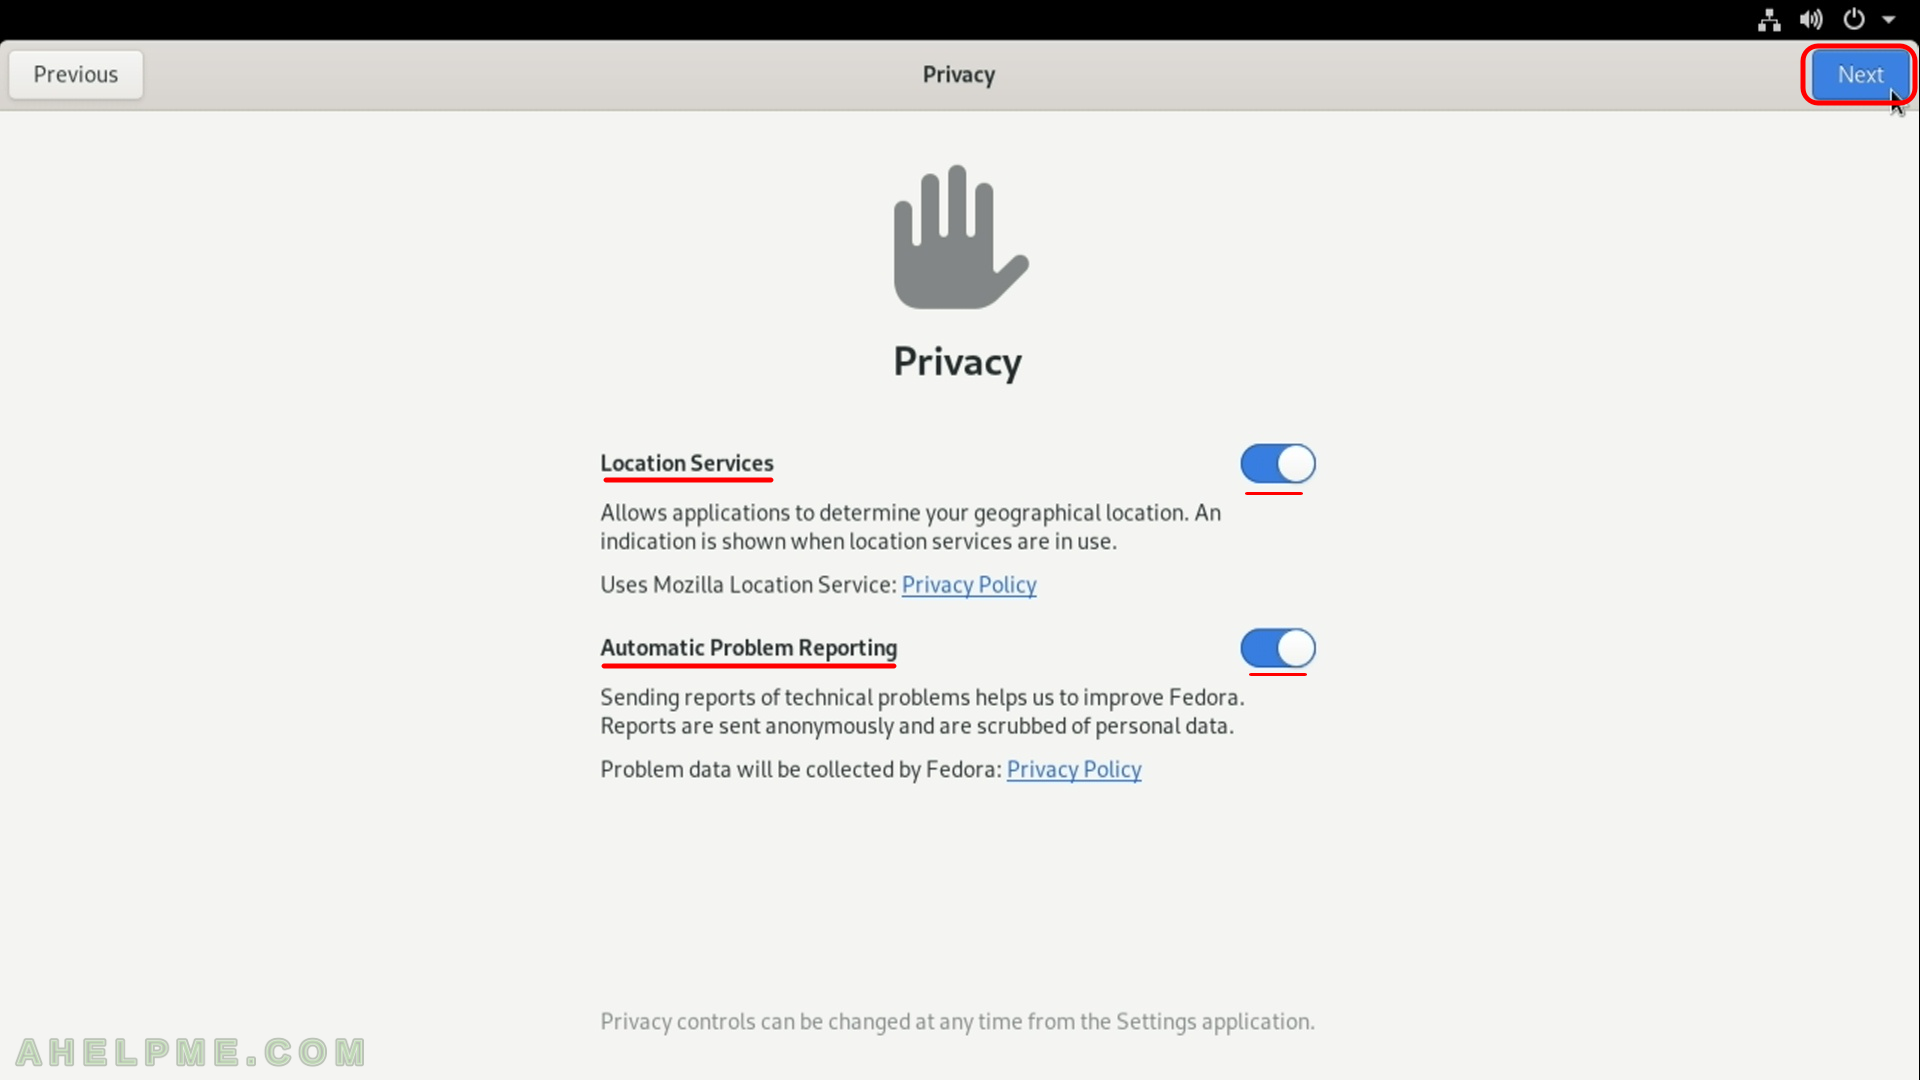
SCREENSHOT 23) Connect your online (cloud) accounts.
If you have cloud account here is the moment to configure them, some of them offer shared folder to sync with the cloud. Click on “Skip” if do not have such accounts or you do not want to use them with this installation.
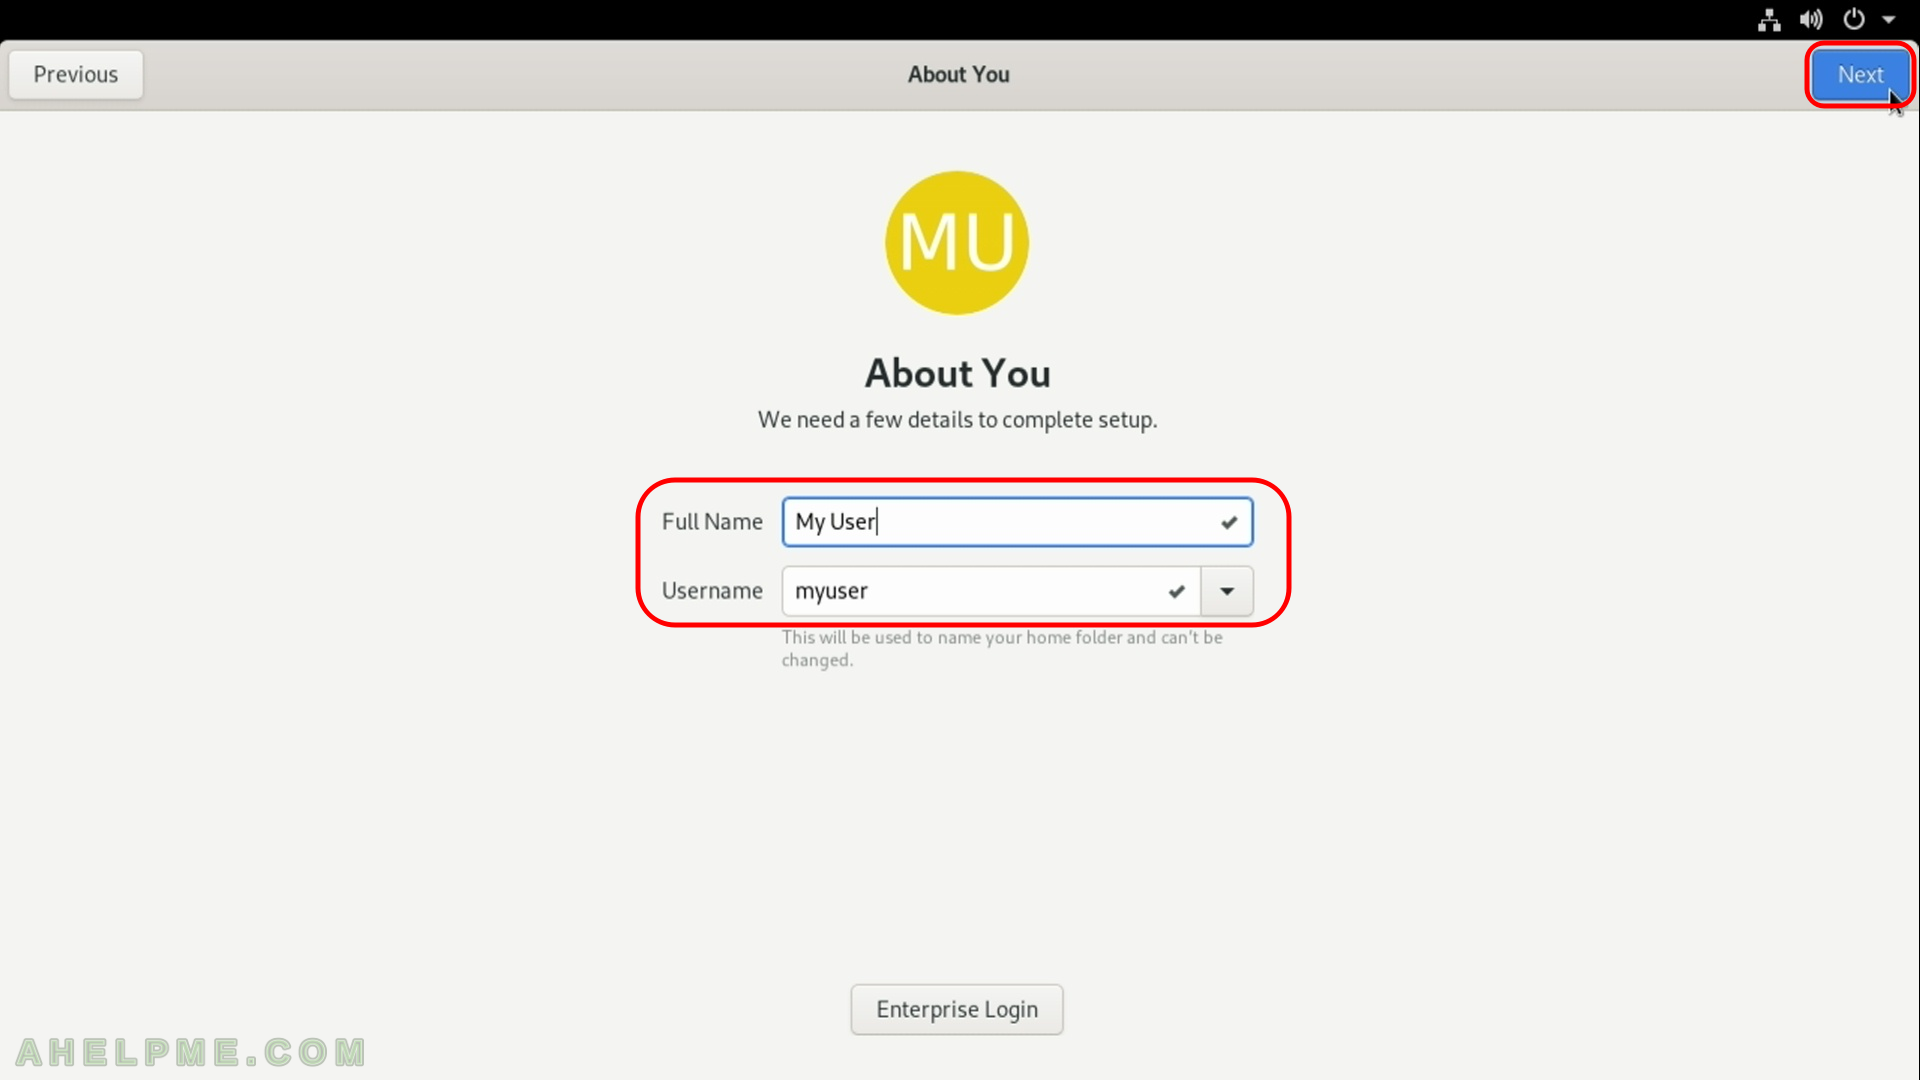
SCREENSHOT 24) Fill your name and username to login with.
This user will have administrativve privileges. It can escalate to root with sudo. Click on “Next”.
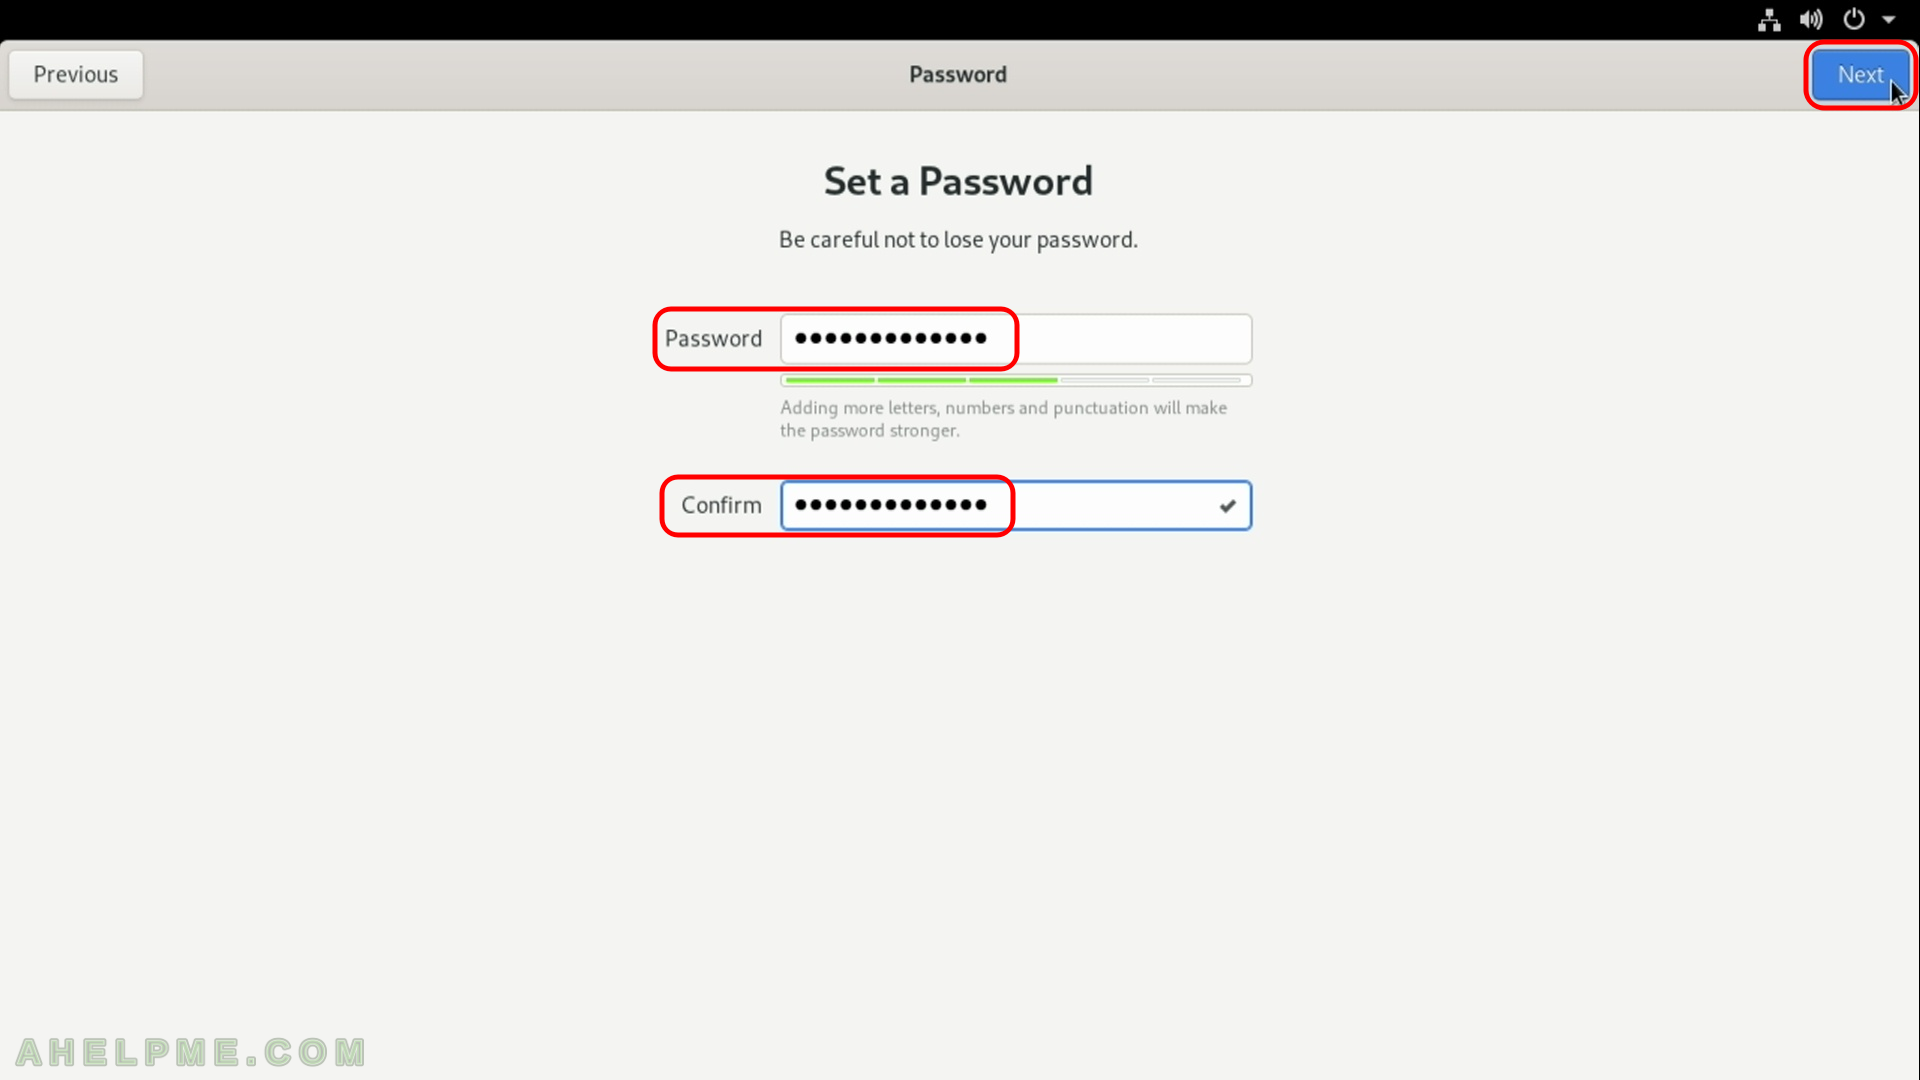
SCREENSHOT 25) Fill your password for the newly created user. Click on “Next”.
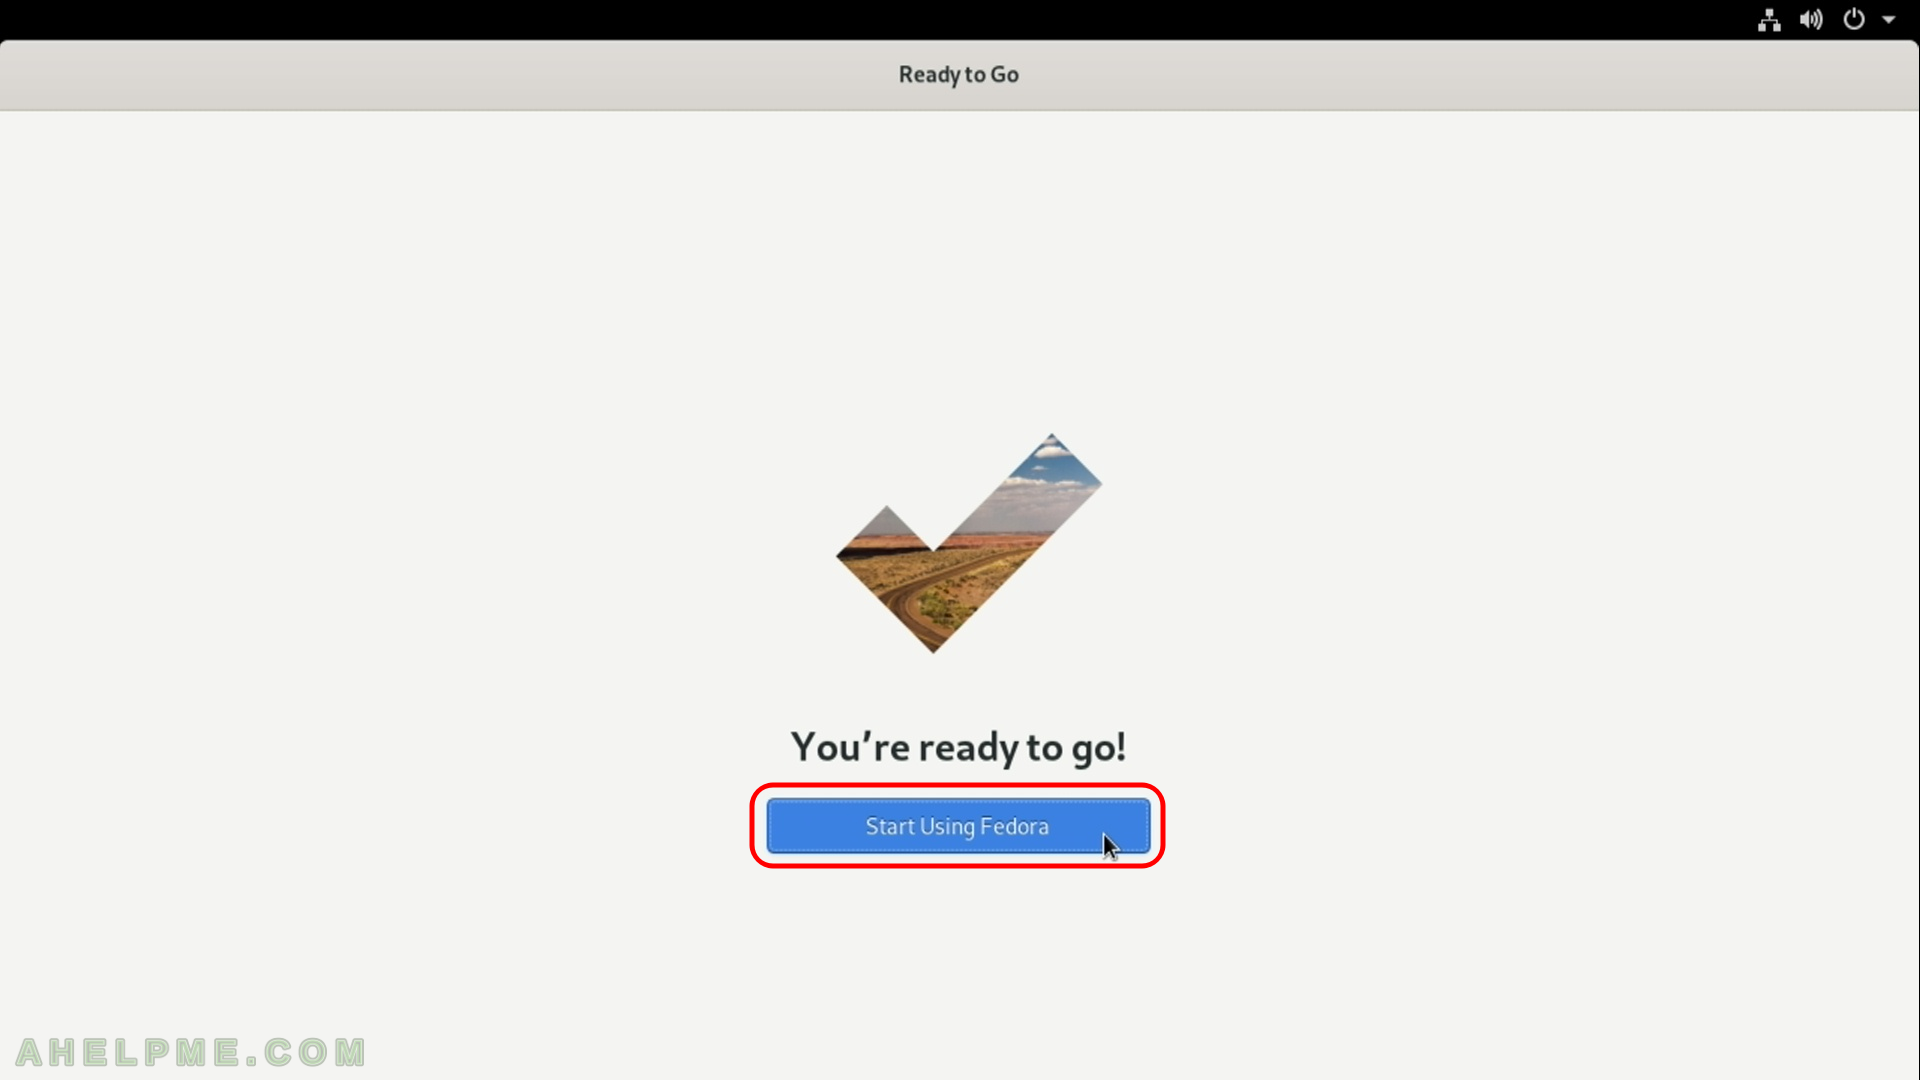
SCREENSHOT 26) Click on “Start Using Fedora” and you’ll see the Login screen
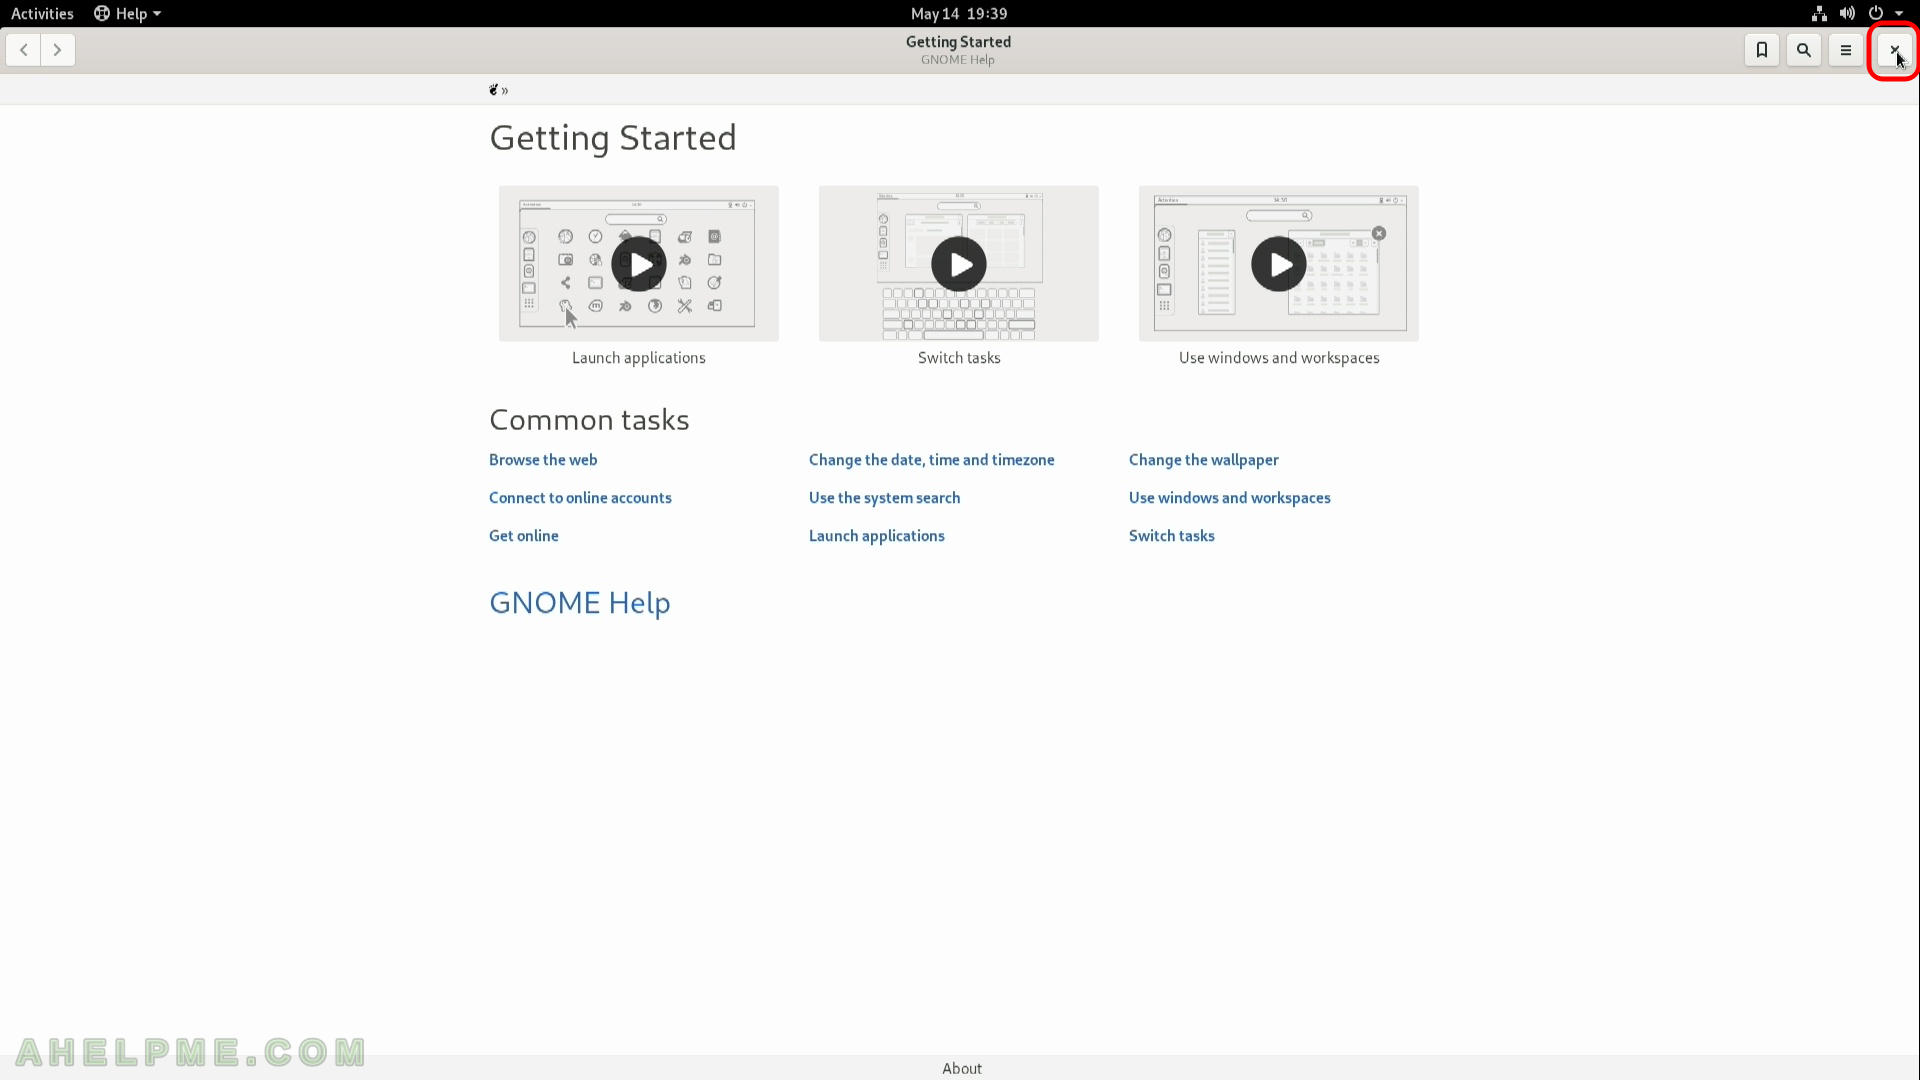
SCREENSHOT 27) Getting started and helpful information for Fedora 30’s Gnome.
SCREENSHOT 28) You are logged by default with the user you’ve just created.
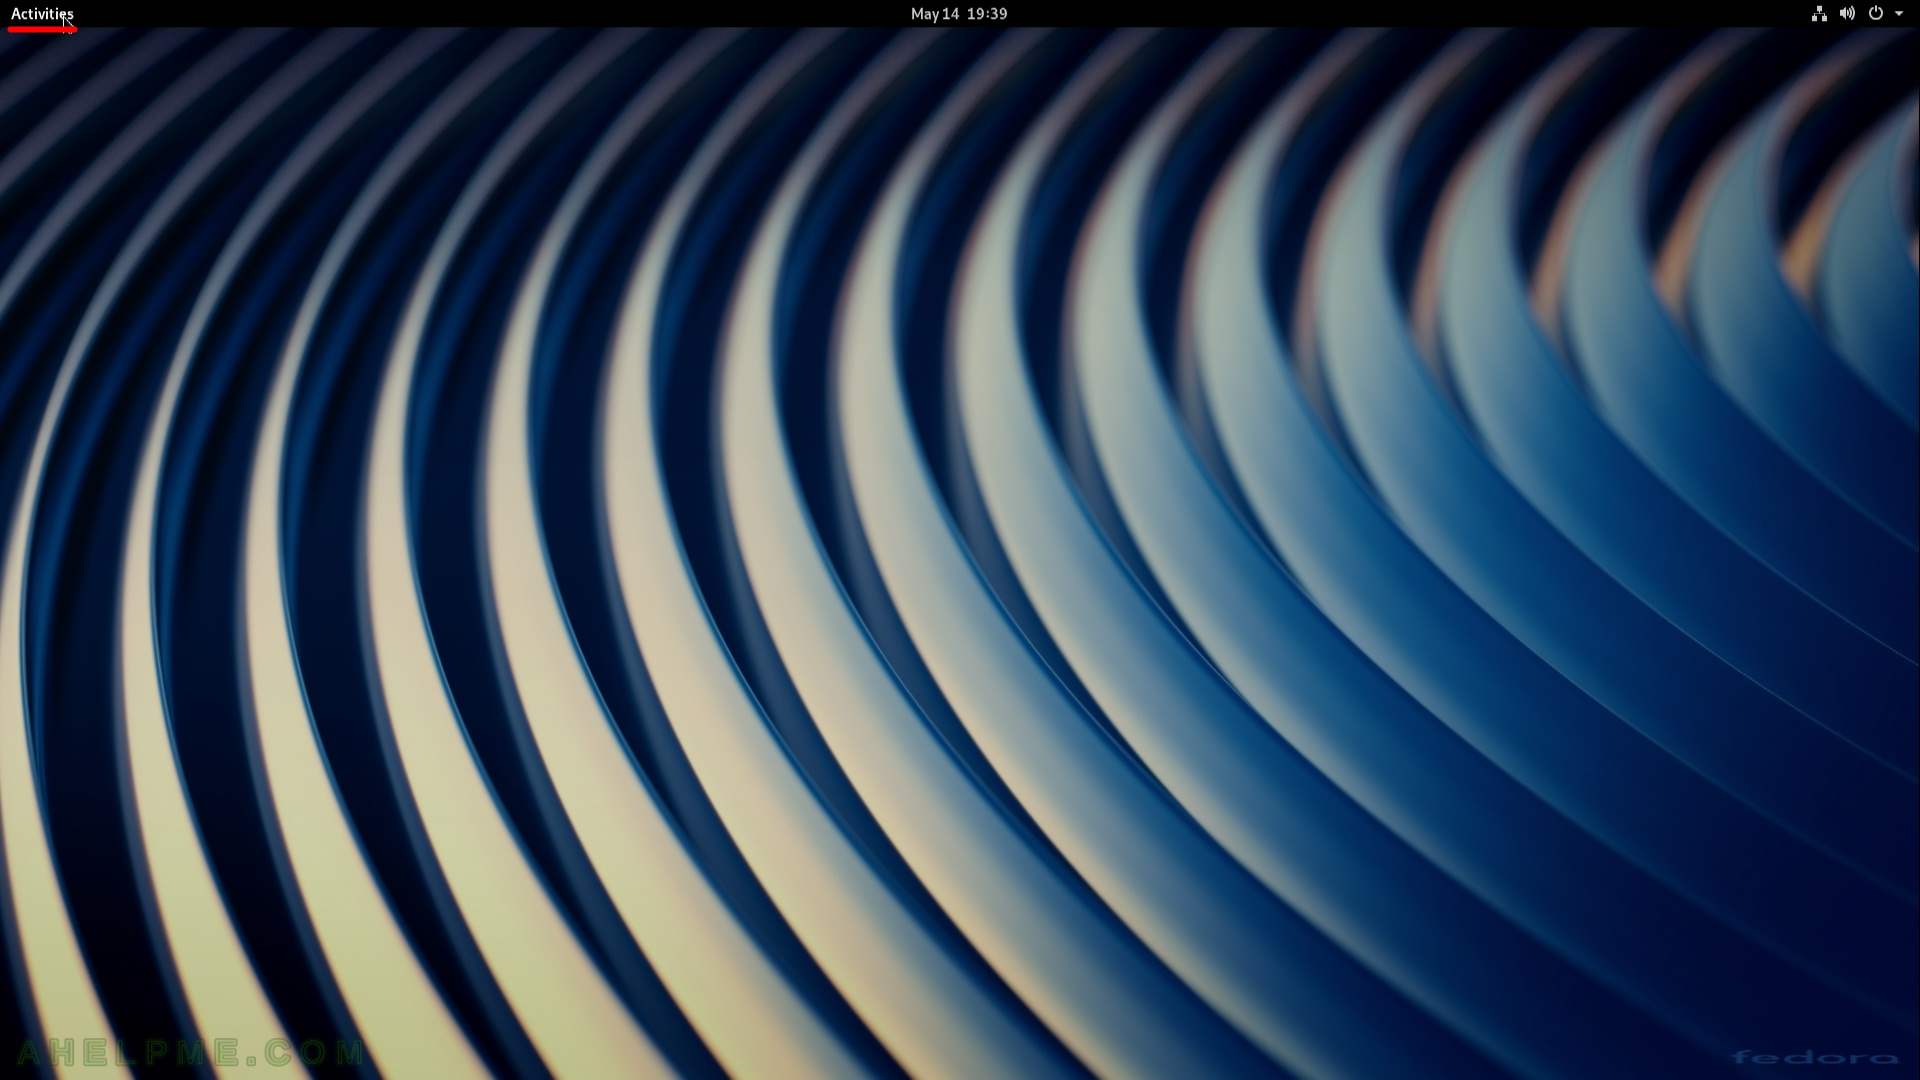
No need to login the first time. This is the default look of the Gnome desktop. First login in Fedora Workstation 30 with Gnome GUI. Click on the top left corner of the screen – Activities (underlined with read).
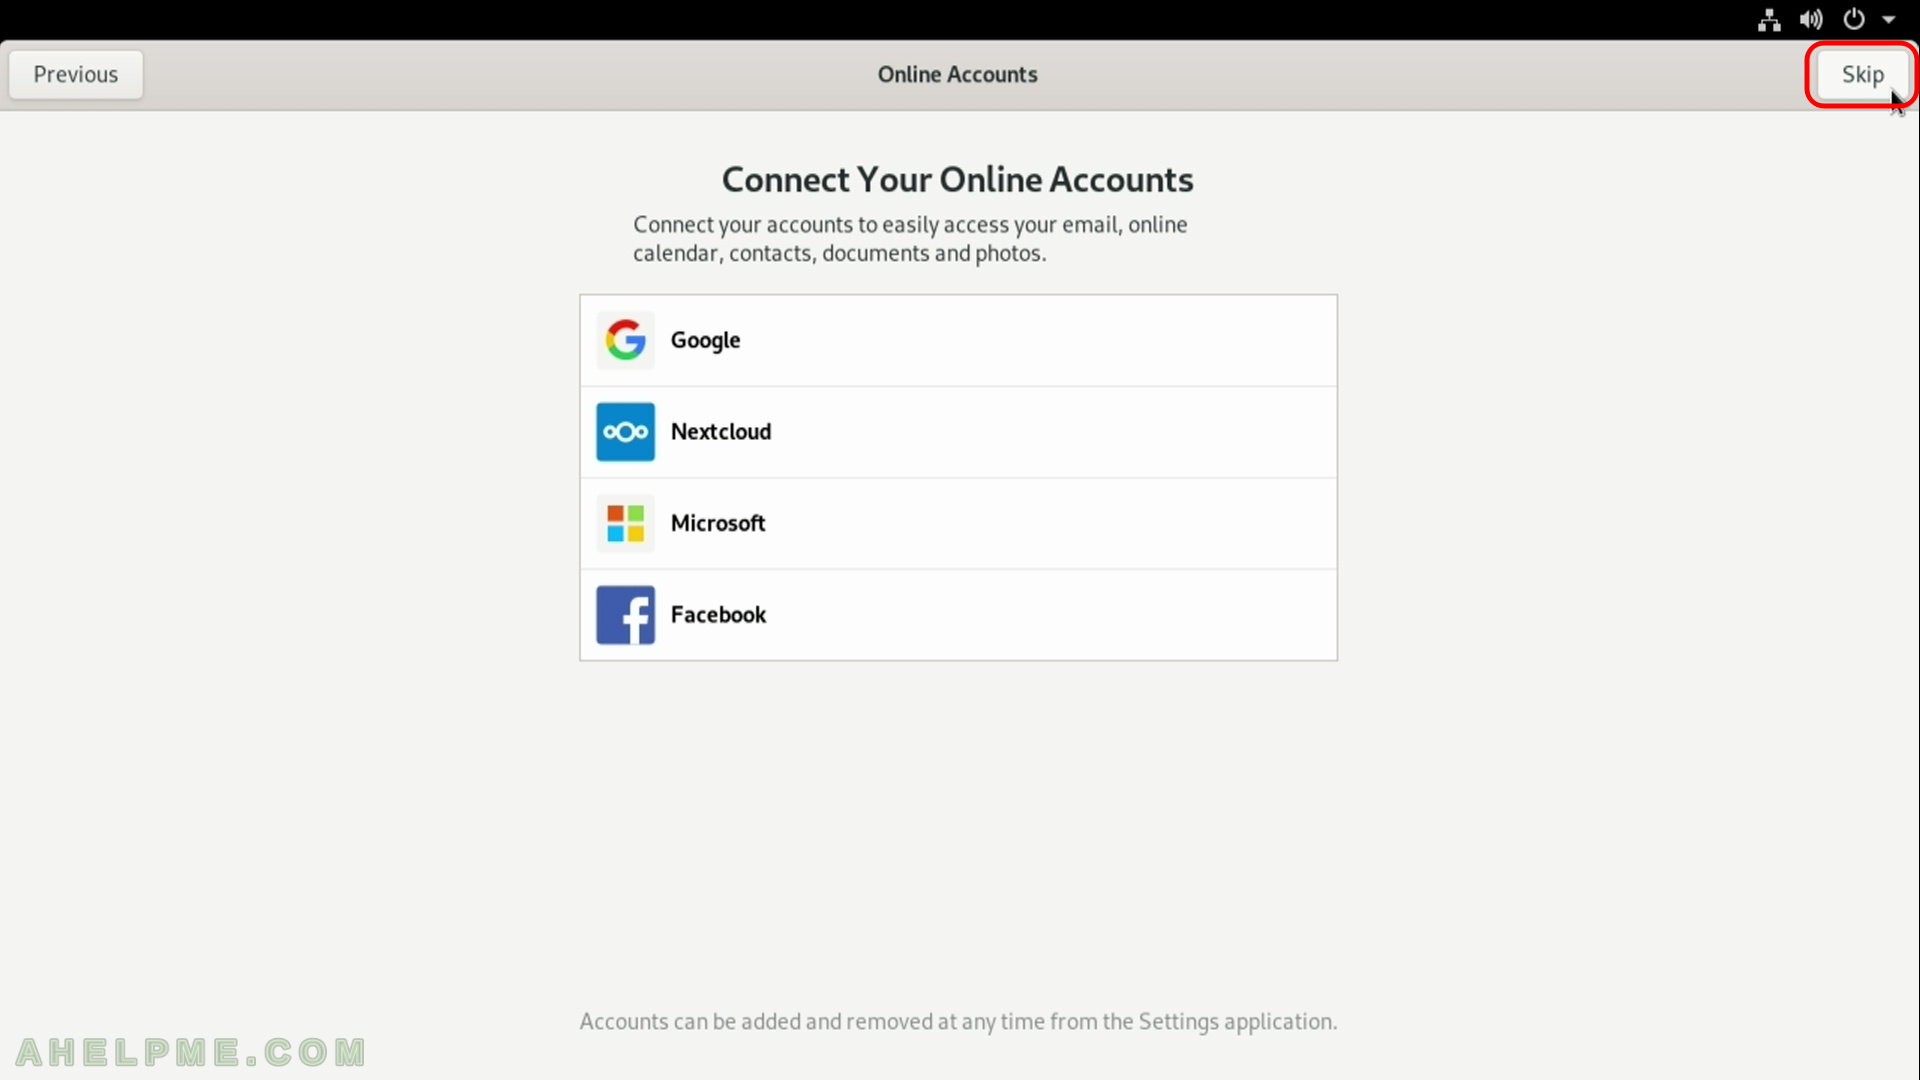
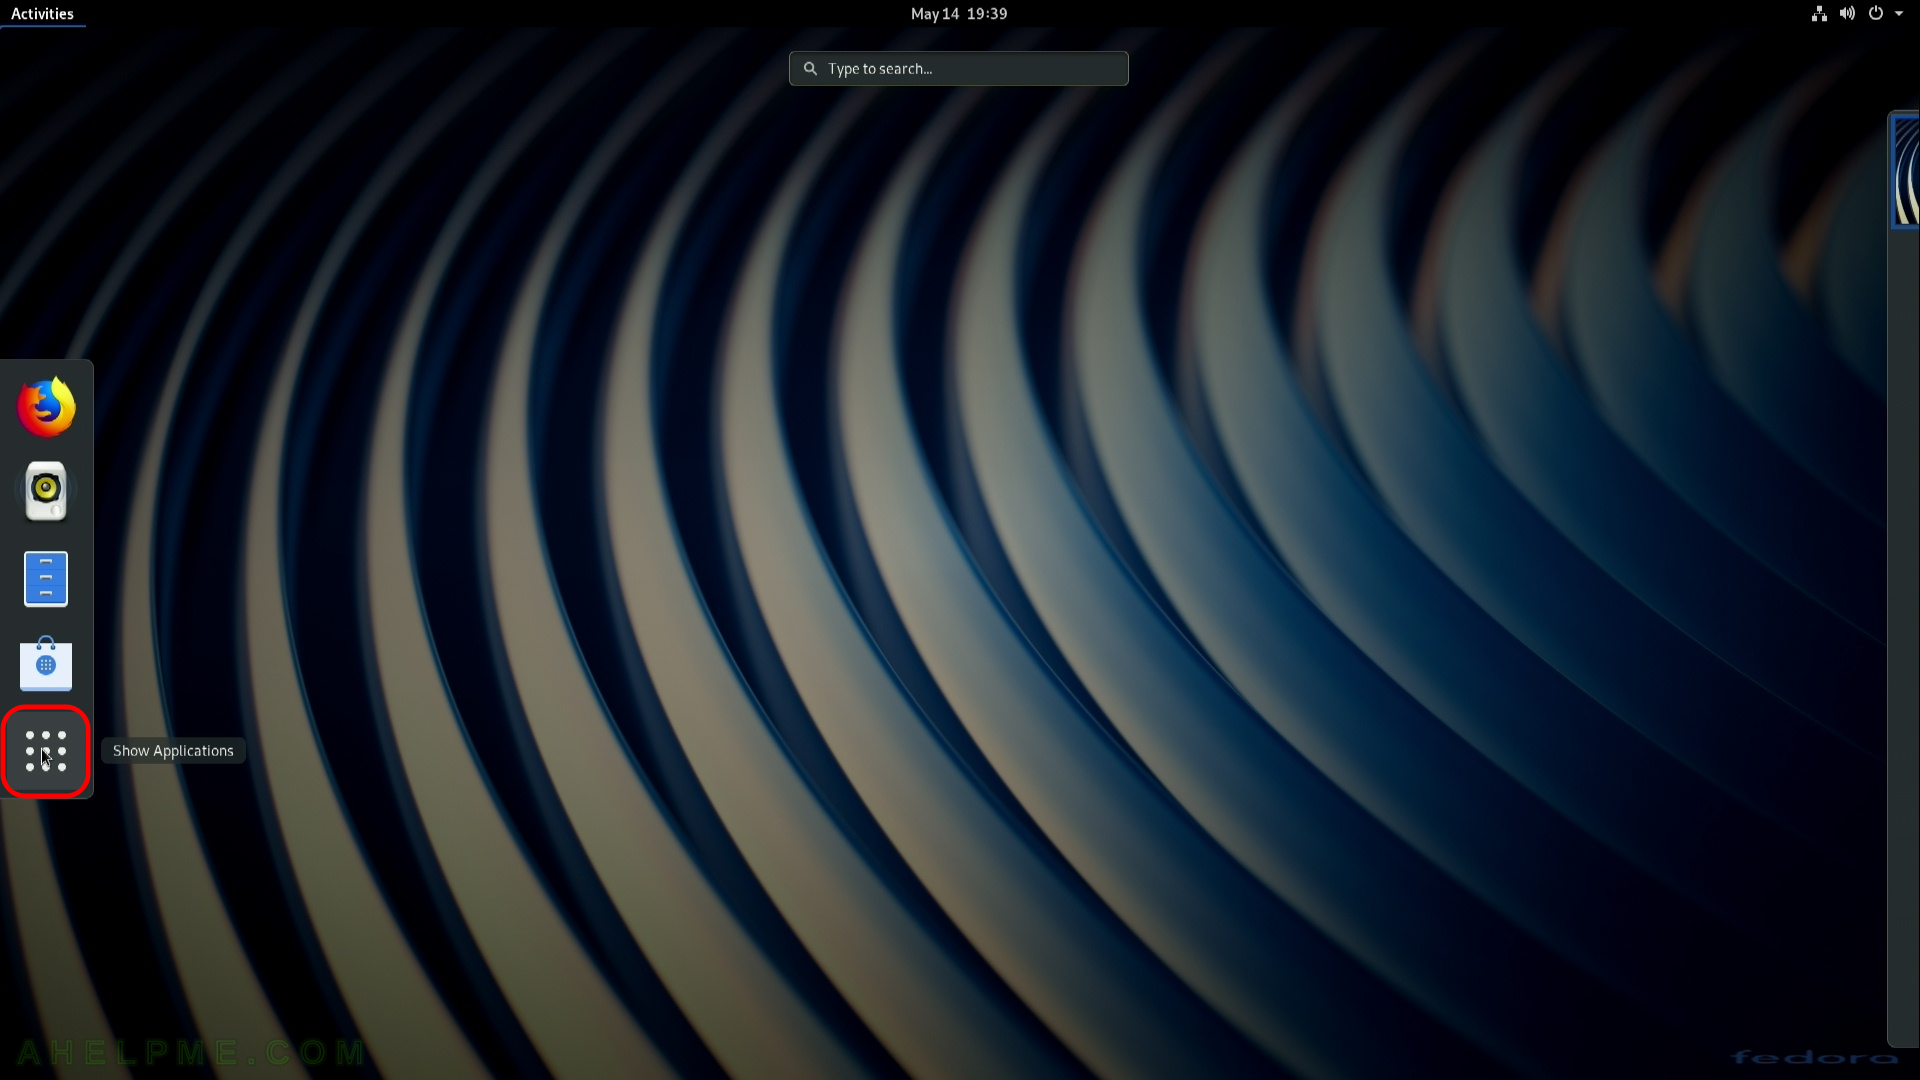
SCREENSHOT 29) Left menu bar, click on “Show Applications” to list the default installed applications.
SCREENSHOT 30) Lists the default installed applications.
