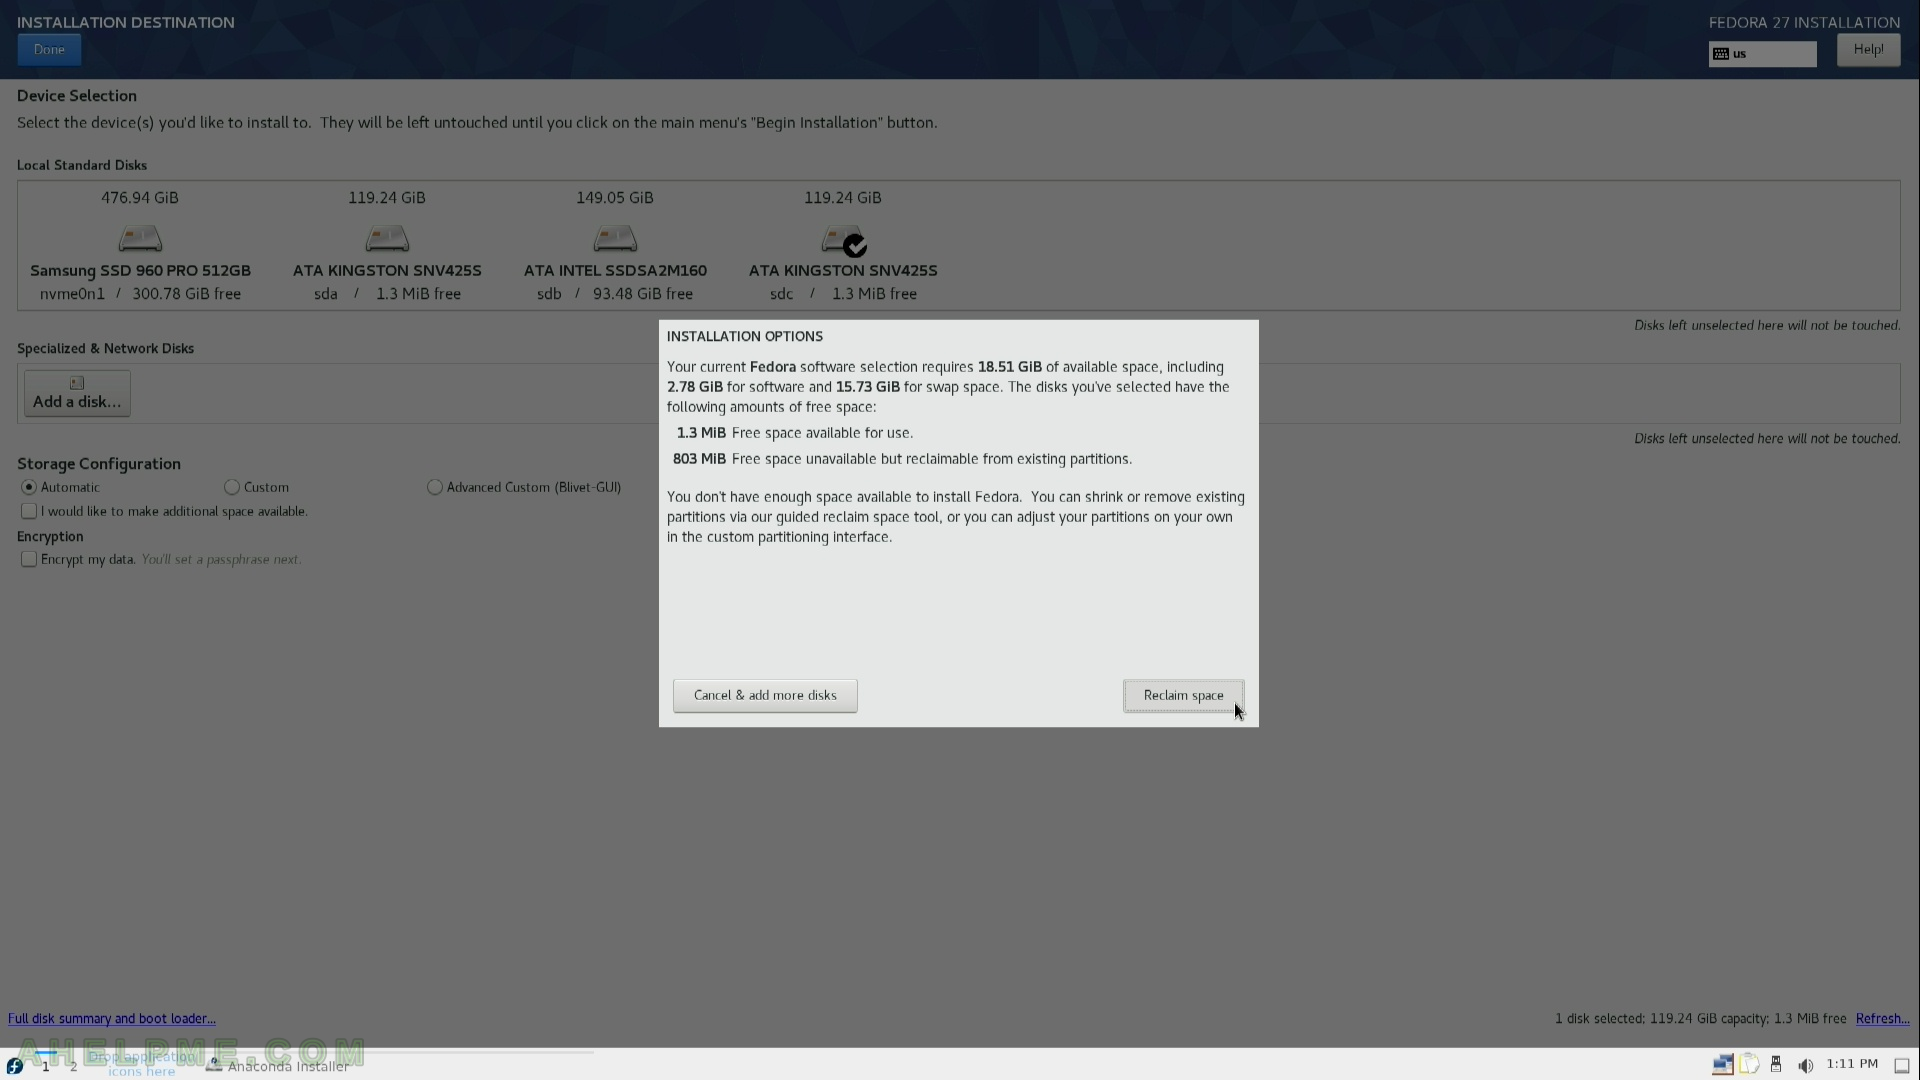
STEP 11) If your disk has some data (partitions) you must go through additional steps asking you if you want to Reclaim the disk space of the disk.
If your disk does not have any partitions and all the space is unallocated you would not be asked any questions.
Reclaim space
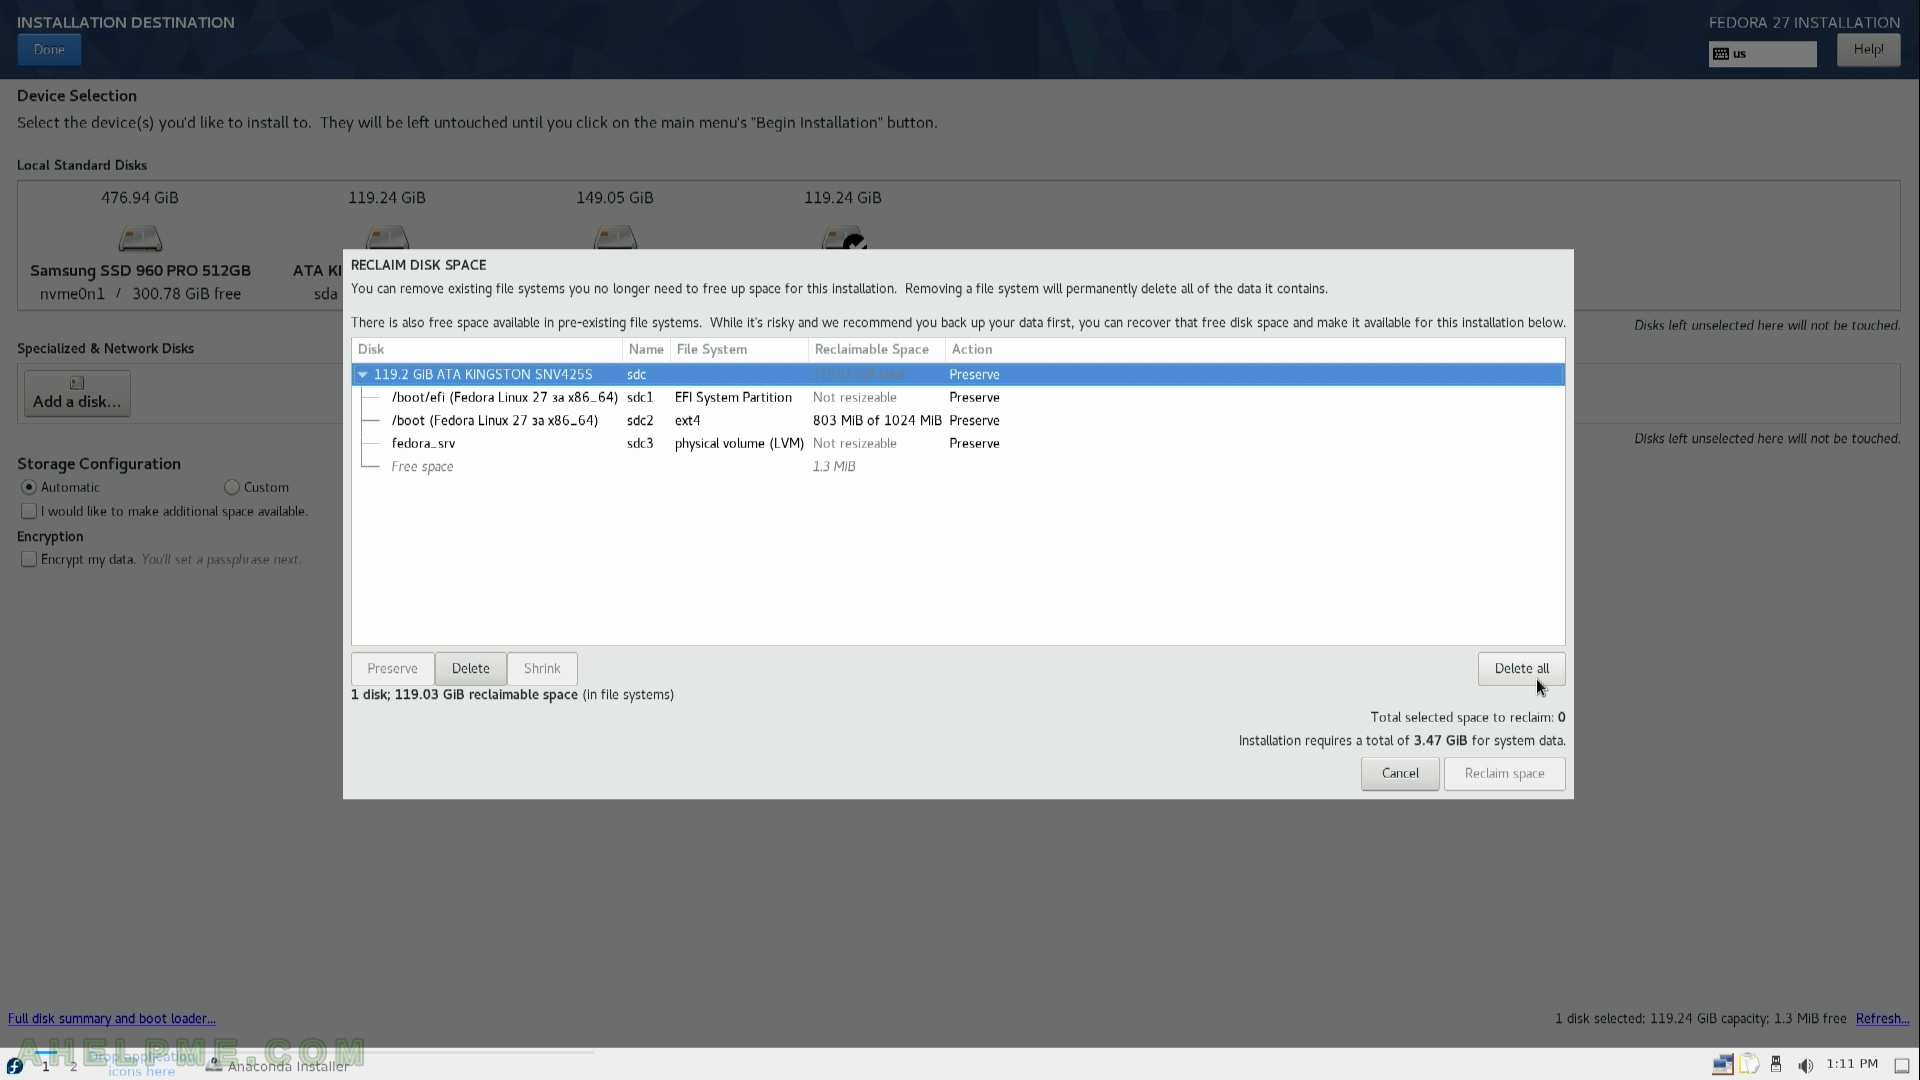
STEP 12) This steps shows you what is the current layout of the selected disk for installation. We do not need any data there SO select “Delete All”
Delete All partitions
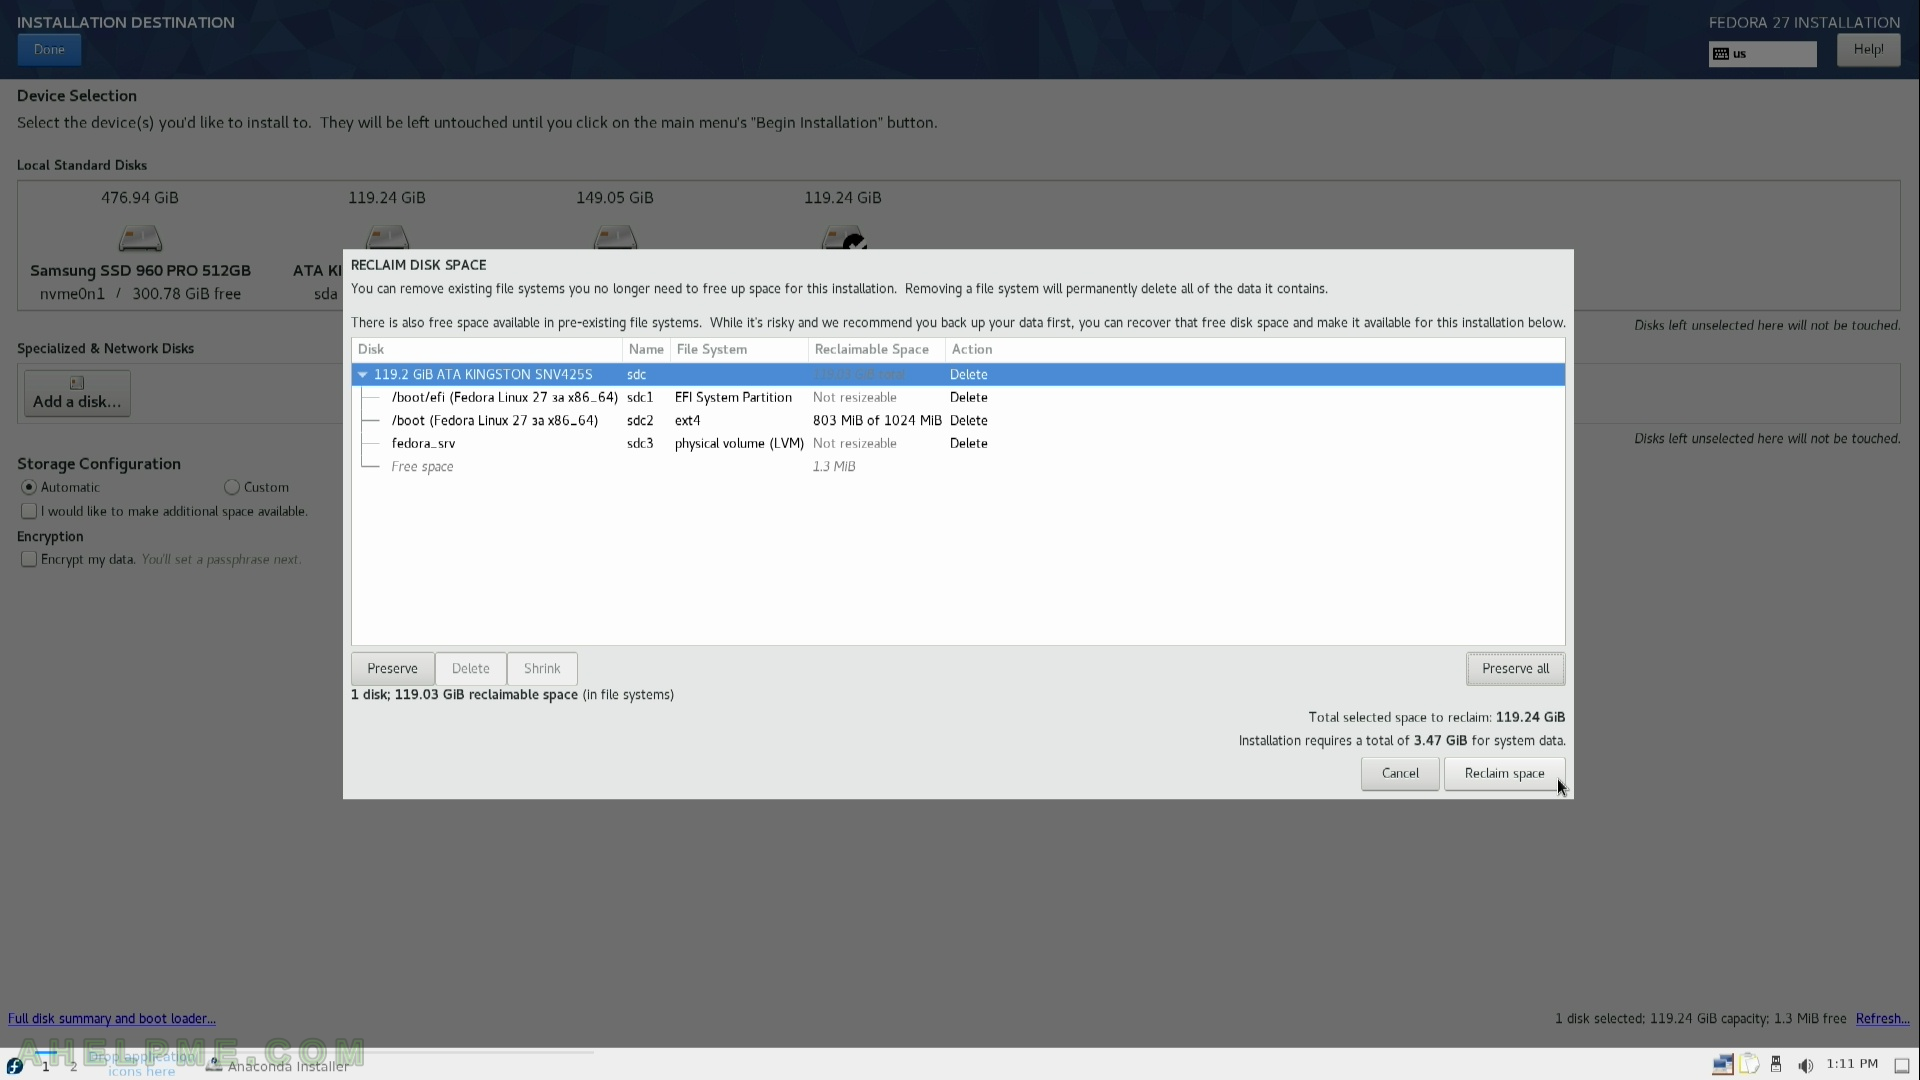
STEP 13) Accept all changes with the layout of the installation disk by clicking “Reclaim space”
Apply the changes on the disk layout – Reclaim space
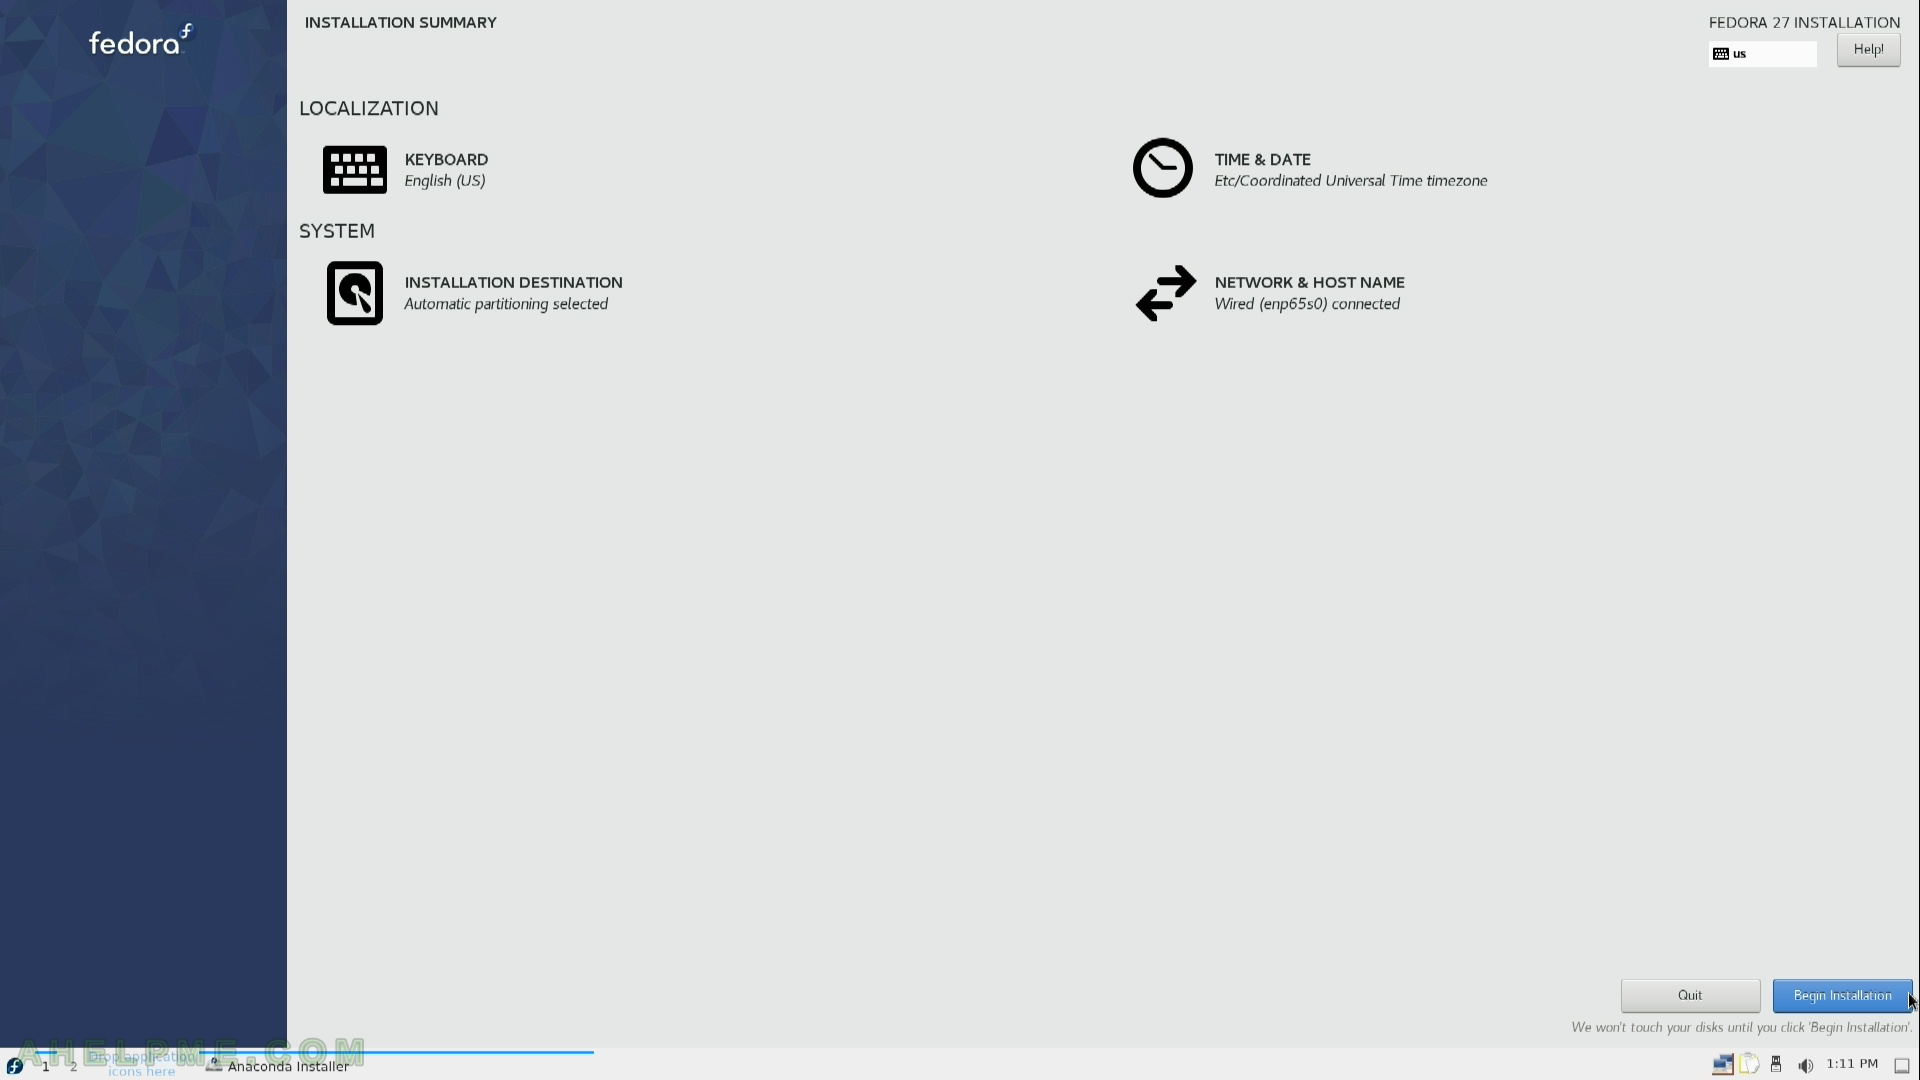
STEP 14) Now the installation setup is configured and by clicking on “Begin Installation” the actual installation on your selected hard drive begins.
Begin Installation
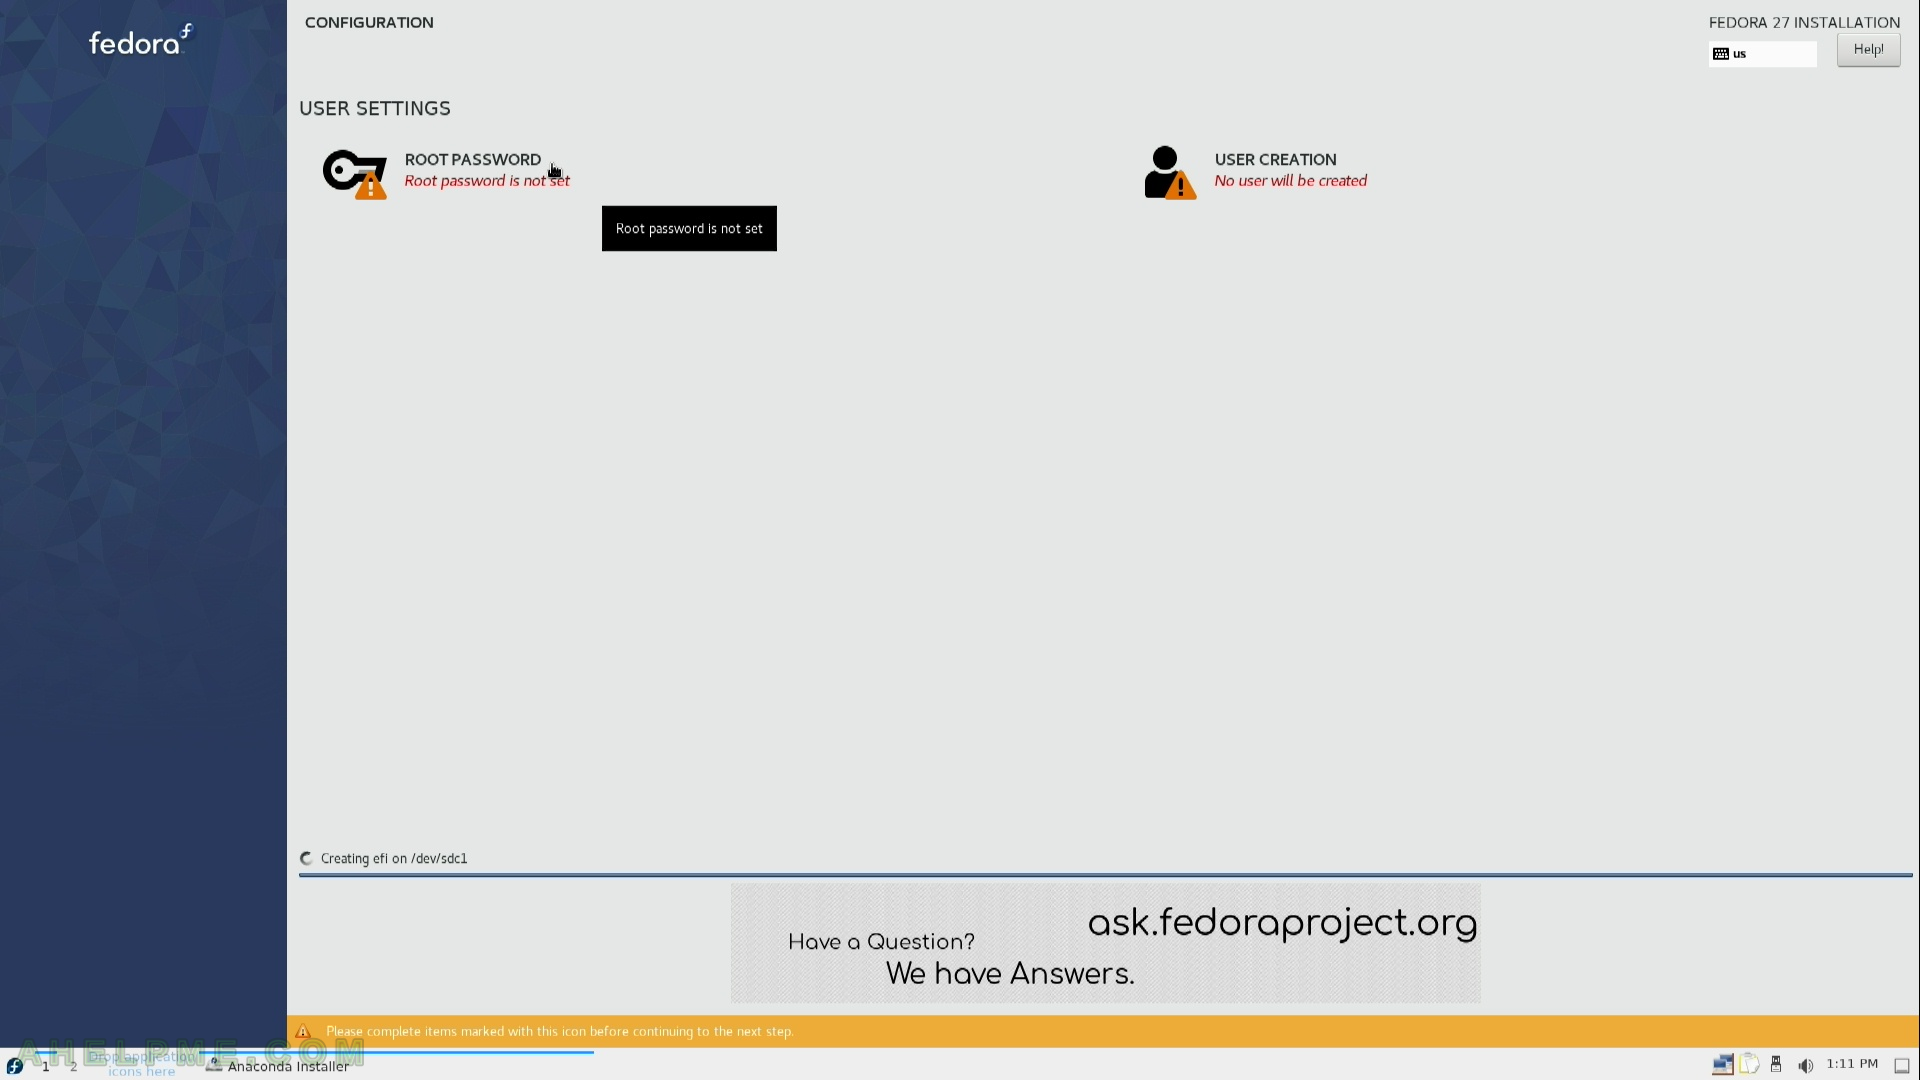
STEP 15) While the installation processes is working you can set root password and create an additional user. Click on “ROOT PASSWORD” to set a password.
ROOT PASSWORD
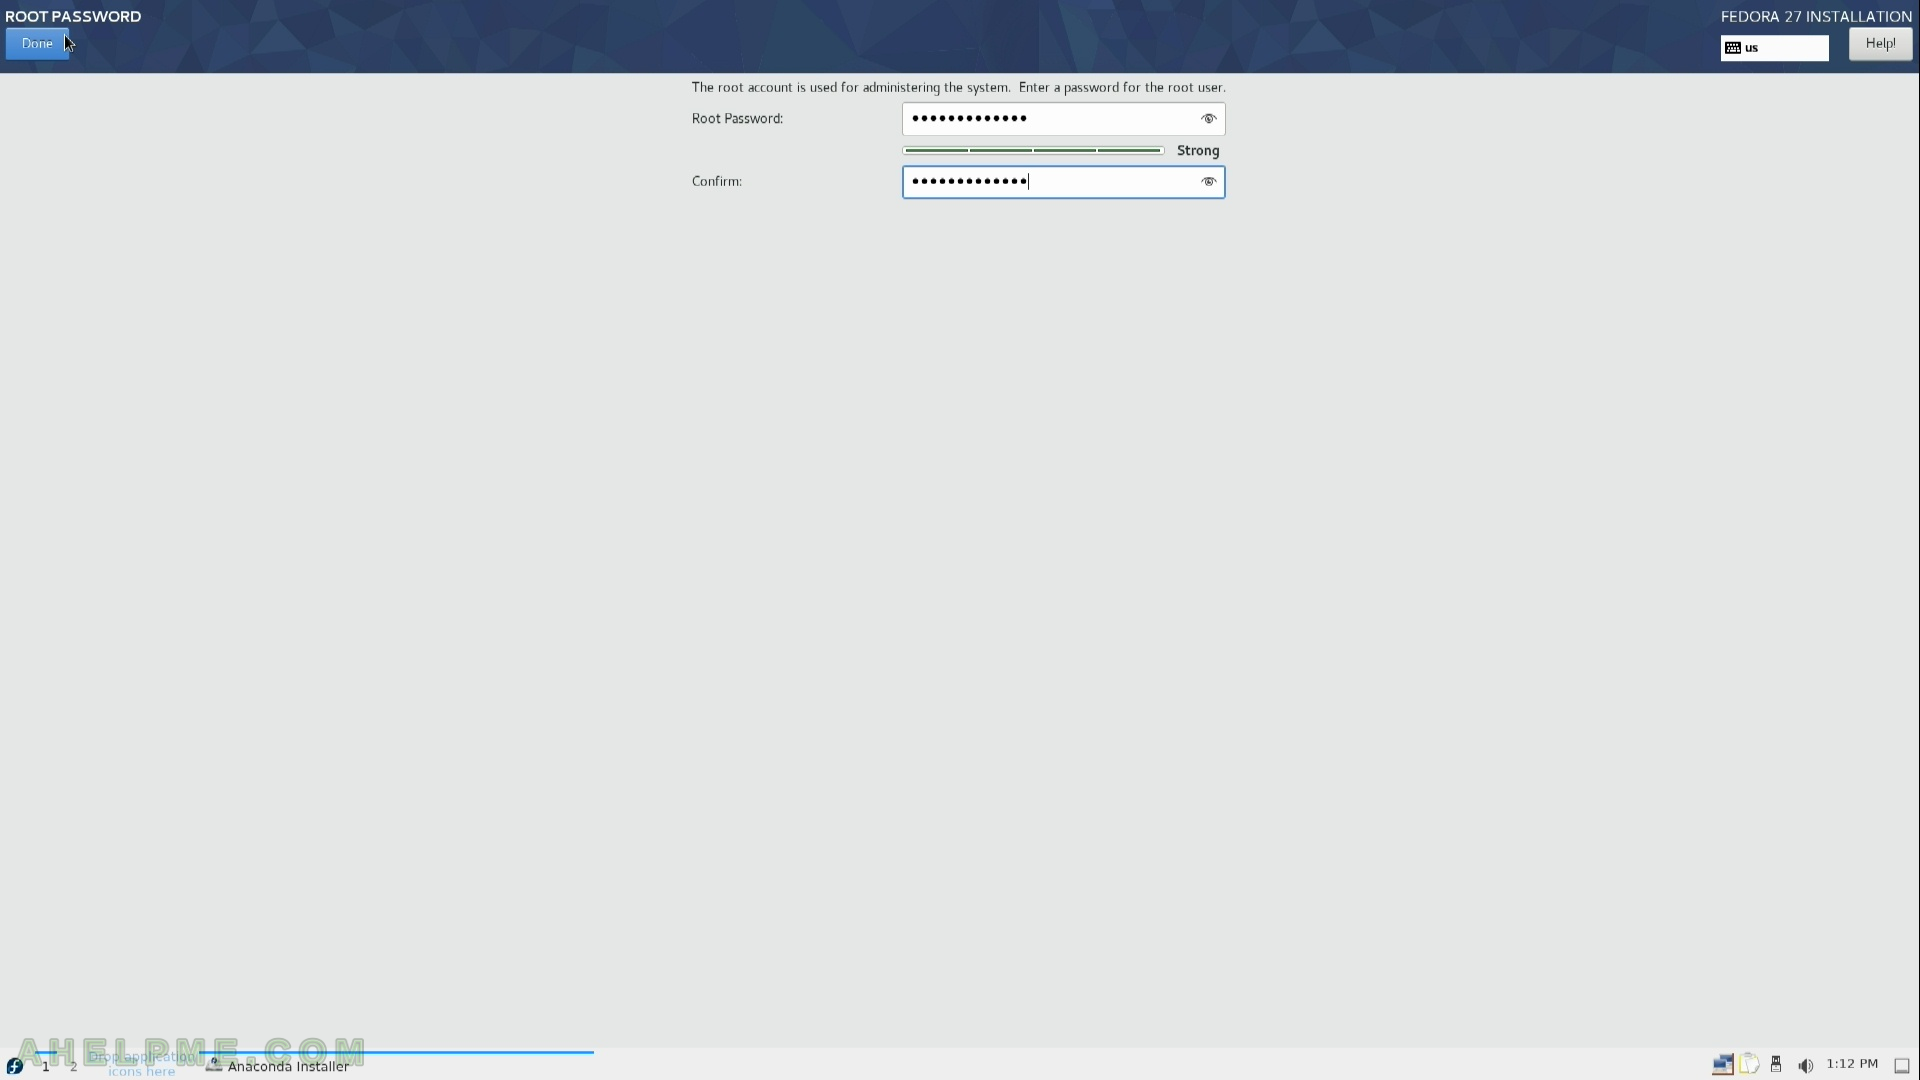
STEP 16) Enter the root password two times and then “Done”
Set root password
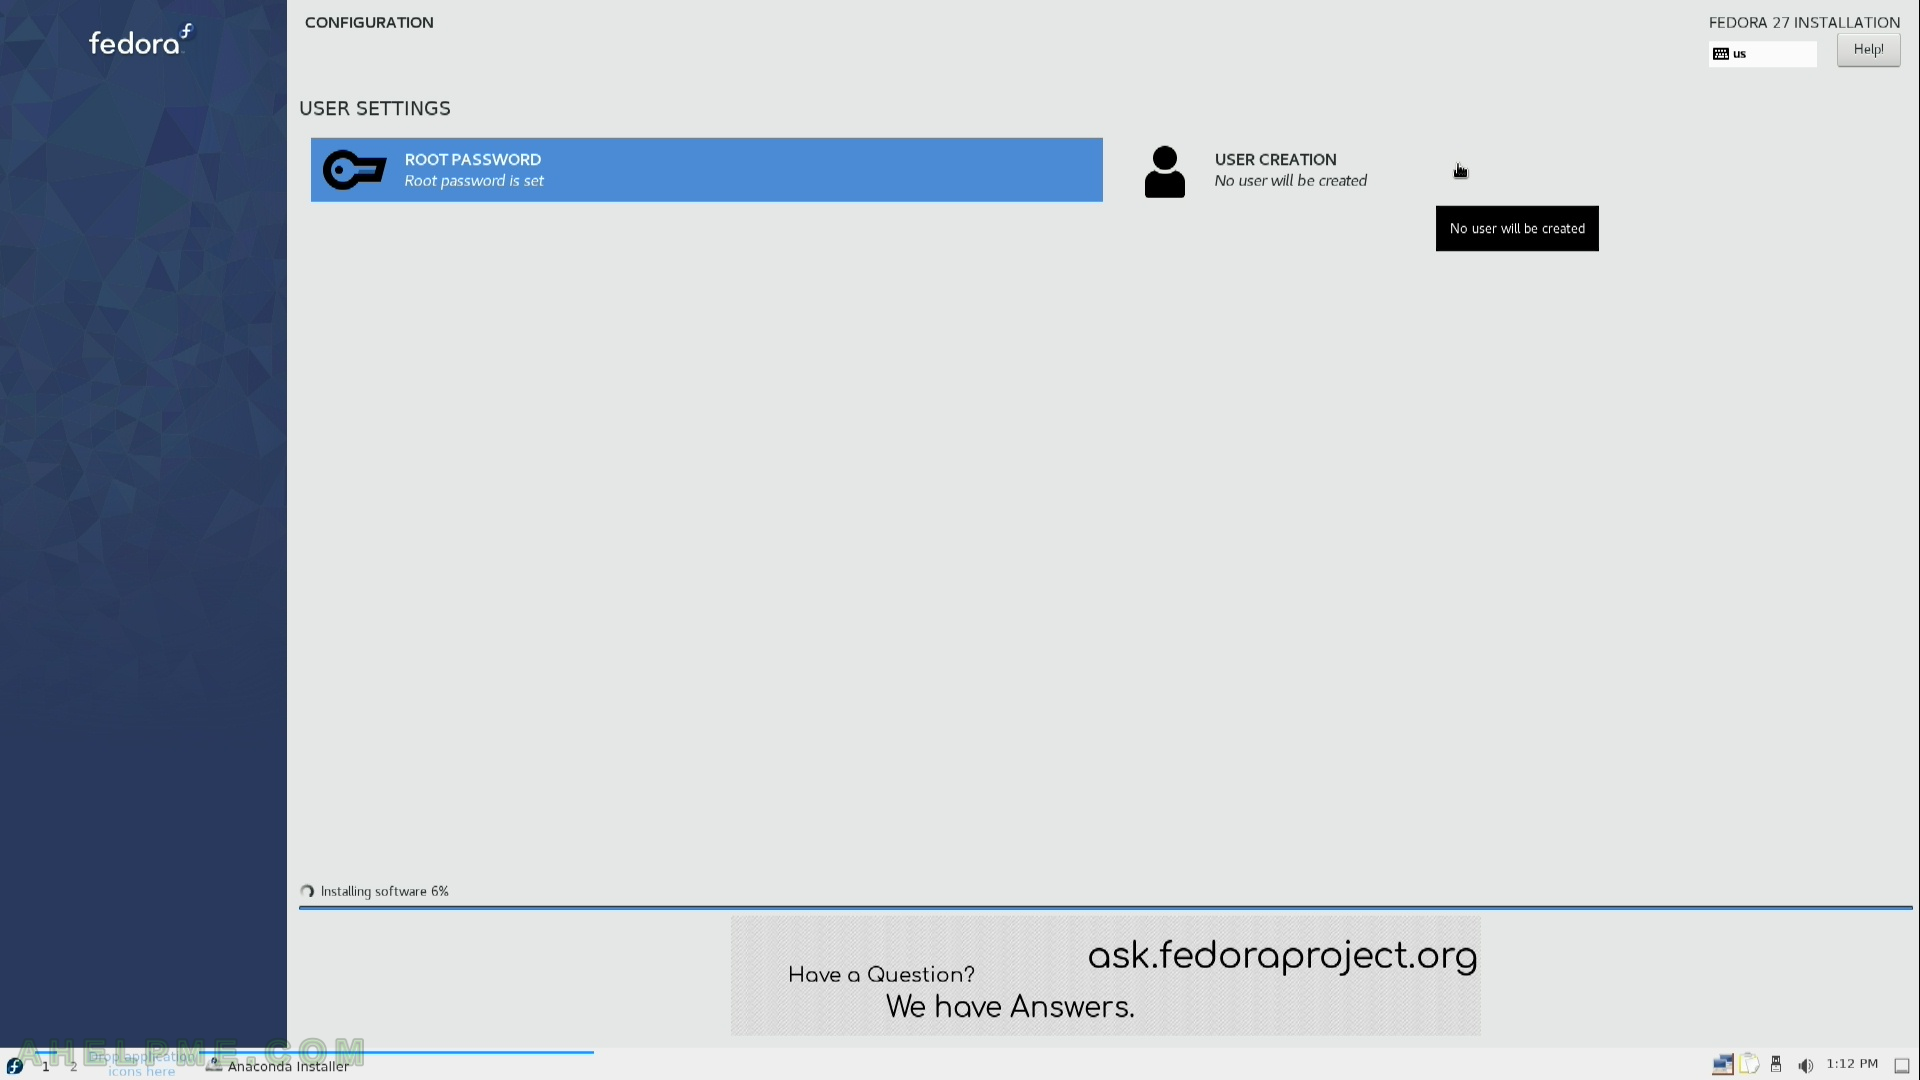
STEP 17) Create an additional user (click on “USER CREATION”), always use additional user (with administrative privileges) and not root.
USER CREATION
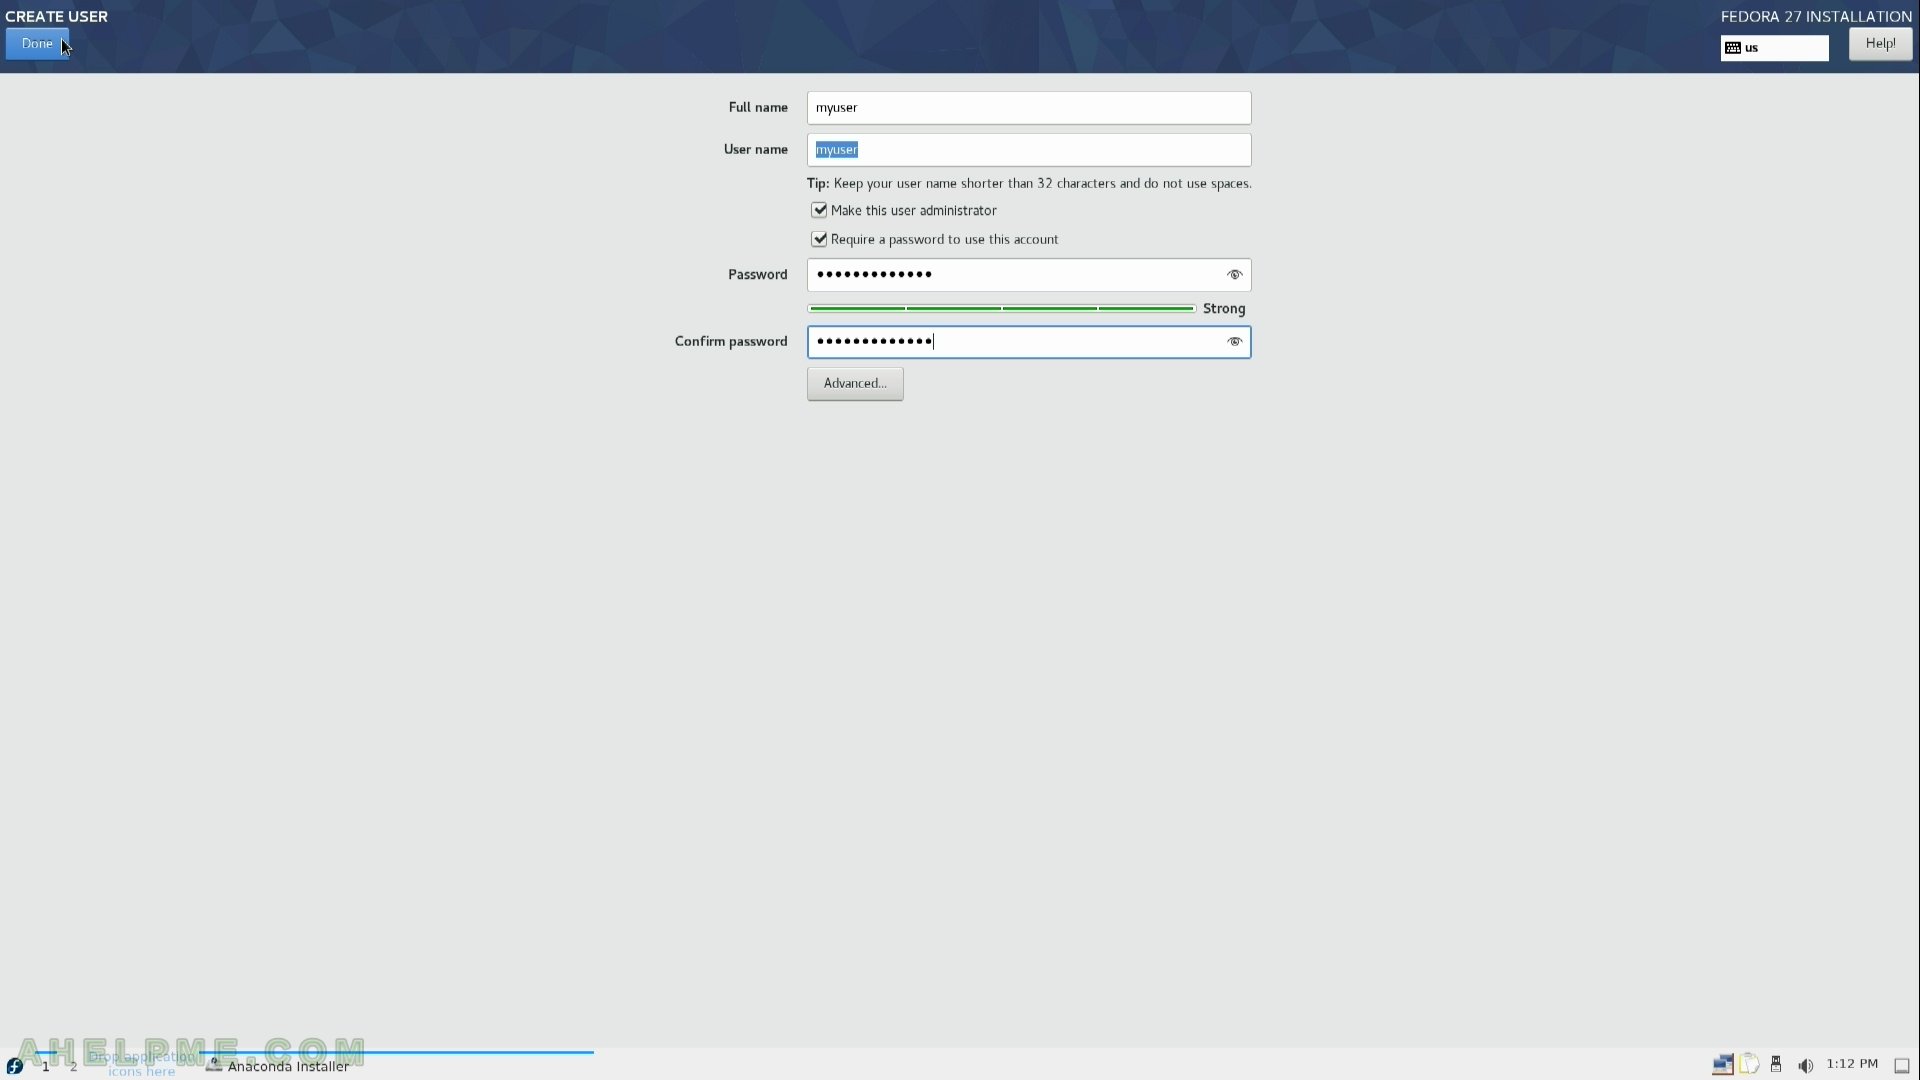
STEP 18) Set the full name and the username (login name) and be sure to check “Make this user administrator”.
Use ordinary user for every day work and for administrator’s purposes authorize with password – this is possible only if your user has administrative privileges – they are used only after authorization not by default!
Create User
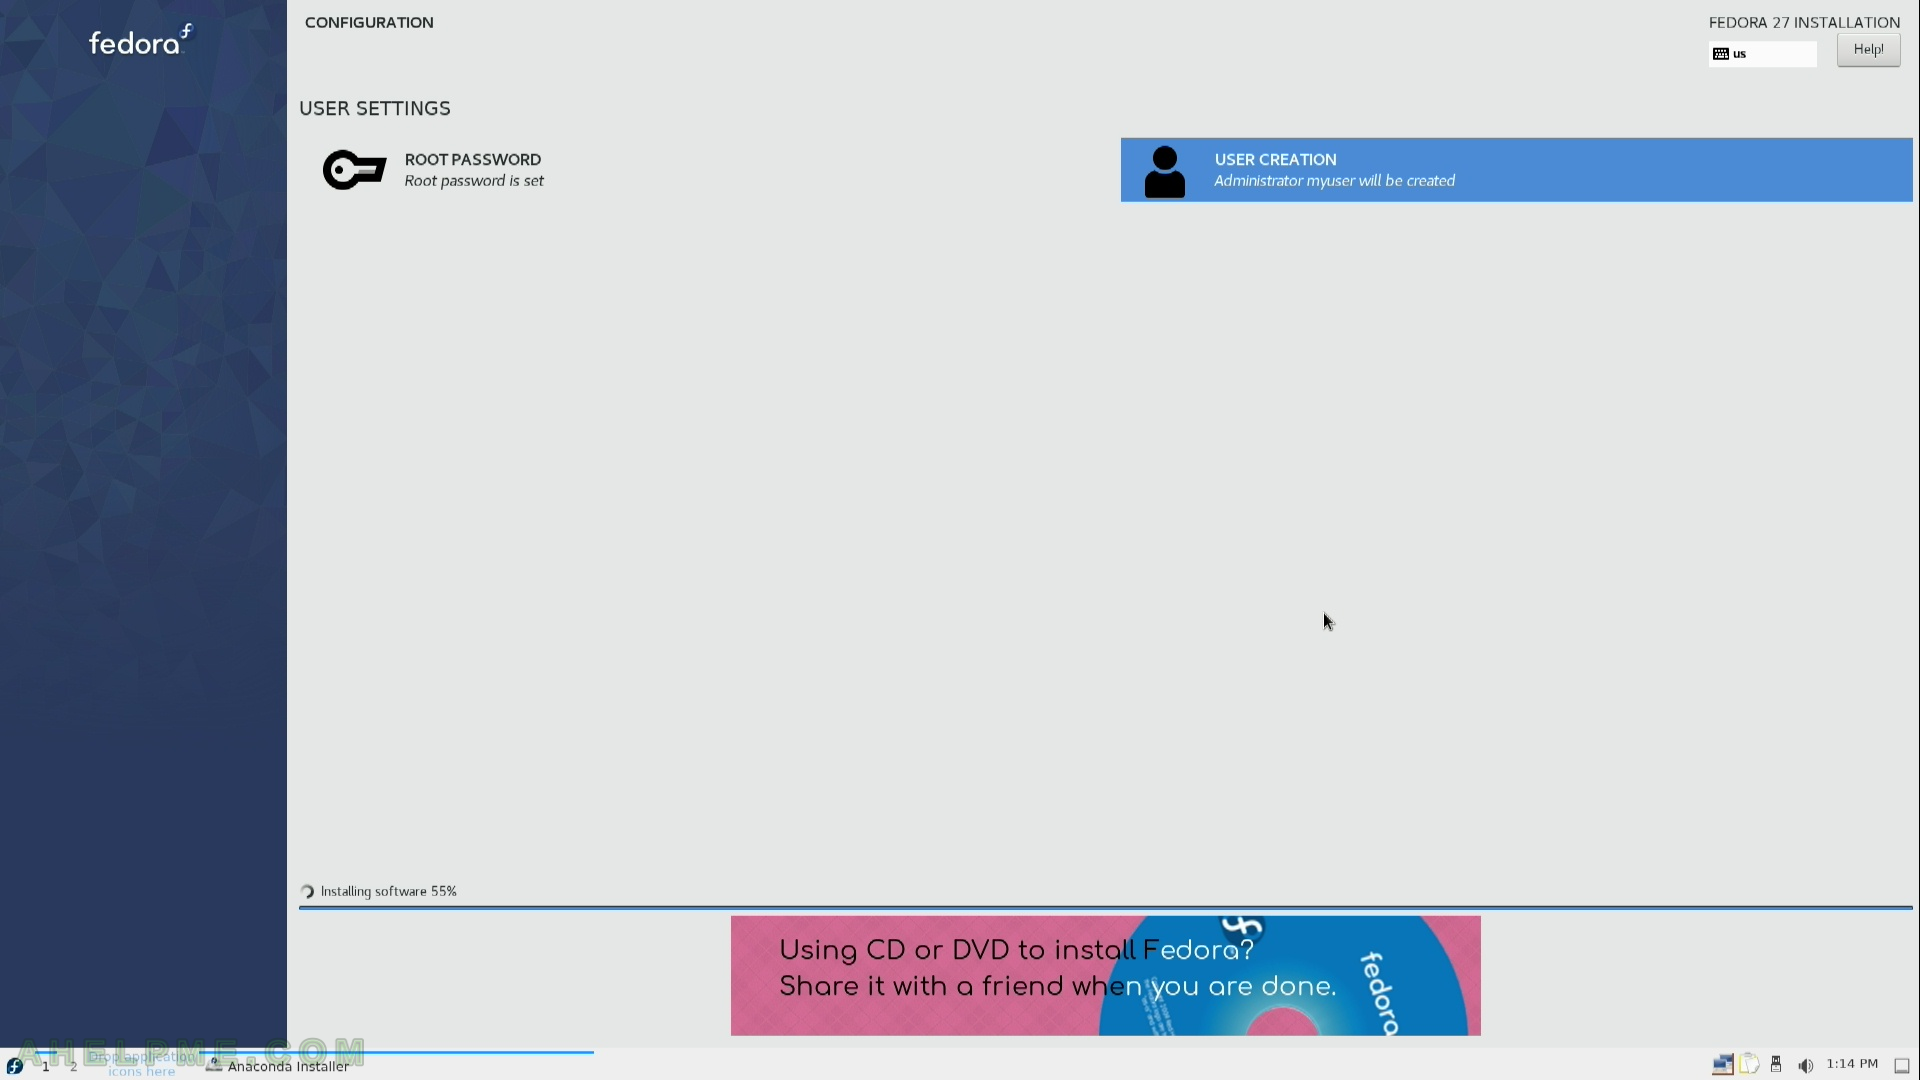
STEP 19) The setup is still working… Installation progress is at 55%.
Installing software 55%
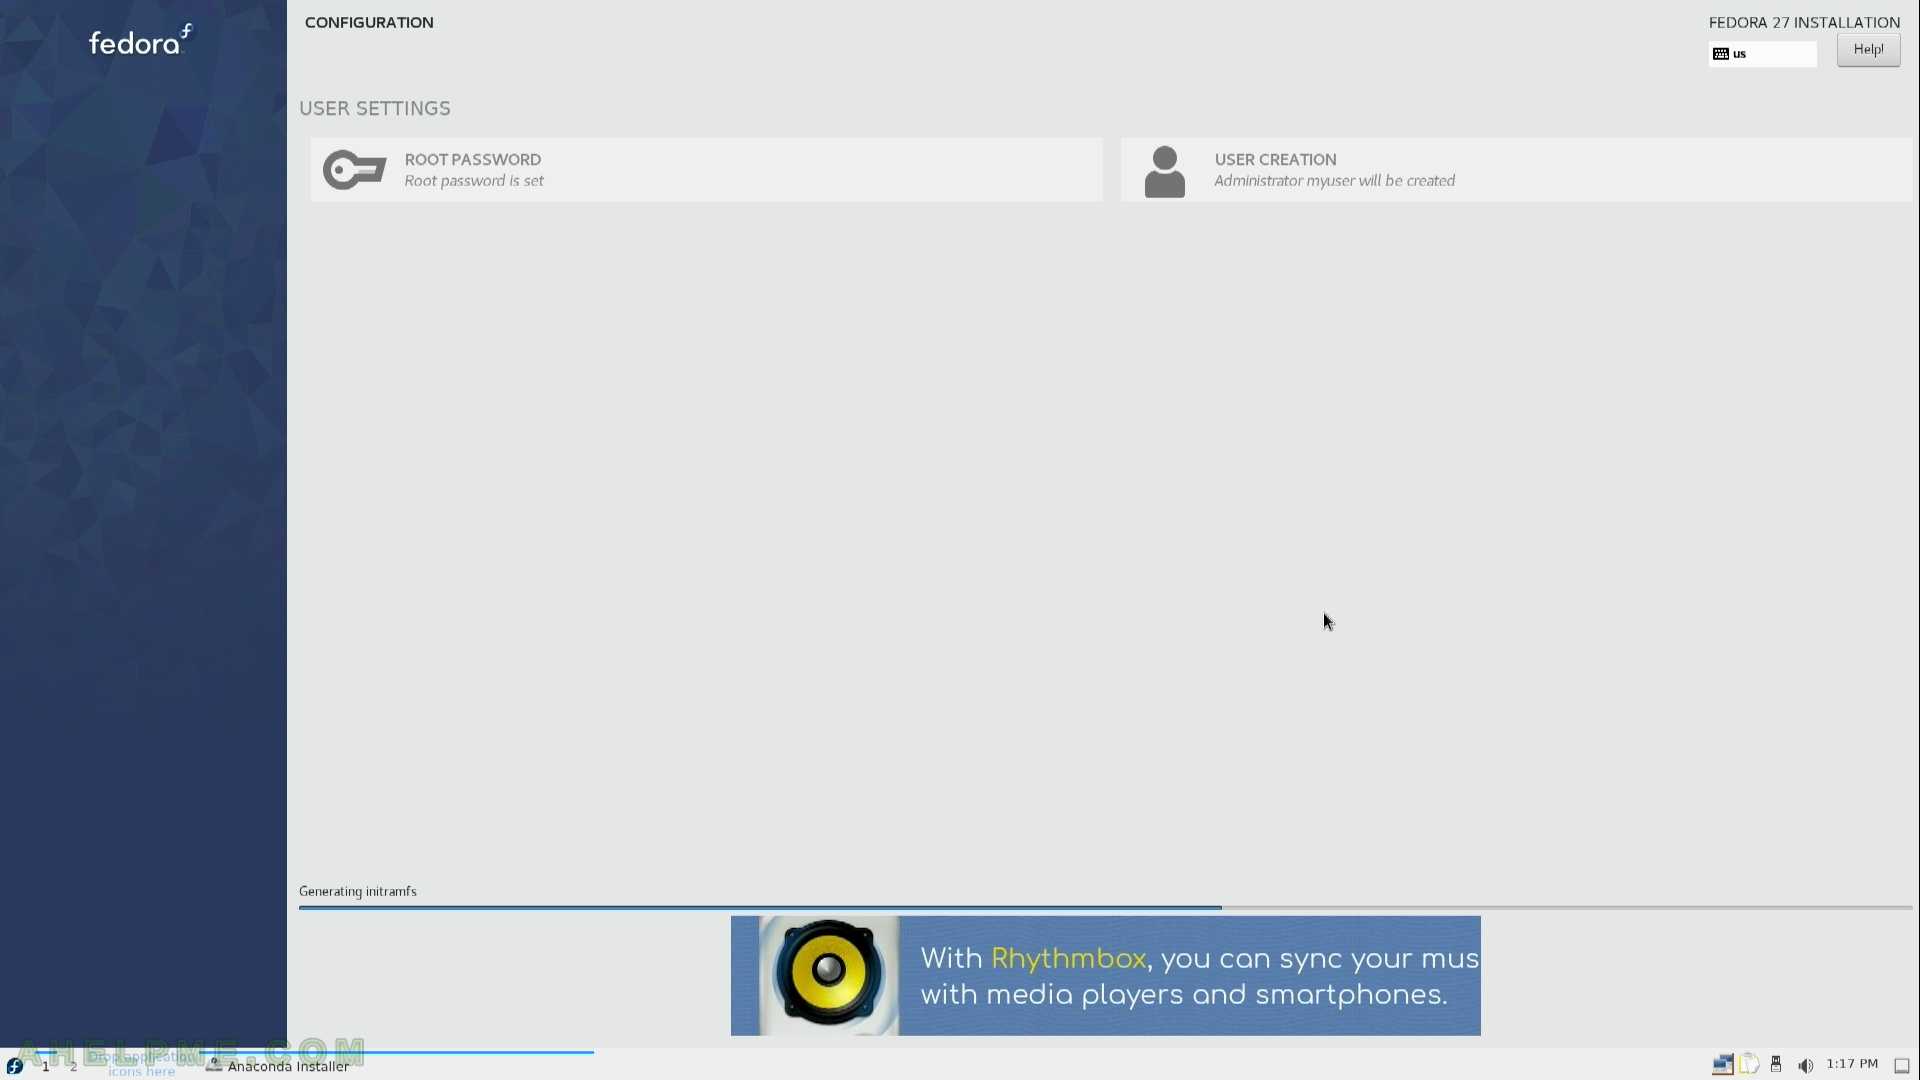
STEP 20) The setup is still working…Last preparation before reboot.
We use technologies like cookies to store and/or access device information. We do this to improve browsing experience and to show (non-) personalized ads. Consenting to these technologies will allow us to process data such as browsing behavior or unique IDs on this site. Not consenting or withdrawing consent, may adversely affect certain features and functions.
Functional
Always active
The technical storage or access is strictly necessary for the legitimate purpose of enabling the use of a specific service explicitly requested by the subscriber or user, or for the sole purpose of carrying out the transmission of a communication over an electronic communications network.
Preferences
The technical storage or access is necessary for the legitimate purpose of storing preferences that are not requested by the subscriber or user.
Statistics
The technical storage or access that is used exclusively for statistical purposes.The technical storage or access that is used exclusively for anonymous statistical purposes. Without a subpoena, voluntary compliance on the part of your Internet Service Provider, or additional records from a third party, information stored or retrieved for this purpose alone cannot usually be used to identify you.
Marketing
The technical storage or access is required to create user profiles to send advertising, or to track the user on a website or across several websites for similar marketing purposes.
One thought on “Install Fedora 27 LXQt Desktop”