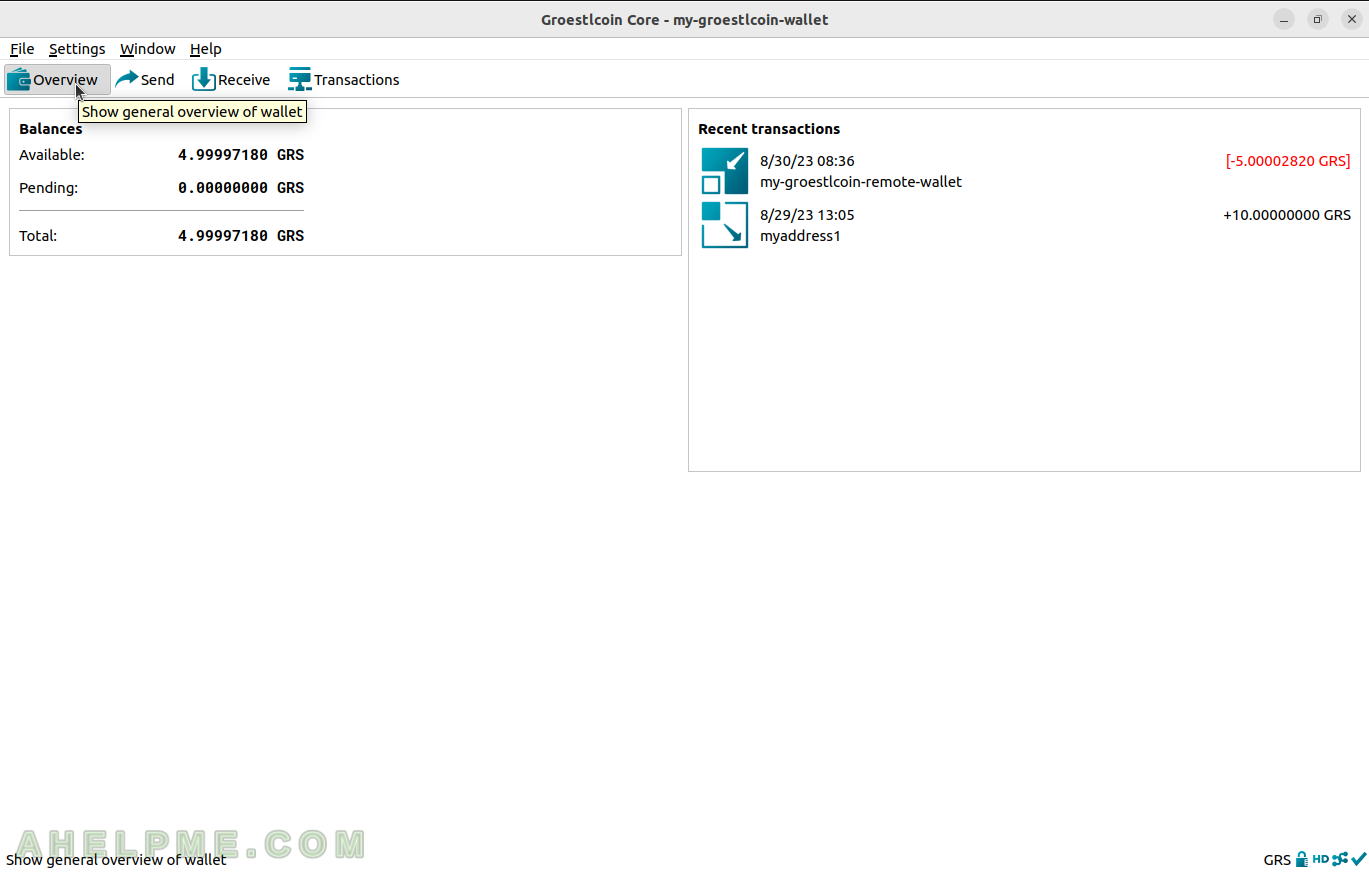
SCREENSHOT 11) Click on File and Open Wallet to list the available wallets in this application.
Click on “my-groestlcoin-wallet” and the wallet will be opened.
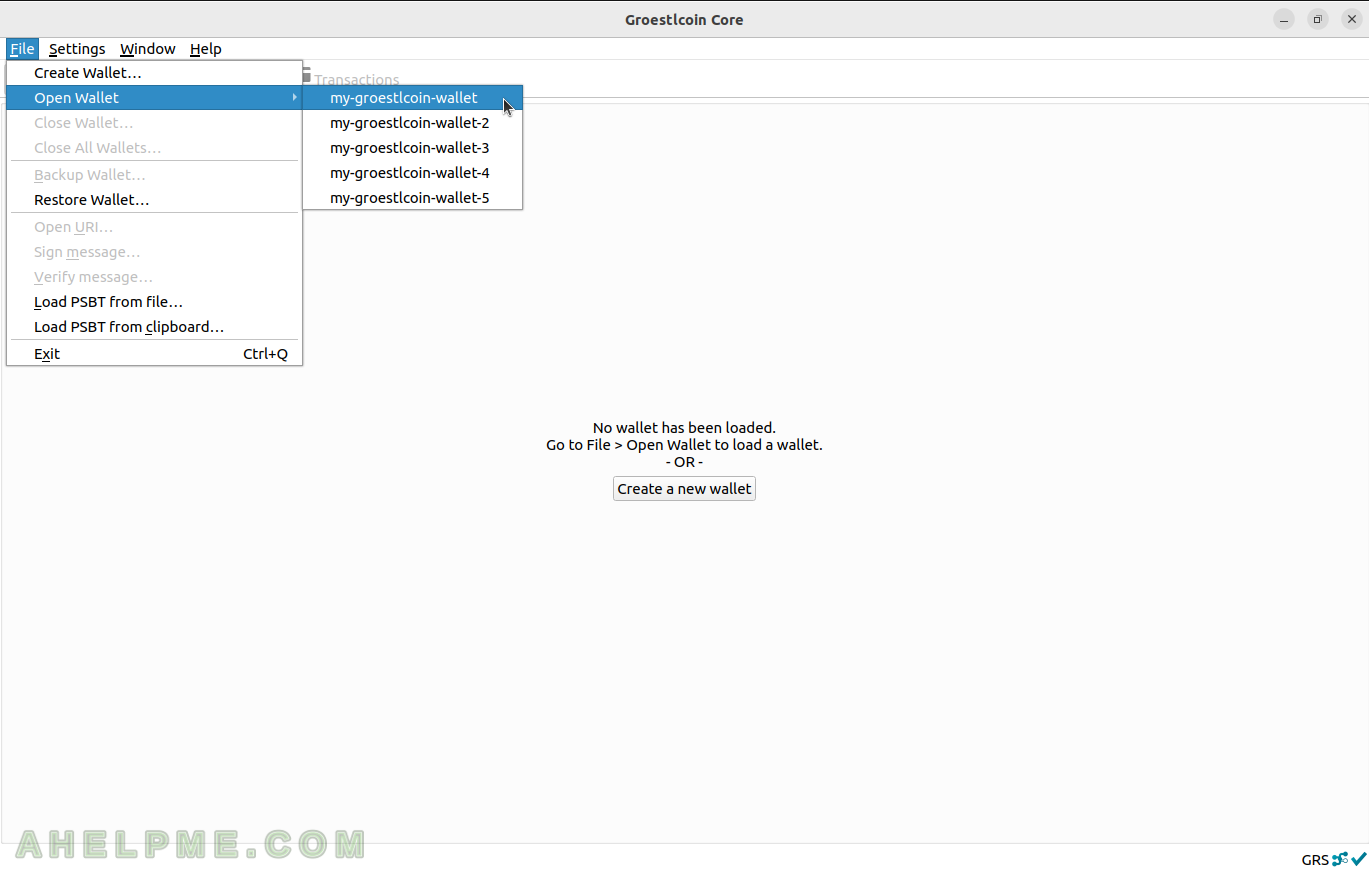
SCREENSHOT 12) The wallet overview shows the balance – available and pending (i.e. not confirmed) and the brief information for the recent transactions.
The wallet has one address labeled “myaddress1” with 10 GRS in it.
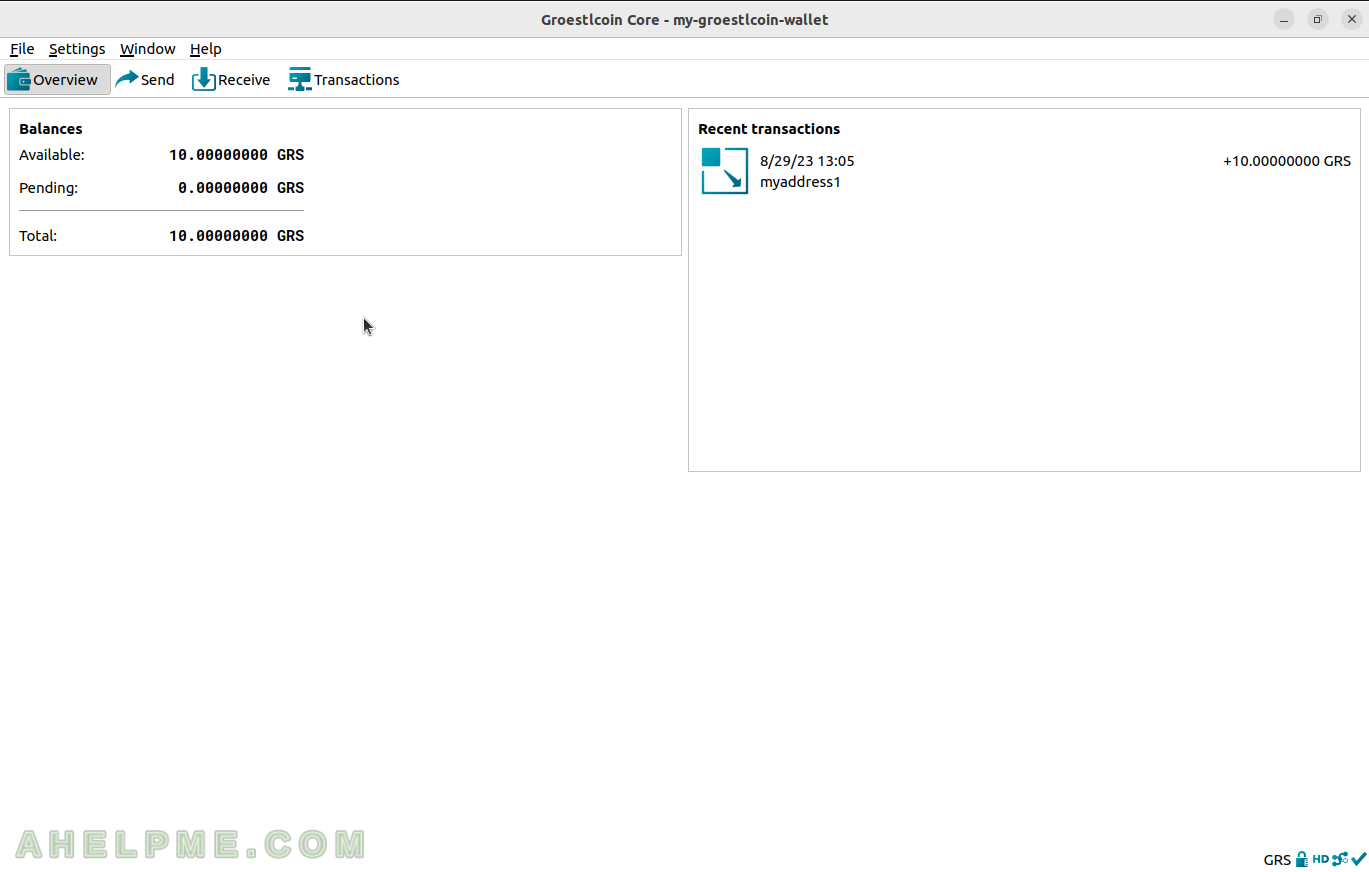
SCREENSHOT 13) Click on the Send button to send Groestlcoins away.
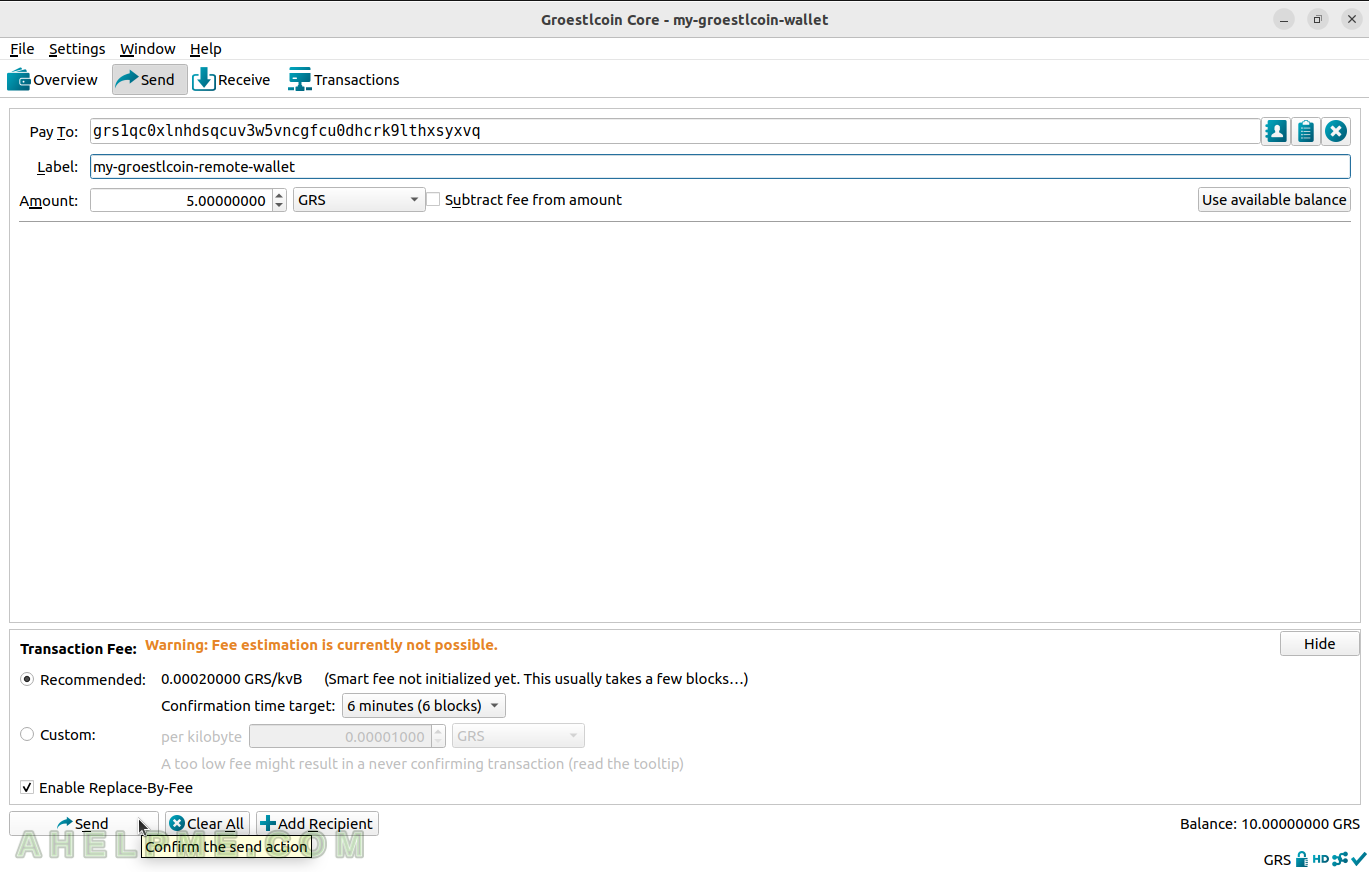
SCREENSHOT 14) Fill the “Pay to” address with a Groestlcoin address, label the address with some name, fill in the amount GRS to be sent, and click on “Send”.
The receiving address will receive exactly 5 GRS, and the fee will be paid from the sender, i.e. it will be deducted from the 10 GRS of this wallet.
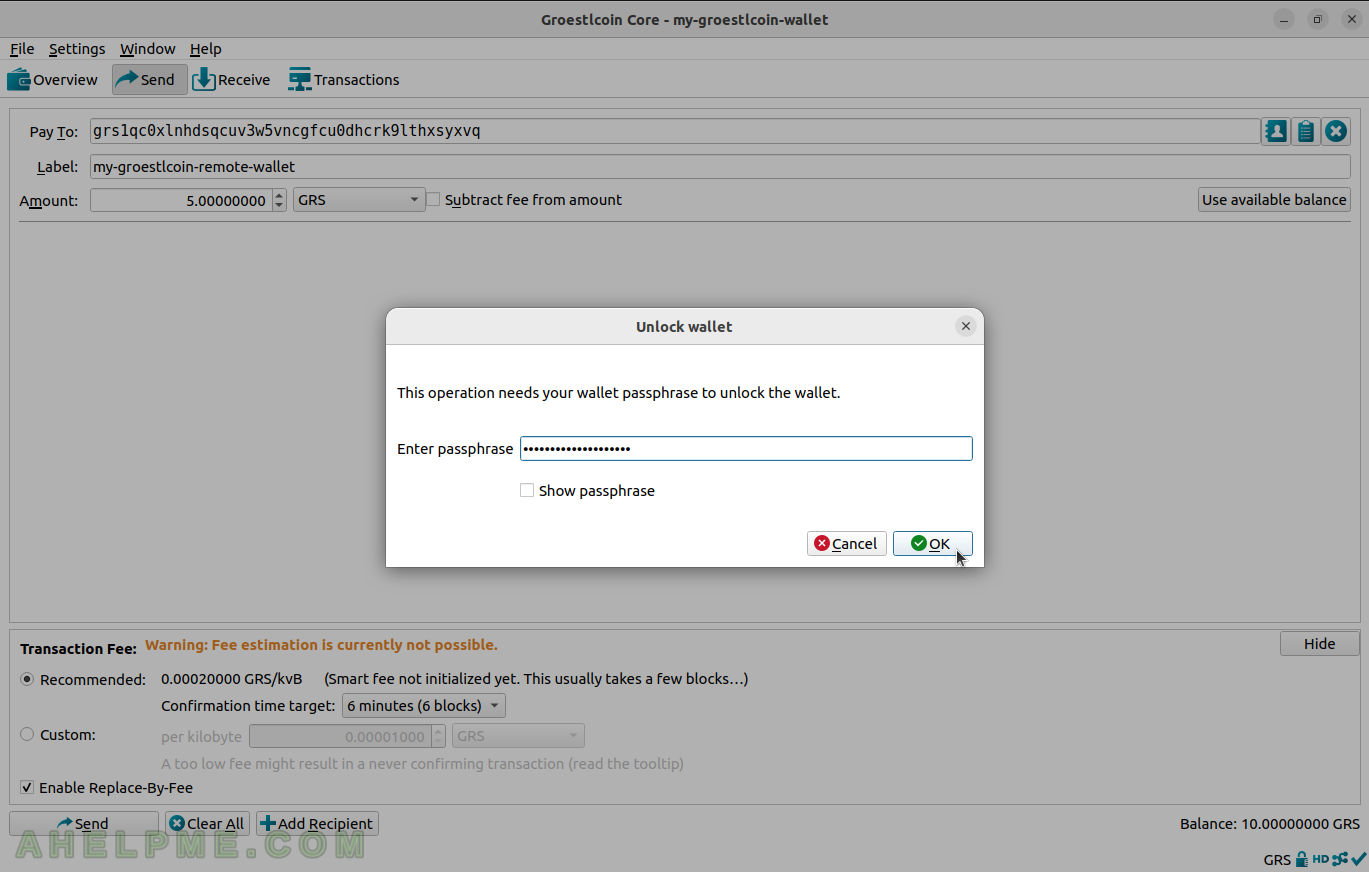
SCREENSHOT 15) The wallet is encrypted, so the password must be entered before continuing with the transaction.
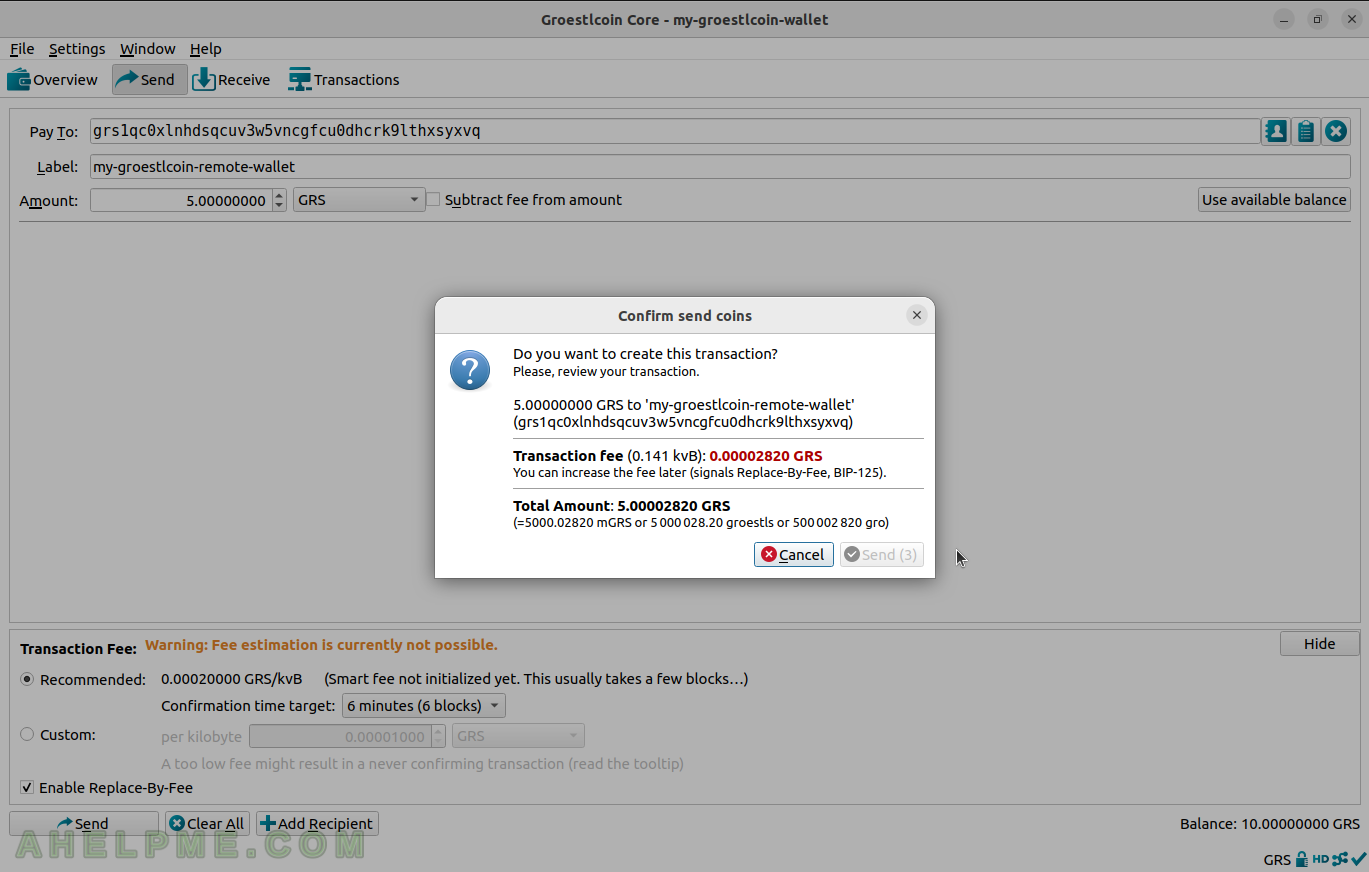
SCREENSHOT 16) Confirm the sending of the coins to the shown address and the fee of the transaction.
There is a 3-second delay before the “Send” button becomes enabled, which ensures the sender reads the confirmation.
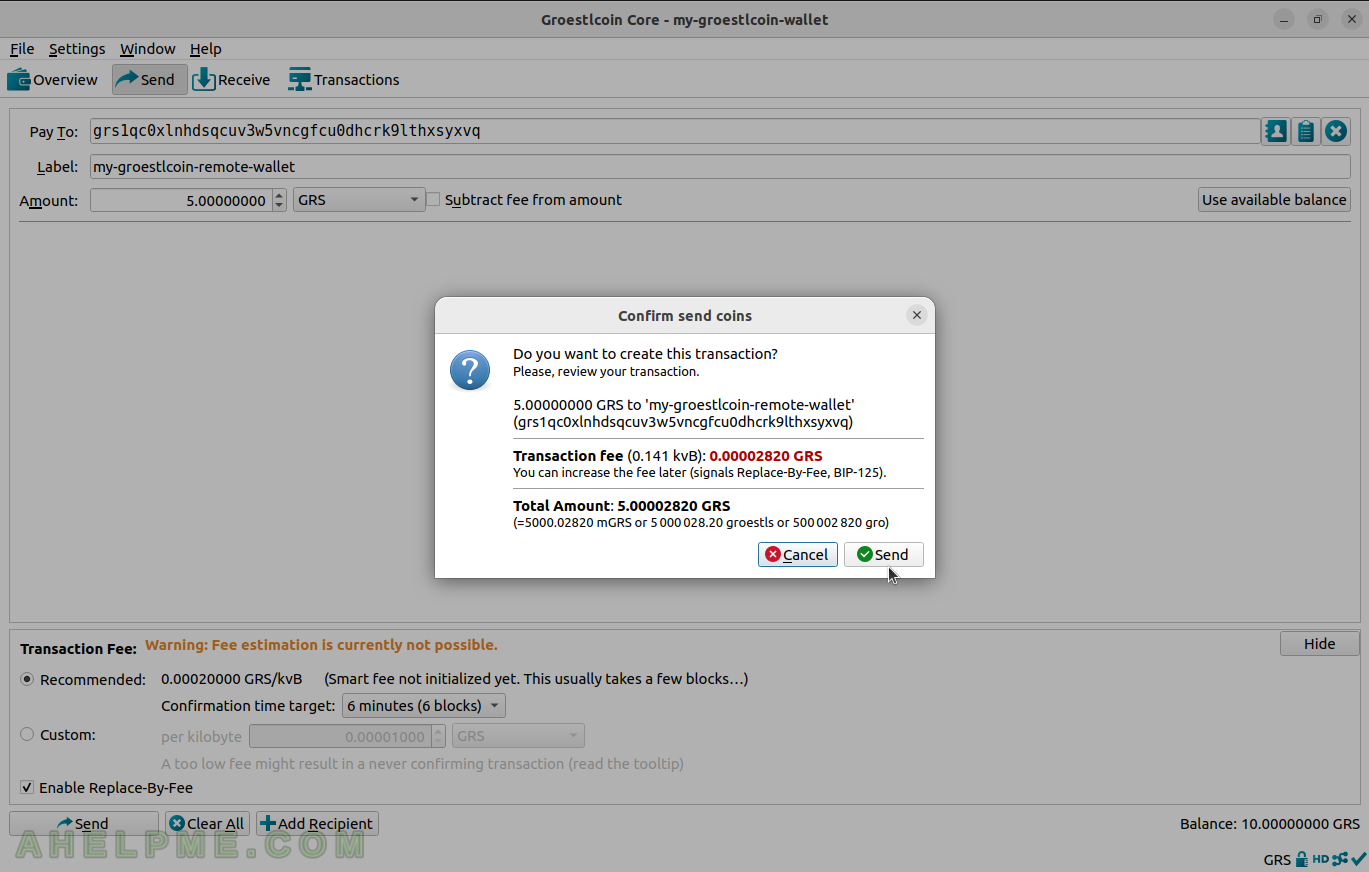
SCREENSHOT 17) The “Send” button becomes enabled after 3 seconds.
Click on “Send” to send the GRS amount to the shown address. Be careful, this operation is irreversible.
SCREENSHOT 18) There is a Ubuntu notification from the Groestlcoin Core application for a “Sent transaction”.
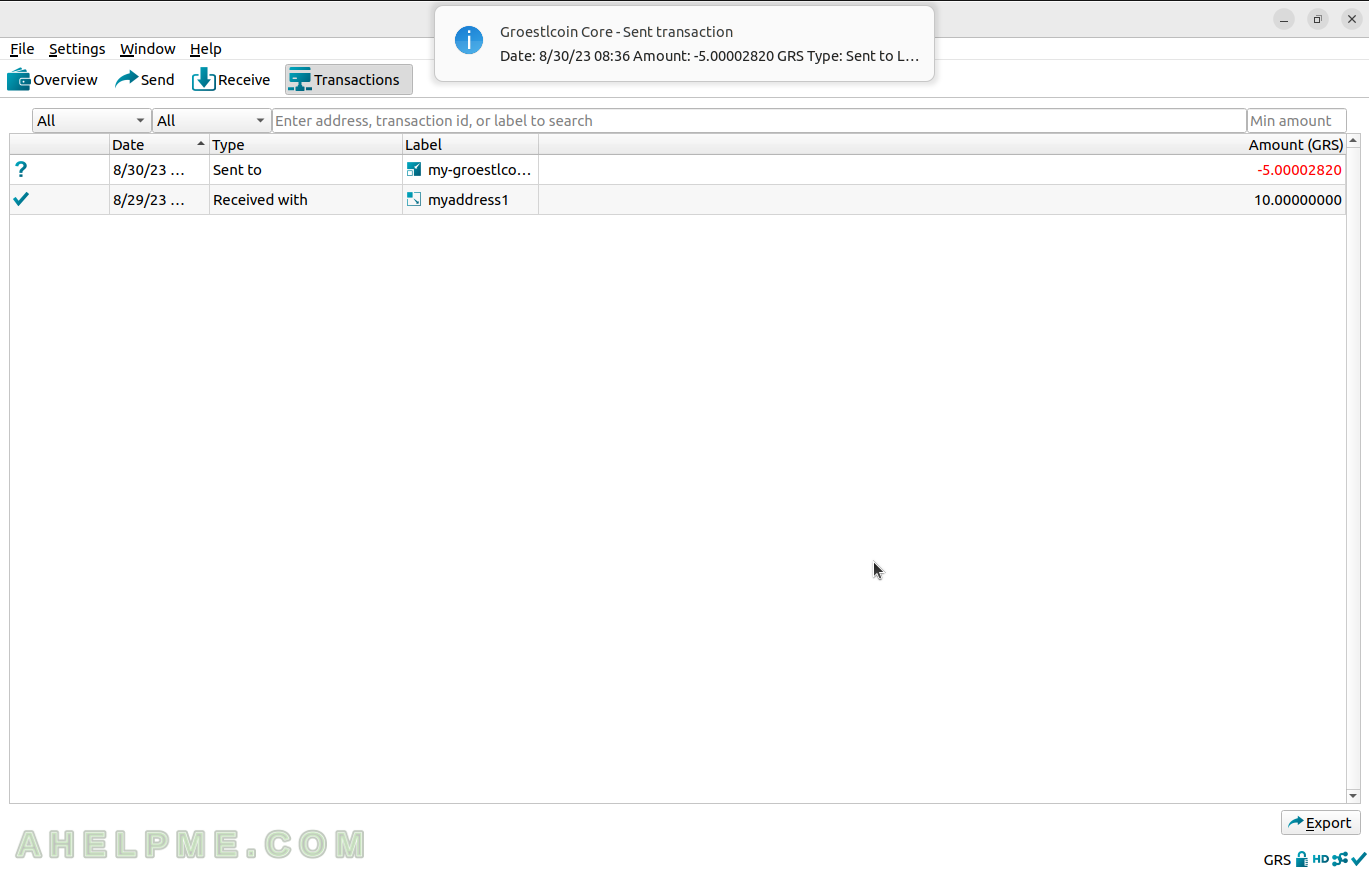
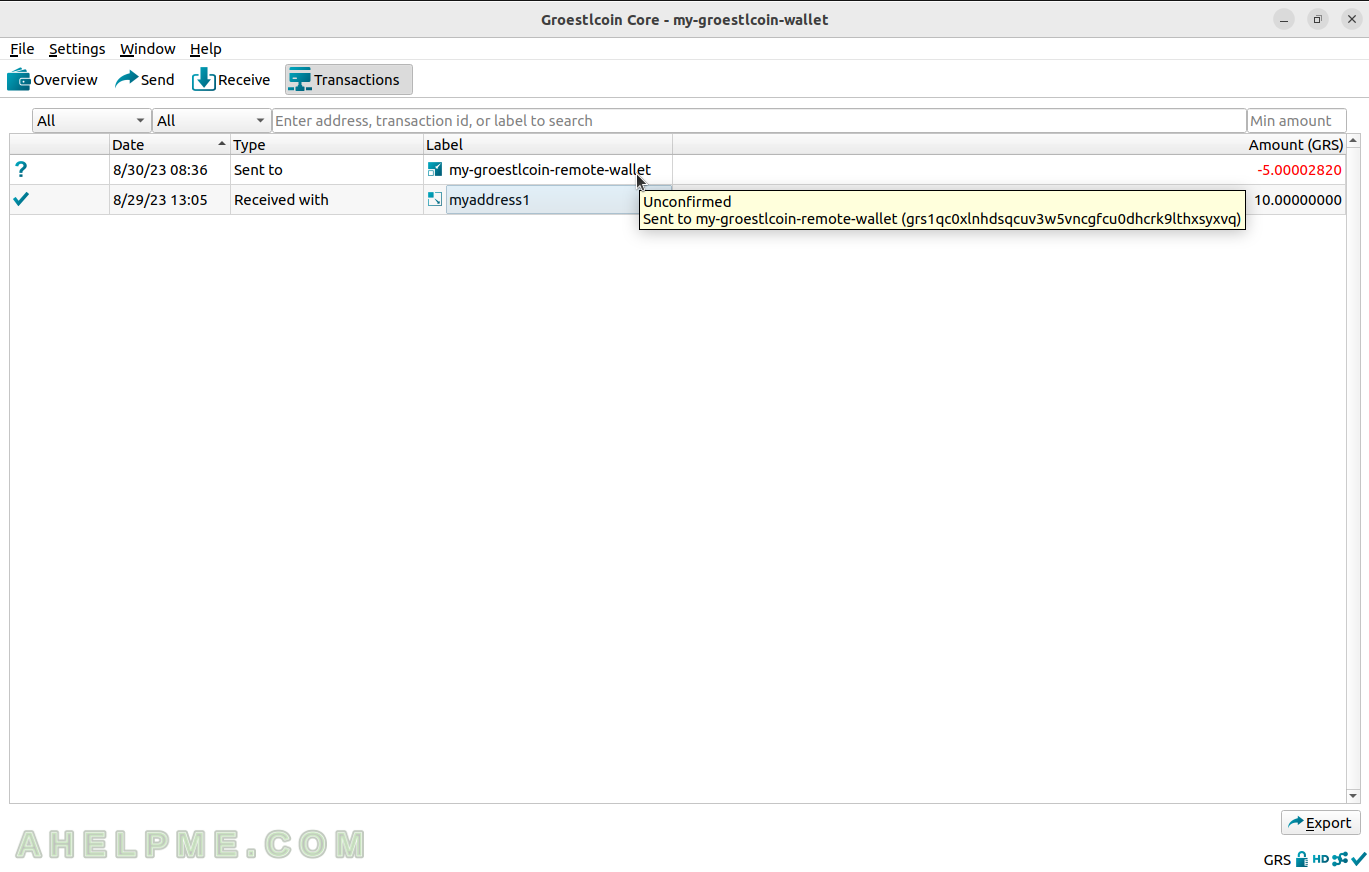
SCREENSHOT 19) The transaction immediately appears in the Transactions window and hovering over it the hint shows it is still “Unconfirmed”.
“Unconfirmed” means it is not in any block in the network.
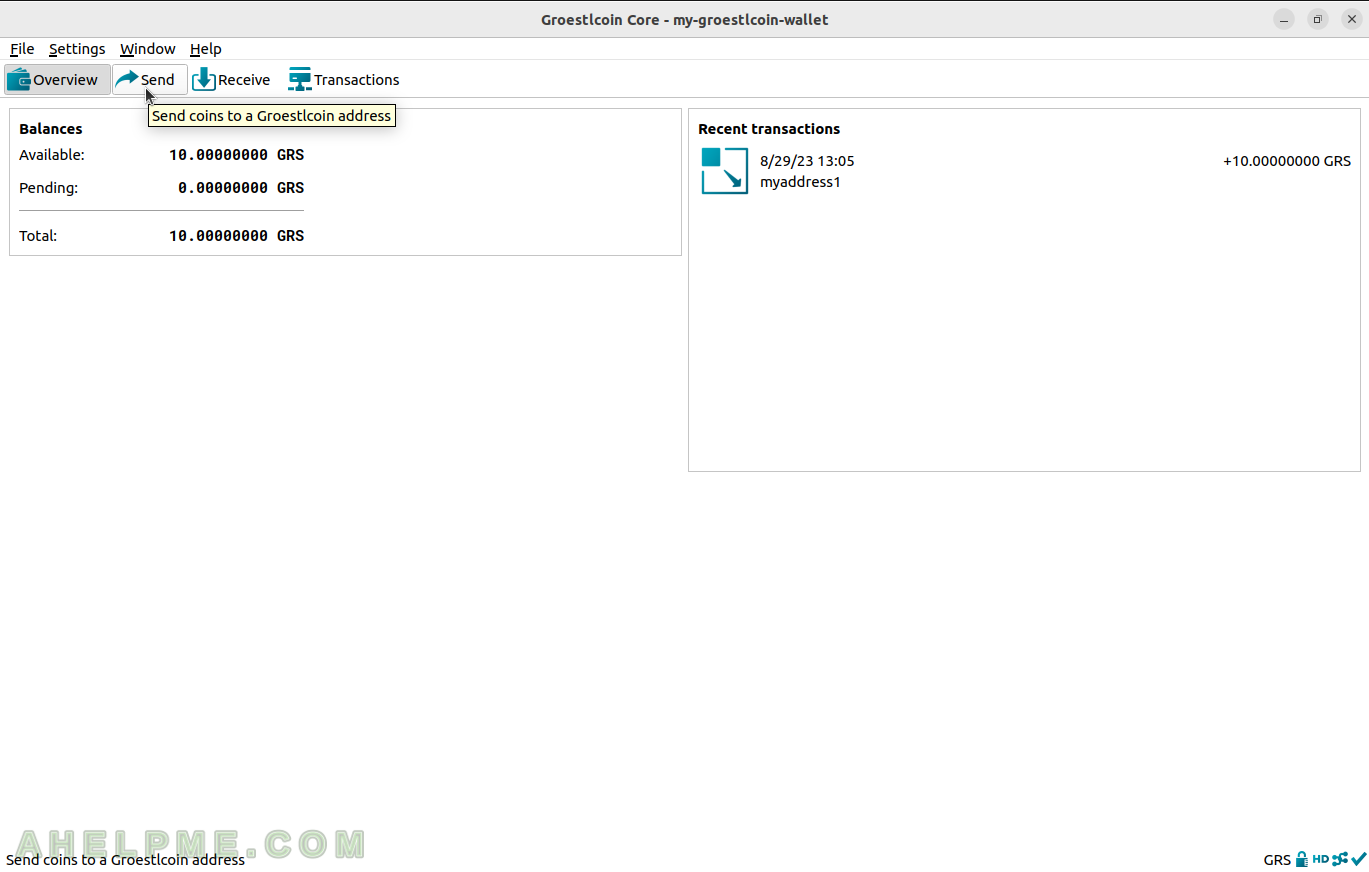
SCREENSHOT 20) The Overview window shows the unconfirmed transaction.
All sent transactions are in red. The “[]” around the amount of the transaction means it is still unconfirmed.
