When using Elasticsearch with a Kibana instance, the user can take advantage of the Kibana web interface to test or query data from the Elasticsearch indexes really easy and fast with the REST APIs. Developing, testing or experimenting is easy in the Kibana Dev tools Console, where indexes could be created, deleted, populated and many more without the need of anything except a modern browser. The Elasticsearch REST API is here – https://www.elastic.co/guide/en/elasticsearch/reference/current/indices-create-index.html, which points always to the current (latest) version of the Elasticseach version and the versions may be changed, for example, here is the link for the 7.17 branch. Using the Dev Tools Console is simpler even than the curl from the command-line, because the user does not need to add additional (curl or not) arguments and parameters for authentication, headers, metadata for data typing and so on. Just type the API commands and add data if they need. In fact, in the Elasticsearch site most examples use the REST API, so it is just as easy as copy and past in the console text area.
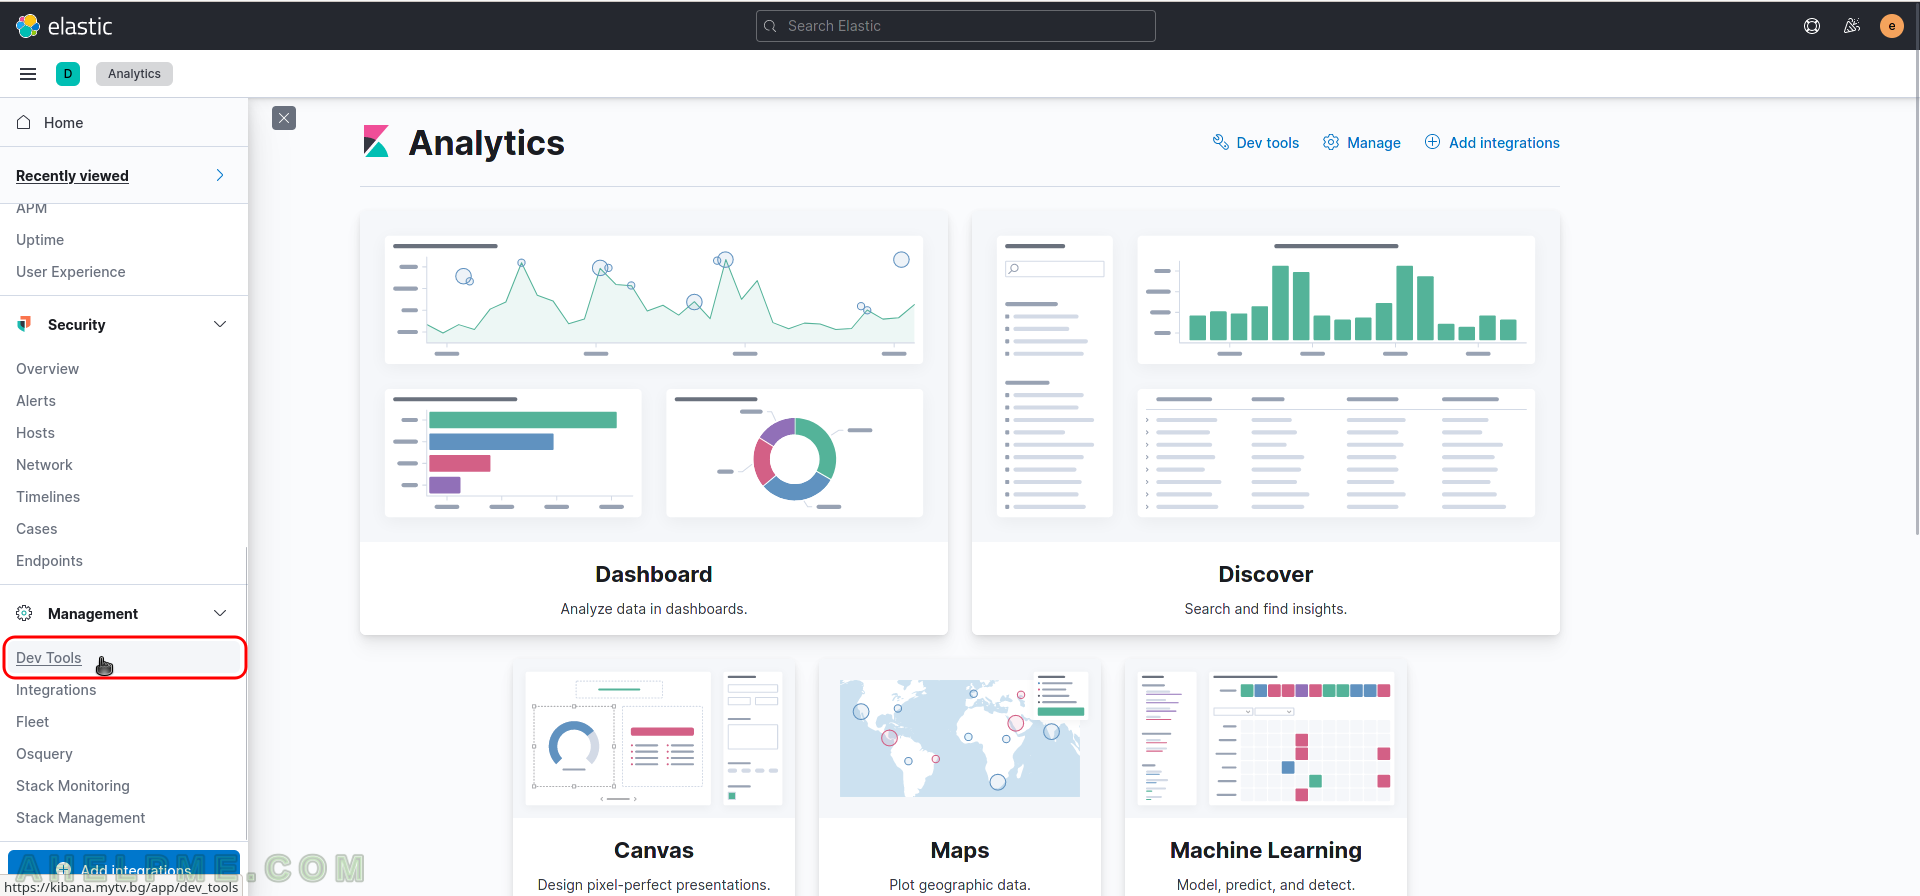
SCREENSHOT 1) Log in the Kibana instance and then navigate to the Dev tools on the left menu and then choose Console.

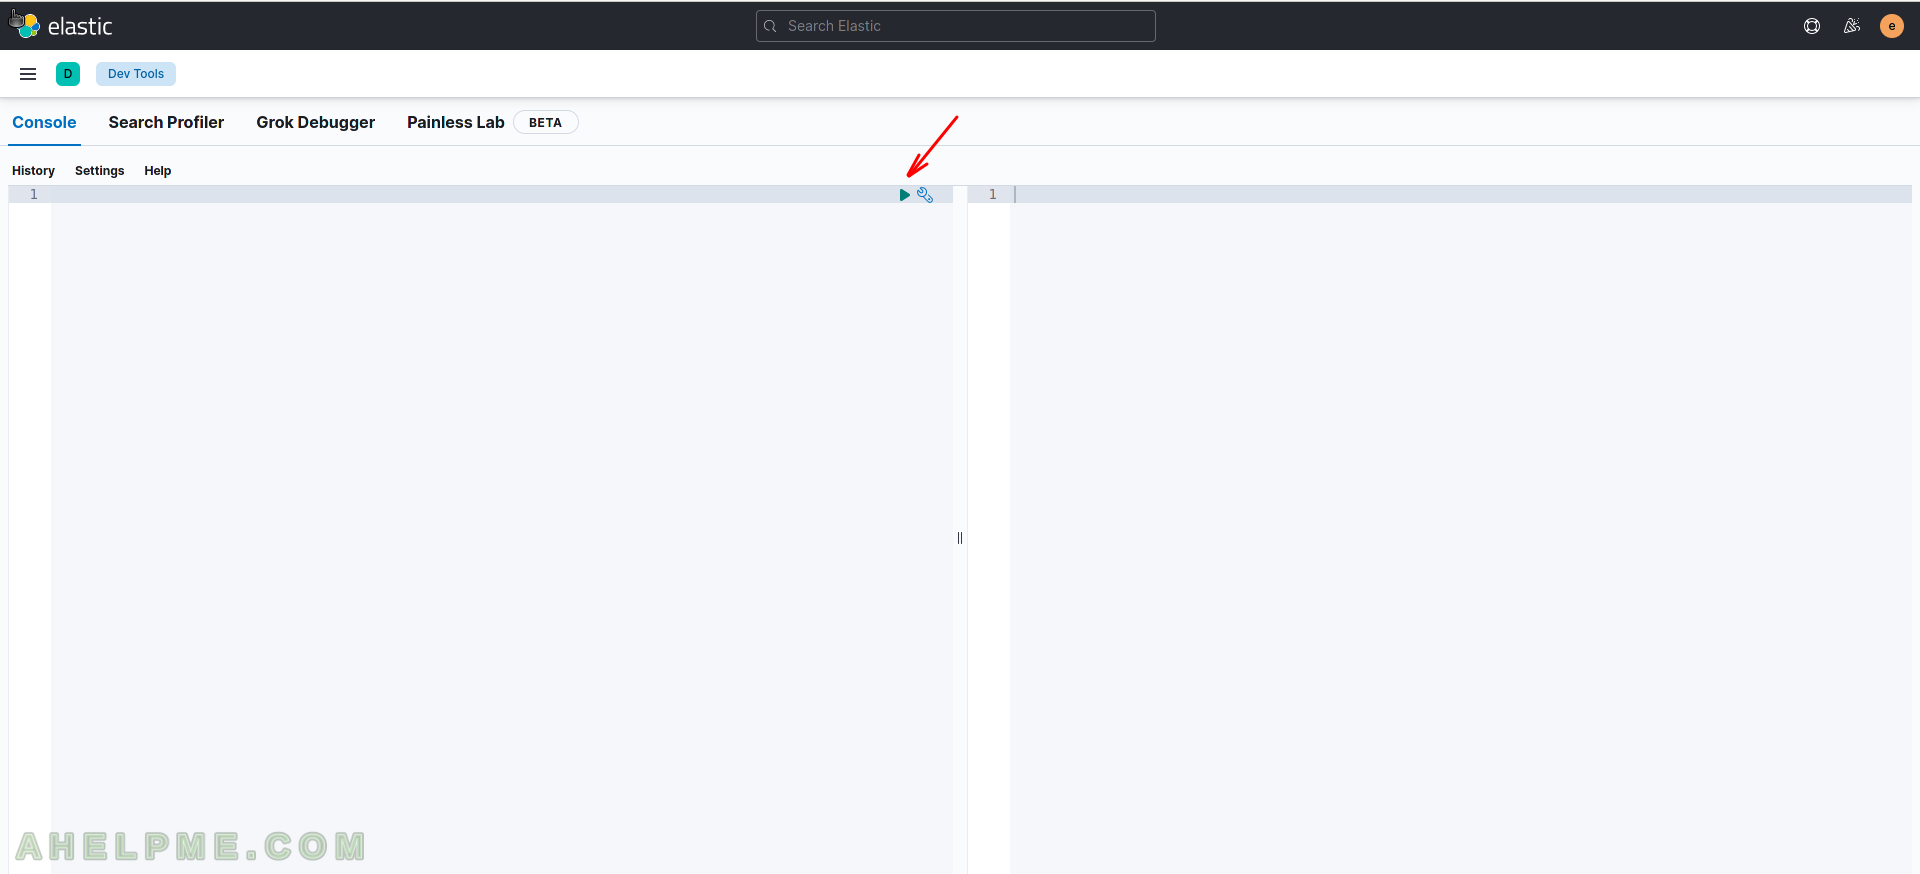
SCREENSHOT 2) The console shows the last state, which in this case is empty, because it is opened for the first time.
Write the REST API in the left and execute by click over the play button and expect the output in JSON format in the right.

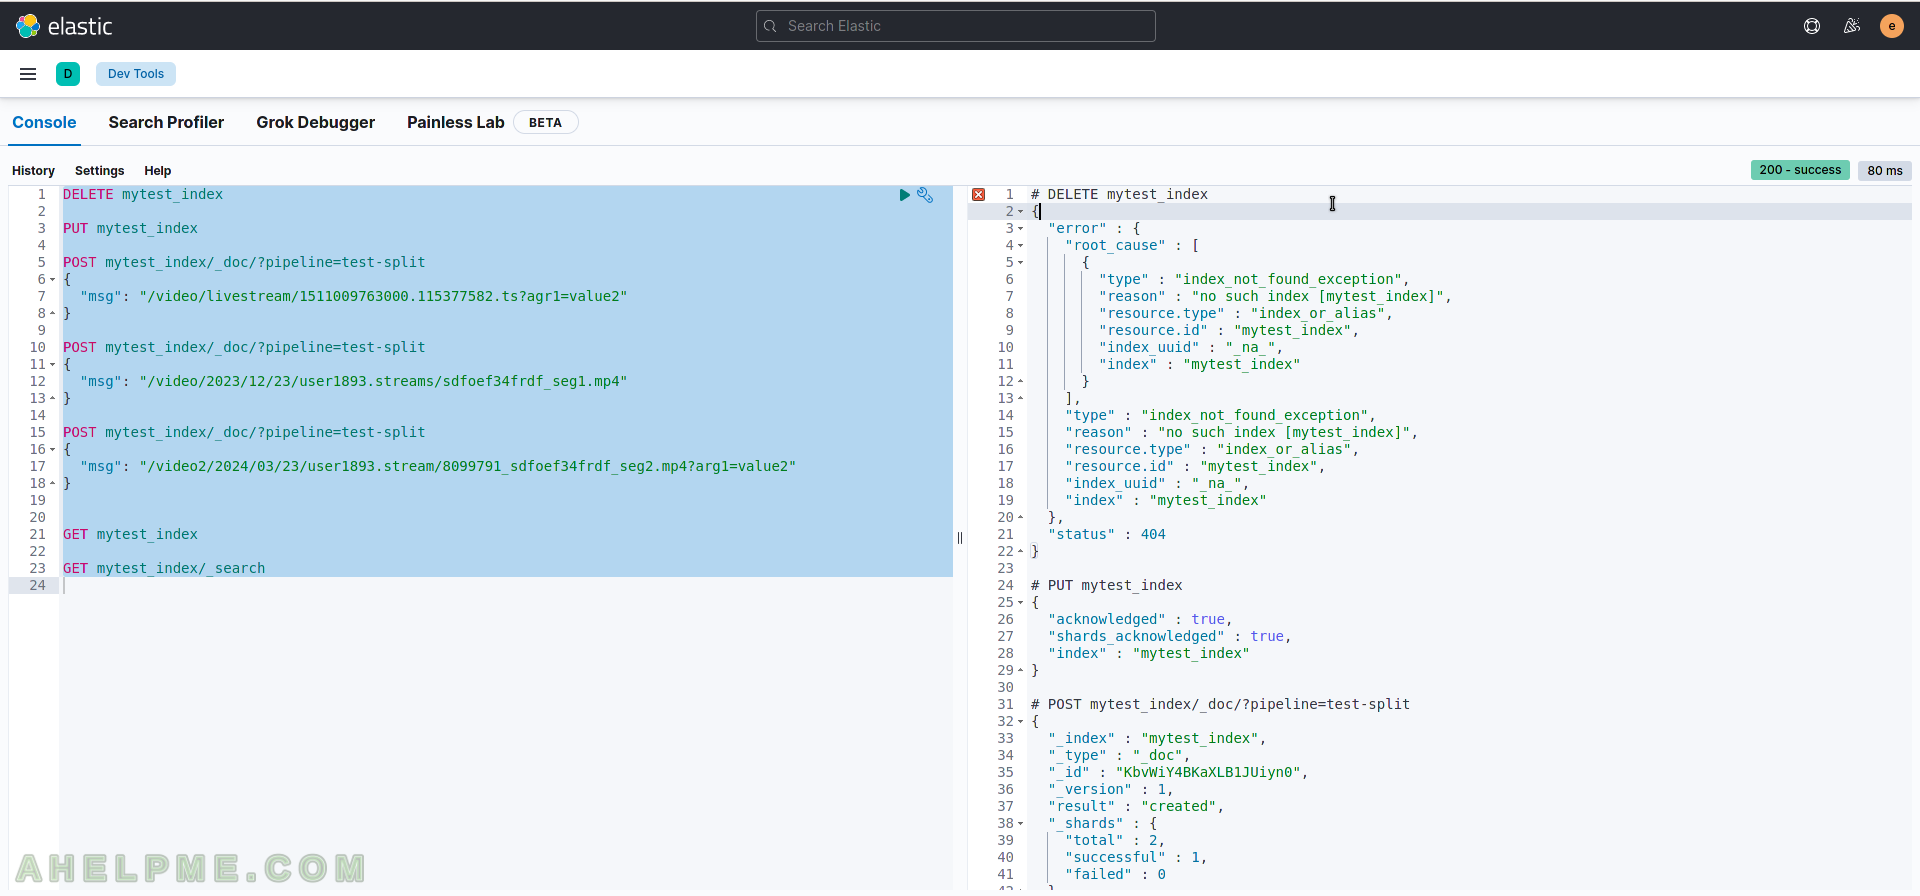
SCREENSHOT 3) Write some Elasticseach APIs.
Write some Elasticseach APIs. The index name is “mytest_index“, so when testing a new ingest-pipeline often start with a new or empty index, so use first DELETE, then create the index with PUT commands. Then put some data using using the ingest-pipeline (this pipeline is created before entering the Console in the section Ingest -> Ingest Pipelines). Call the pipline with argument “?pipeline=test-split” using POST API call (test-split is the name of the ingest-pipline).

SCREENSHOT 4) Select all the code with Ctrl+A and then click on the play button to execute the code.

Here is the code from the console:
DELETE mytest_index

PUT mytest_index

POST mytest_index/_doc/?pipeline=test-split
{
  "msg": "/video/livestream/1511009763000.115377582.ts?agr1=value2"
}

POST mytest_index/_doc/?pipeline=test-split
{
  "msg": "/video/2023/12/23/user1893.streams/sdfoef34frdf_seg1.mp4"
}

POST mytest_index/_doc/?pipeline=test-split
{
  "msg": "/video2/2024/03/23/user1893.stream/8099791_sdfoef34frdf_seg2.mp4?arg1=value2"
}


GET mytest_index

GET mytest_index/_search
Here is the output:
# DELETE mytest_index
{
  "error" : {
    "root_cause" : [
      {
        "type" : "index_not_found_exception",
        "reason" : "no such index [mytest_index]",
        "resource.type" : "index_or_alias",
        "resource.id" : "mytest_index",
        "index_uuid" : "_na_",
        "index" : "mytest_index"
      }
    ],
    "type" : "index_not_found_exception",
    "reason" : "no such index [mytest_index]",
    "resource.type" : "index_or_alias",
    "resource.id" : "mytest_index",
    "index_uuid" : "_na_",
    "index" : "mytest_index"
  },
  "status" : 404
}

# PUT mytest_index
{
  "acknowledged" : true,
  "shards_acknowledged" : true,
  "index" : "mytest_index"
}

# POST mytest_index/_doc/?pipeline=test-split
{
  "_index" : "mytest_index",
  "_type" : "_doc",
  "_id" : "KbvWiY4BKaXLB1JUiyn0",
  "_version" : 1,
  "result" : "created",
  "_shards" : {
    "total" : 2,
    "successful" : 1,
    "failed" : 0
  },
  "_seq_no" : 0,
  "_primary_term" : 1
}

# POST mytest_index/_doc/?pipeline=test-split
{
  "_index" : "mytest_index",
  "_type" : "_doc",
  "_id" : "ErvWiY4BKaXLB1JUjS0V",
  "_version" : 1,
  "result" : "created",
  "_shards" : {
    "total" : 2,
    "successful" : 1,
    "failed" : 0
  },
  "_seq_no" : 1,
  "_primary_term" : 1
}

# POST mytest_index/_doc/?pipeline=test-split
{
  "_index" : "mytest_index",
  "_type" : "_doc",
  "_id" : "E7vWiY4BKaXLB1JUjS16",
  "_version" : 1,
  "result" : "created",
  "_shards" : {
    "total" : 2,
    "successful" : 1,
    "failed" : 0
  },
  "_seq_no" : 2,
  "_primary_term" : 1
}

# GET mytest_index
{
  "mytest_index" : {
    "aliases" : { },
    "mappings" : {
      "properties" : {
        "msg" : {
          "type" : "text",
          "fields" : {
            "keyword" : {
              "type" : "keyword",
              "ignore_above" : 256
            }
          }
        },
        "url" : {
          "properties" : {
            "extension" : {
              "type" : "text",
              "fields" : {
                "keyword" : {
                  "type" : "keyword",
                  "ignore_above" : 256
                }
              }
            },
            "original" : {
              "type" : "text",
              "fields" : {
                "keyword" : {
                  "type" : "keyword",
                  "ignore_above" : 256
                }
              }
            },
            "path" : {
              "type" : "text",
              "fields" : {
                "keyword" : {
                  "type" : "keyword",
                  "ignore_above" : 256
                }
              }
            },
            "query" : {
              "type" : "text",
              "fields" : {
                "keyword" : {
                  "type" : "keyword",
                  "ignore_above" : 256
                }
              }
            }
          }
        }
      }
    },
    "settings" : {
      "index" : {
        "routing" : {
          "allocation" : {
            "include" : {
              "_tier_preference" : "data_content"
            }
          }
        },
        "number_of_shards" : "1",
        "provided_name" : "mytest_index",
        "creation_date" : "1711709521272",
        "number_of_replicas" : "1",
        "uuid" : "9R_k7ZYDSl-GV3sJdh-mfg",
        "version" : {
          "created" : "7170999"
        }
      }
    }
  }
}

# GET mytest_index/_search
{
  "took" : 1,
  "timed_out" : false,
  "_shards" : {
    "total" : 1,
    "successful" : 1,
    "skipped" : 0,
    "failed" : 0
  },
  "hits" : {
    "total" : {
      "value" : 0,
      "relation" : "eq"
    },
    "max_score" : null,
    "hits" : [ ]
  }
}
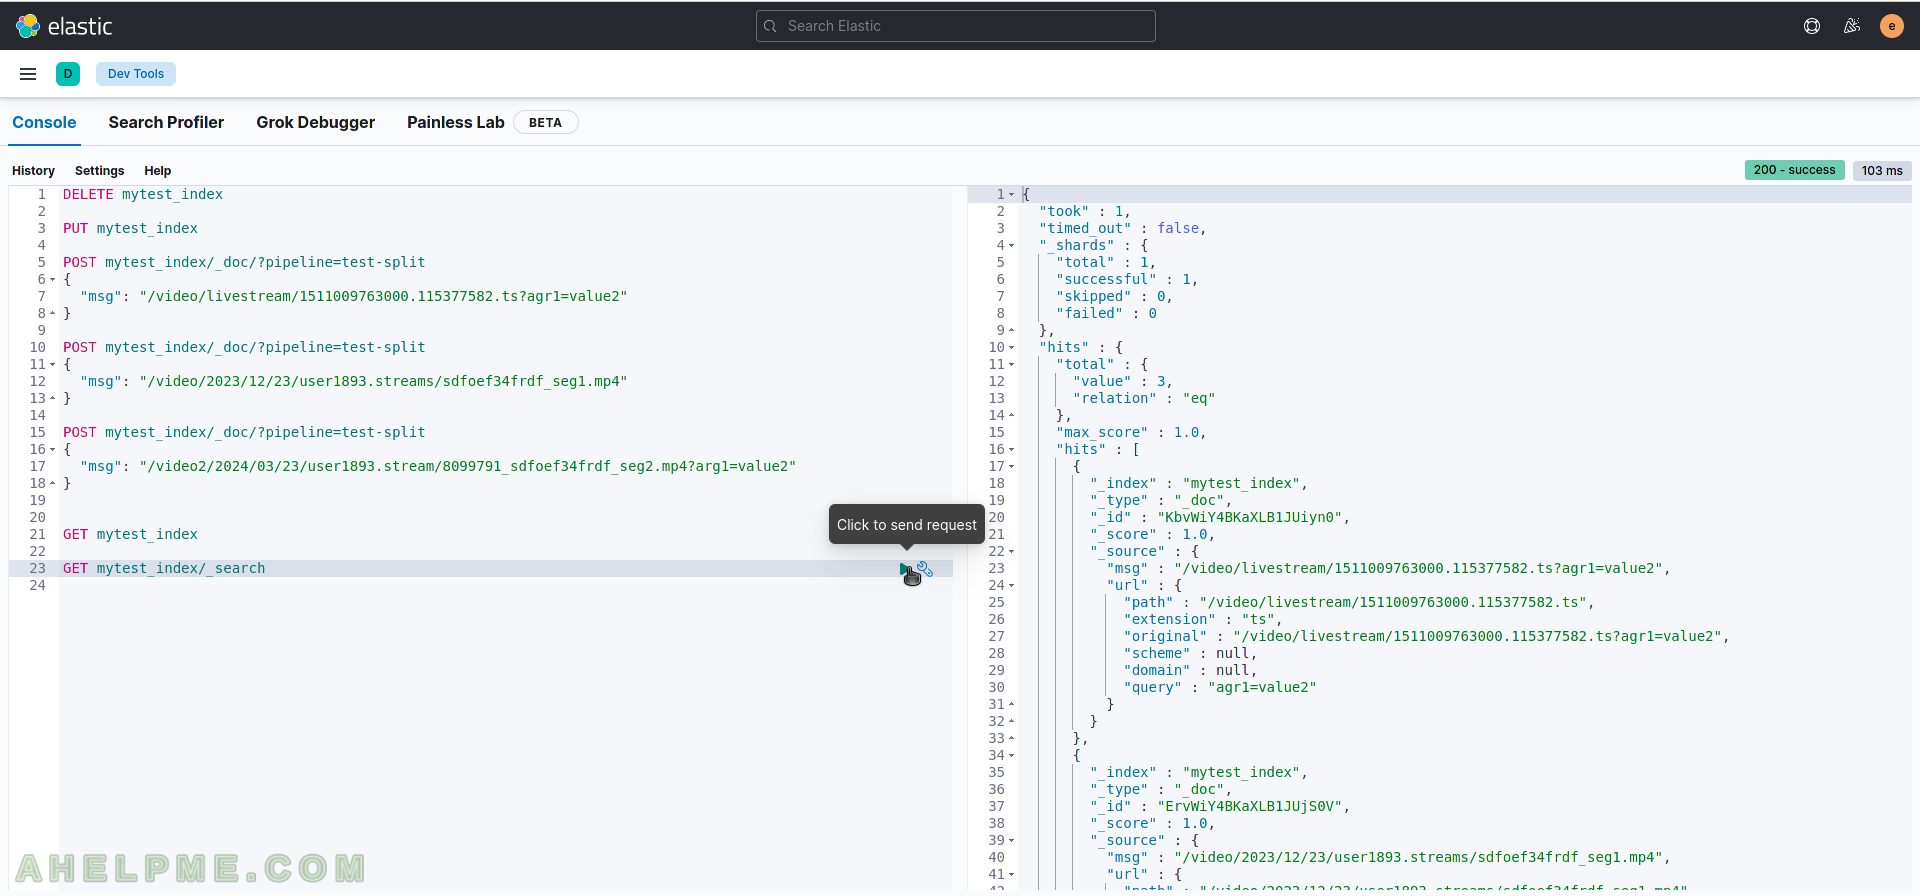
Each line can be executed separately by clicking only the play button on the current line. Note that, sometime when creating and populating data in an index, it may take some time to data be accessing from the index, so the search above (the last GET API call – “GET mytest_index/_search”). So it is a good idea to execute the search again manually.
SCREENSHOT 5) Executing only one line just the search API call. Just click on the line and then the play button.

Here is the whole result:
{
  "took" : 1,
  "timed_out" : false,
  "_shards" : {
    "total" : 1,
    "successful" : 1,
    "skipped" : 0,
    "failed" : 0
  },
  "hits" : {
    "total" : {
      "value" : 3,
      "relation" : "eq"
    },
    "max_score" : 1.0,
    "hits" : [
      {
        "_index" : "mytest_index",
        "_type" : "_doc",
        "_id" : "KbvWiY4BKaXLB1JUiyn0",
        "_score" : 1.0,
        "_source" : {
          "msg" : "/video/livestream/1511009763000.115377582.ts?agr1=value2",
          "url" : {
            "path" : "/video/livestream/1511009763000.115377582.ts",
            "extension" : "ts",
            "original" : "/video/livestream/1511009763000.115377582.ts?agr1=value2",
            "scheme" : null,
            "domain" : null,
            "query" : "agr1=value2"
          }
        }
      },
      {
        "_index" : "mytest_index",
        "_type" : "_doc",
        "_id" : "ErvWiY4BKaXLB1JUjS0V",
        "_score" : 1.0,
        "_source" : {
          "msg" : "/video/2023/12/23/user1893.streams/sdfoef34frdf_seg1.mp4",
          "url" : {
            "path" : "/video/2023/12/23/user1893.streams/sdfoef34frdf_seg1.mp4",
            "extension" : "mp4",
            "original" : "/video/2023/12/23/user1893.streams/sdfoef34frdf_seg1.mp4",
            "scheme" : null,
            "domain" : null
          }
        }
      },
      {
        "_index" : "mytest_index",
        "_type" : "_doc",
        "_id" : "E7vWiY4BKaXLB1JUjS16",
        "_score" : 1.0,
        "_source" : {
          "msg" : "/video2/2024/03/23/user1893.stream/8099791_sdfoef34frdf_seg2.mp4?arg1=value2",
          "url" : {
            "path" : "/video2/2024/03/23/user1893.stream/8099791_sdfoef34frdf_seg2.mp4",
            "extension" : "mp4",
            "original" : "/video2/2024/03/23/user1893.stream/8099791_sdfoef34frdf_seg2.mp4?arg1=value2",
            "scheme" : null,
            "domain" : null,
            "query" : "arg1=value2"
          }
        }
      }
    ]
  }
}
More on Kibana – Installing single node Elasticsearch 7.16 and Kibana 7.16 behind nginx web server under CentOS 8 and here.