Here is howto article for creating a RAID5 device in MegaRAID SAS-9361-4i with SSD caching. First and really important thing is to have the CacheCade ability to the controller, which should be purchased because it is a software add-on.
To have an SSD caching your virtual raid drive (probably hard disk drives) with a MegaRAID controller one setup is the following:
And it is advisable to have Cache Protection to protect your setup (it is extra protection to the battery kit – it is not the same) – LSI LSI00418 LSICVM02.
You can check also our AVAGO MegaRaid SAS 9361-4i with CacheCade and CacheVault BIOS configuration utilities review.
Here are the steps to create a RAID5 device with SSD caching using the BIOS Configuration Utility:
STEP 1) Supermicro device initialization
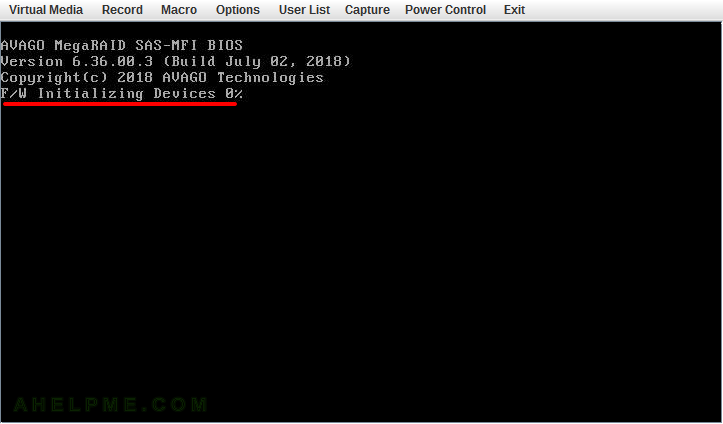
STEP 2) “F/W Initializing Devices 0%” – initialization of the controller and checking all connected hard disks.
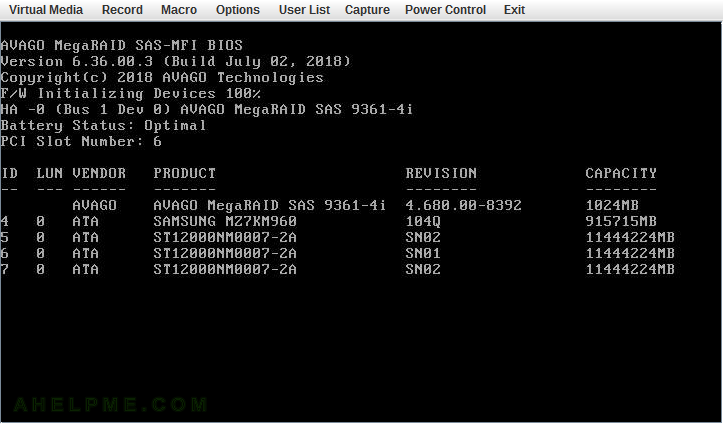
STEP 3) The devices are initialized and you can see how many are ready to use.
Next step is the logical devices initialization.
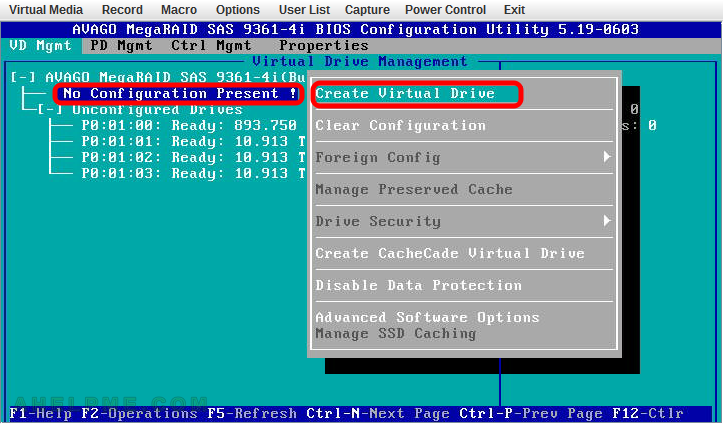
STEP 4) All hard drives and SSDs are ready for use and the controller found no virtual devices or any configuration.
A couple of seconds to press “CTRL+R” to enter run the MegaRAID Configuration Utility.

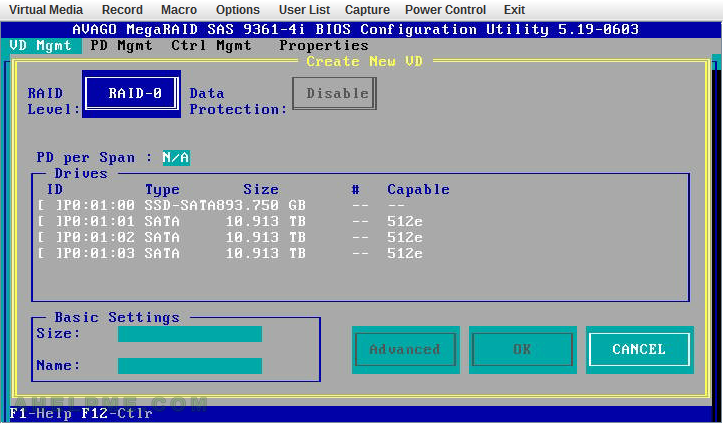
STEP 5) The main view of the AVAGO (LSI) MegaRAID Configuration Utility.
There is no Configuration including no foreign configuration. There are three hard disk drives and one SSD, which we are going to use for caching.

STEP 6) Go to the “No Configuration Present!” with the arrow keys and press “F2” to open the main context menu.
If you are on some other places “F2” might not show you this menu.
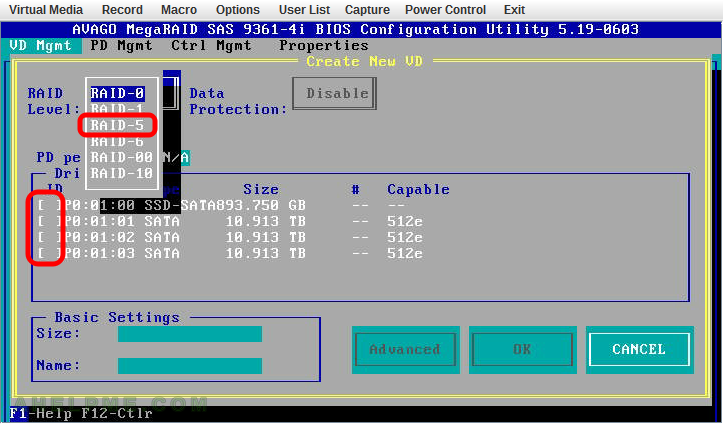
STEP 7) Select the RAID level of your virtual device and which drives it includes by checking the checkbox at the beginning of each hard drive line.
STEP 8) You can choose between 6 different RAID levels – RAID-0, RAID-1, RAID-5, RAID-6, RAID-00, RAID-10.
We select RAID-5 and the three SATA hard disk drives.
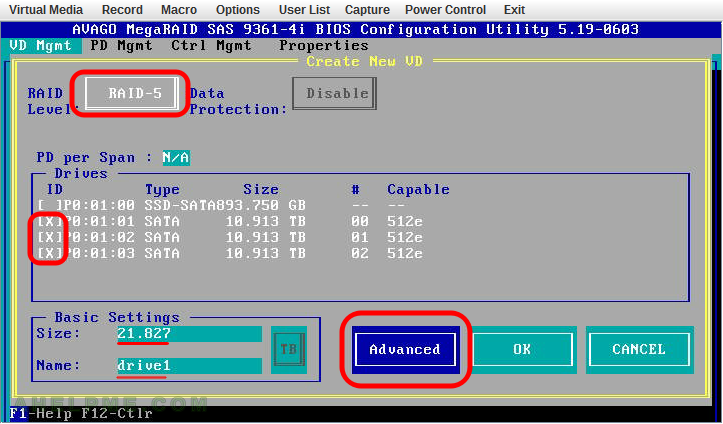
STEP 9) Select the RAID level of your virtual device and which drives it includes by checking the checkbox at the beginning of each hard drive line.
In basic settings you can set the size of the virtual device, the default value is the maximum available size (you can make two separate virtual devices with slightly different settings with the same disks by not using all the available space for your first virtual device). Look at the next step to see the configured screen for our RAID5 setup. Click on “Advanced” to configure more settings.
STEP 10) Set strip size to 1MB (the available options are 64KB, 128KB, 256KB, 512KB and 1MB) we are going to use it for media streaming so the maximum is the best.

One thought on “AVAGO MegaRAID SAS-9361-4i with CacheCade – create a new virtual drive RAID5 with SSD caching”