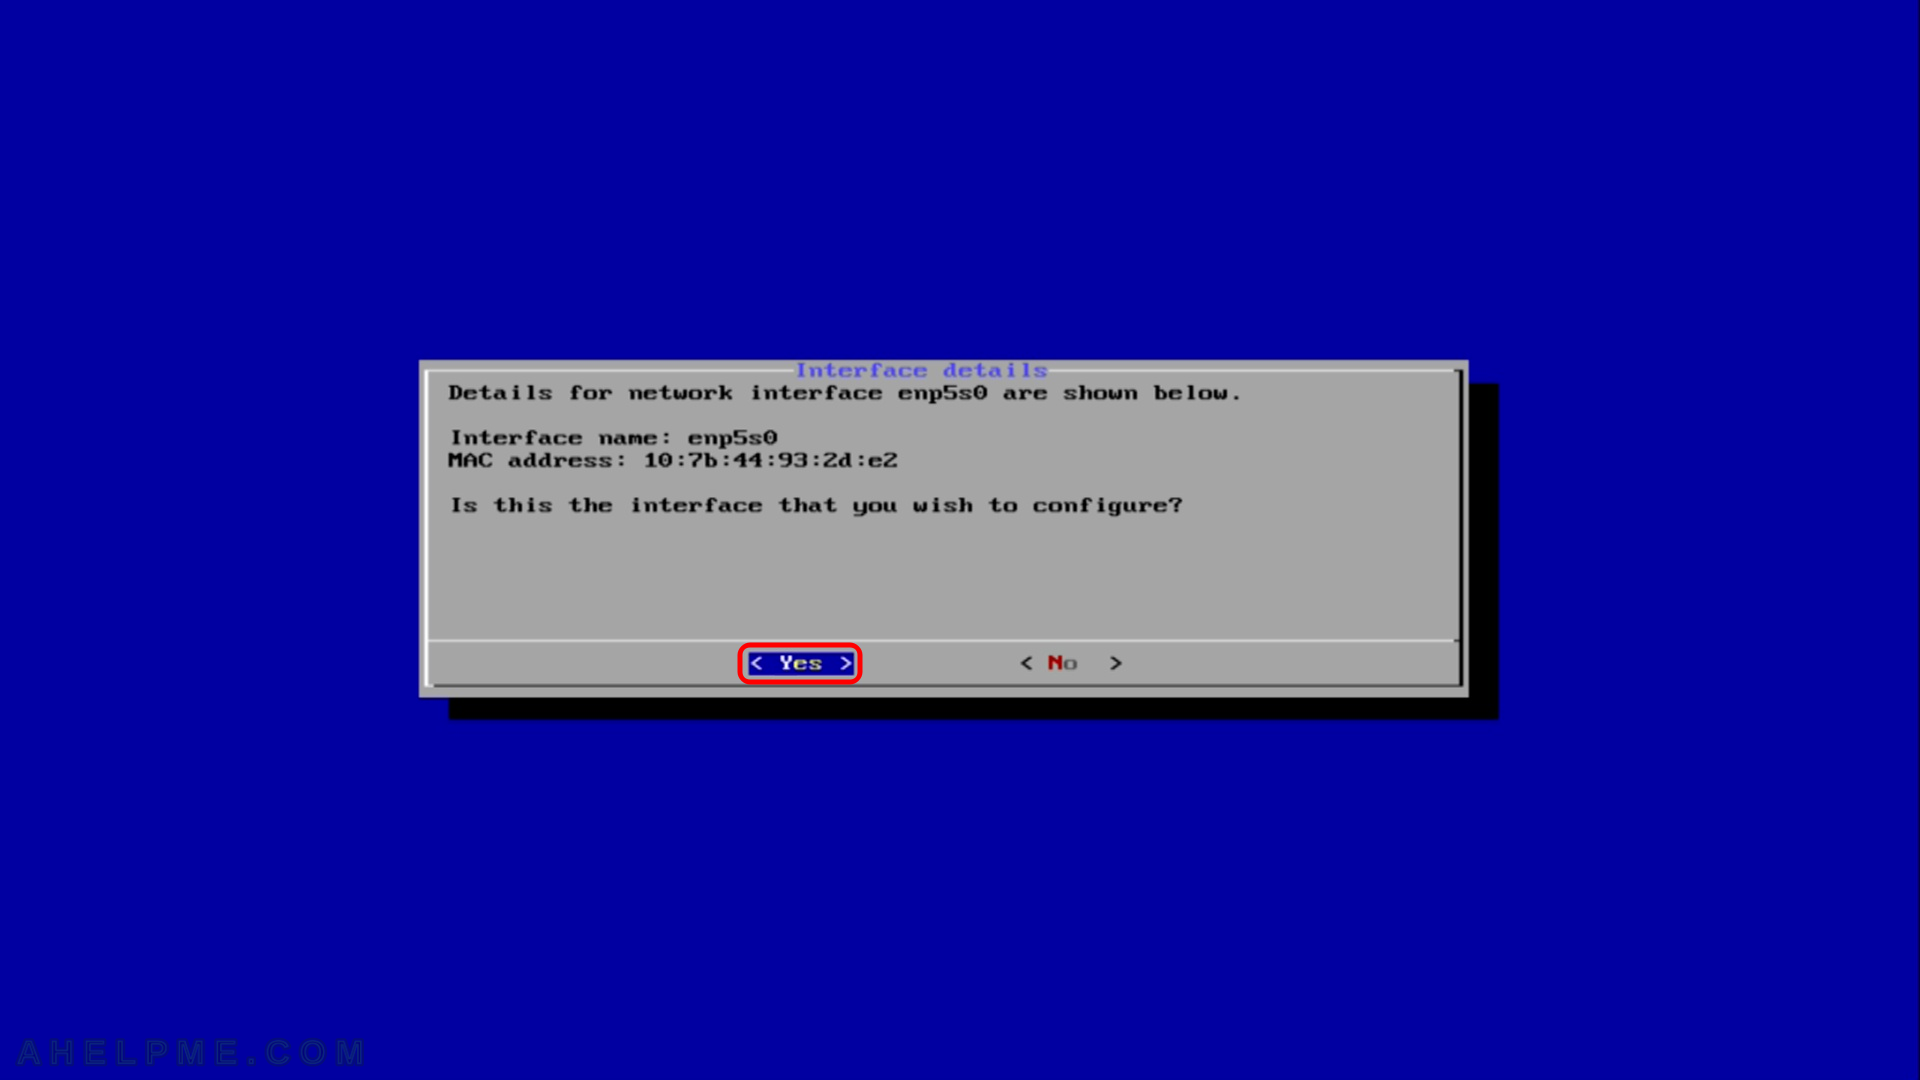
SCREENSHOT 11) Interface details – MAC and name of the network device you want to use. Click on “YES”.
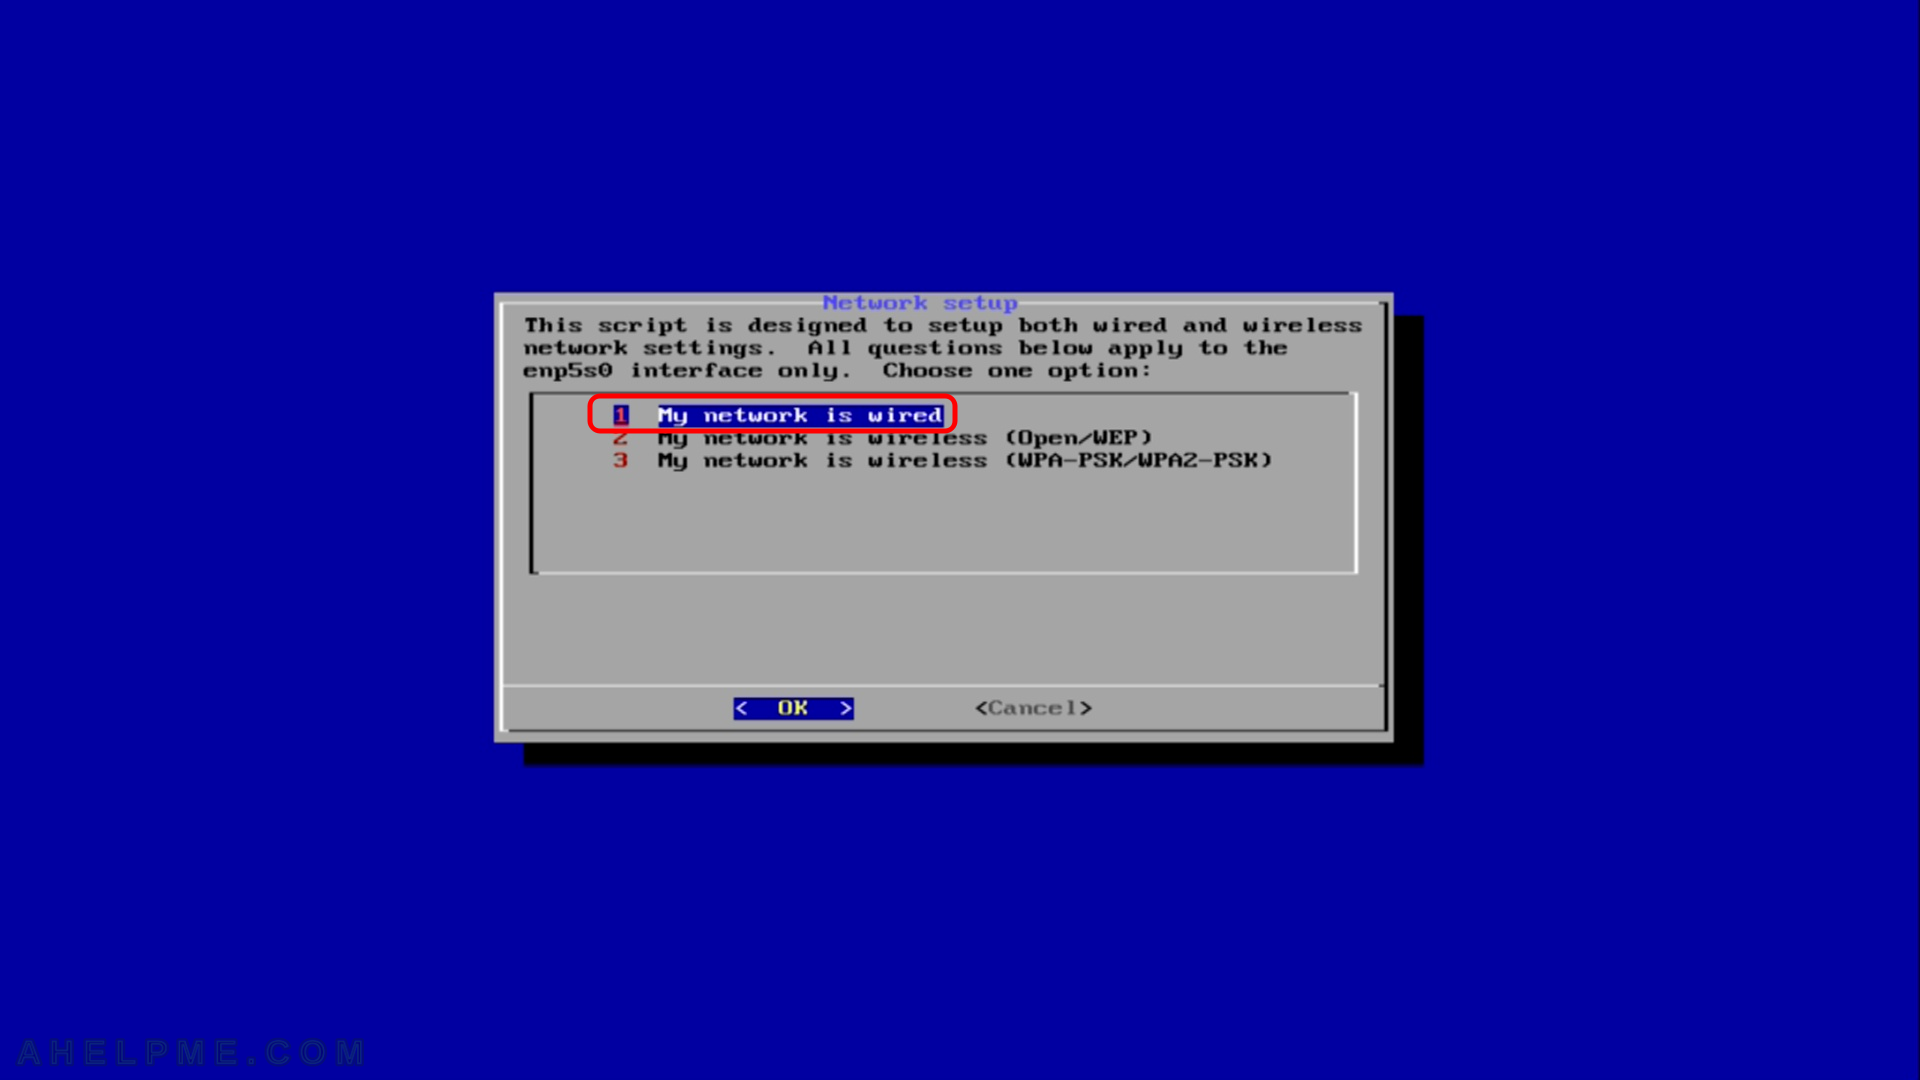
SCREENSHOT 12) Network setup
Choose the type of your network. For this installation we do not use our wifi, so we use our wired network.
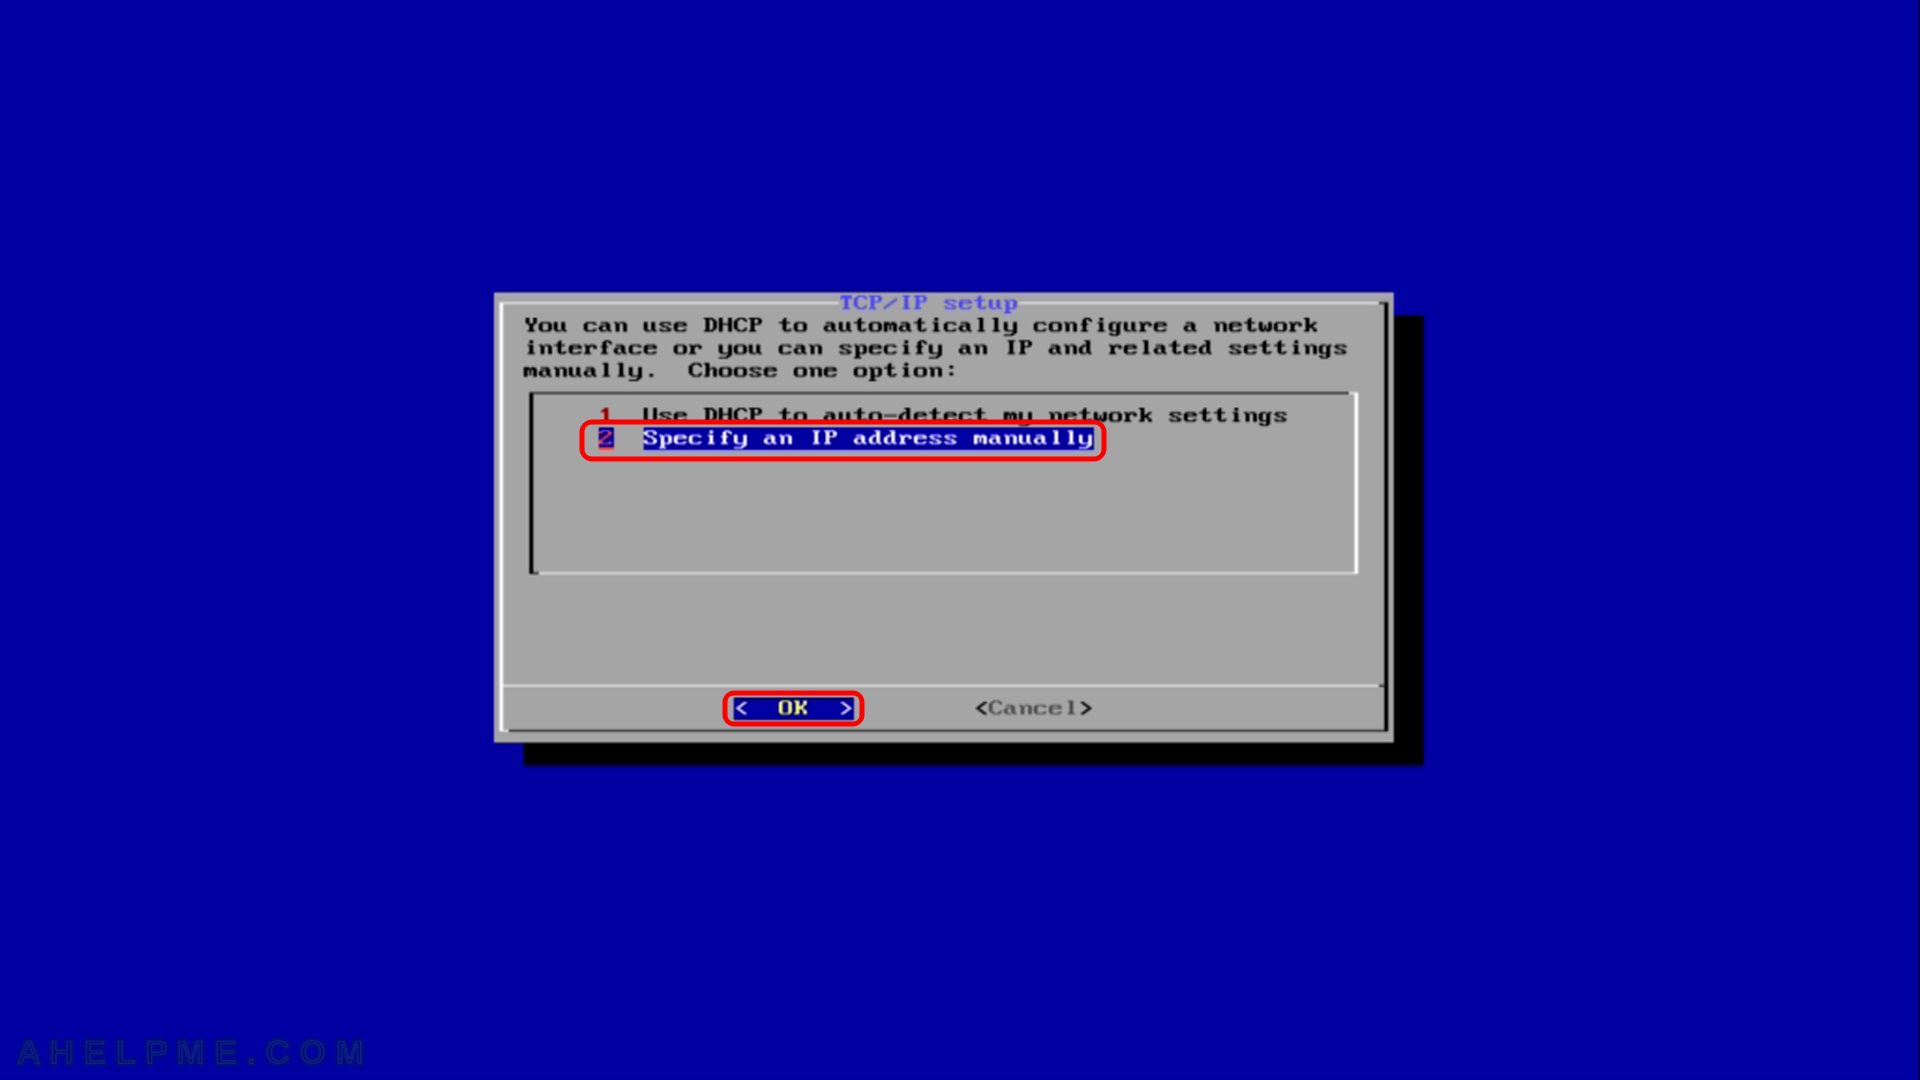
SCREENSHOT 13) TCP/IP Settings
Choose if between automatic and manual TCP/IP setup. Because if you have DHCP server in your network you’ll have an IP set during boot, so we decided here to show you a manual setup. Choose here “Specify an IP address manually” and then hit “OK”.
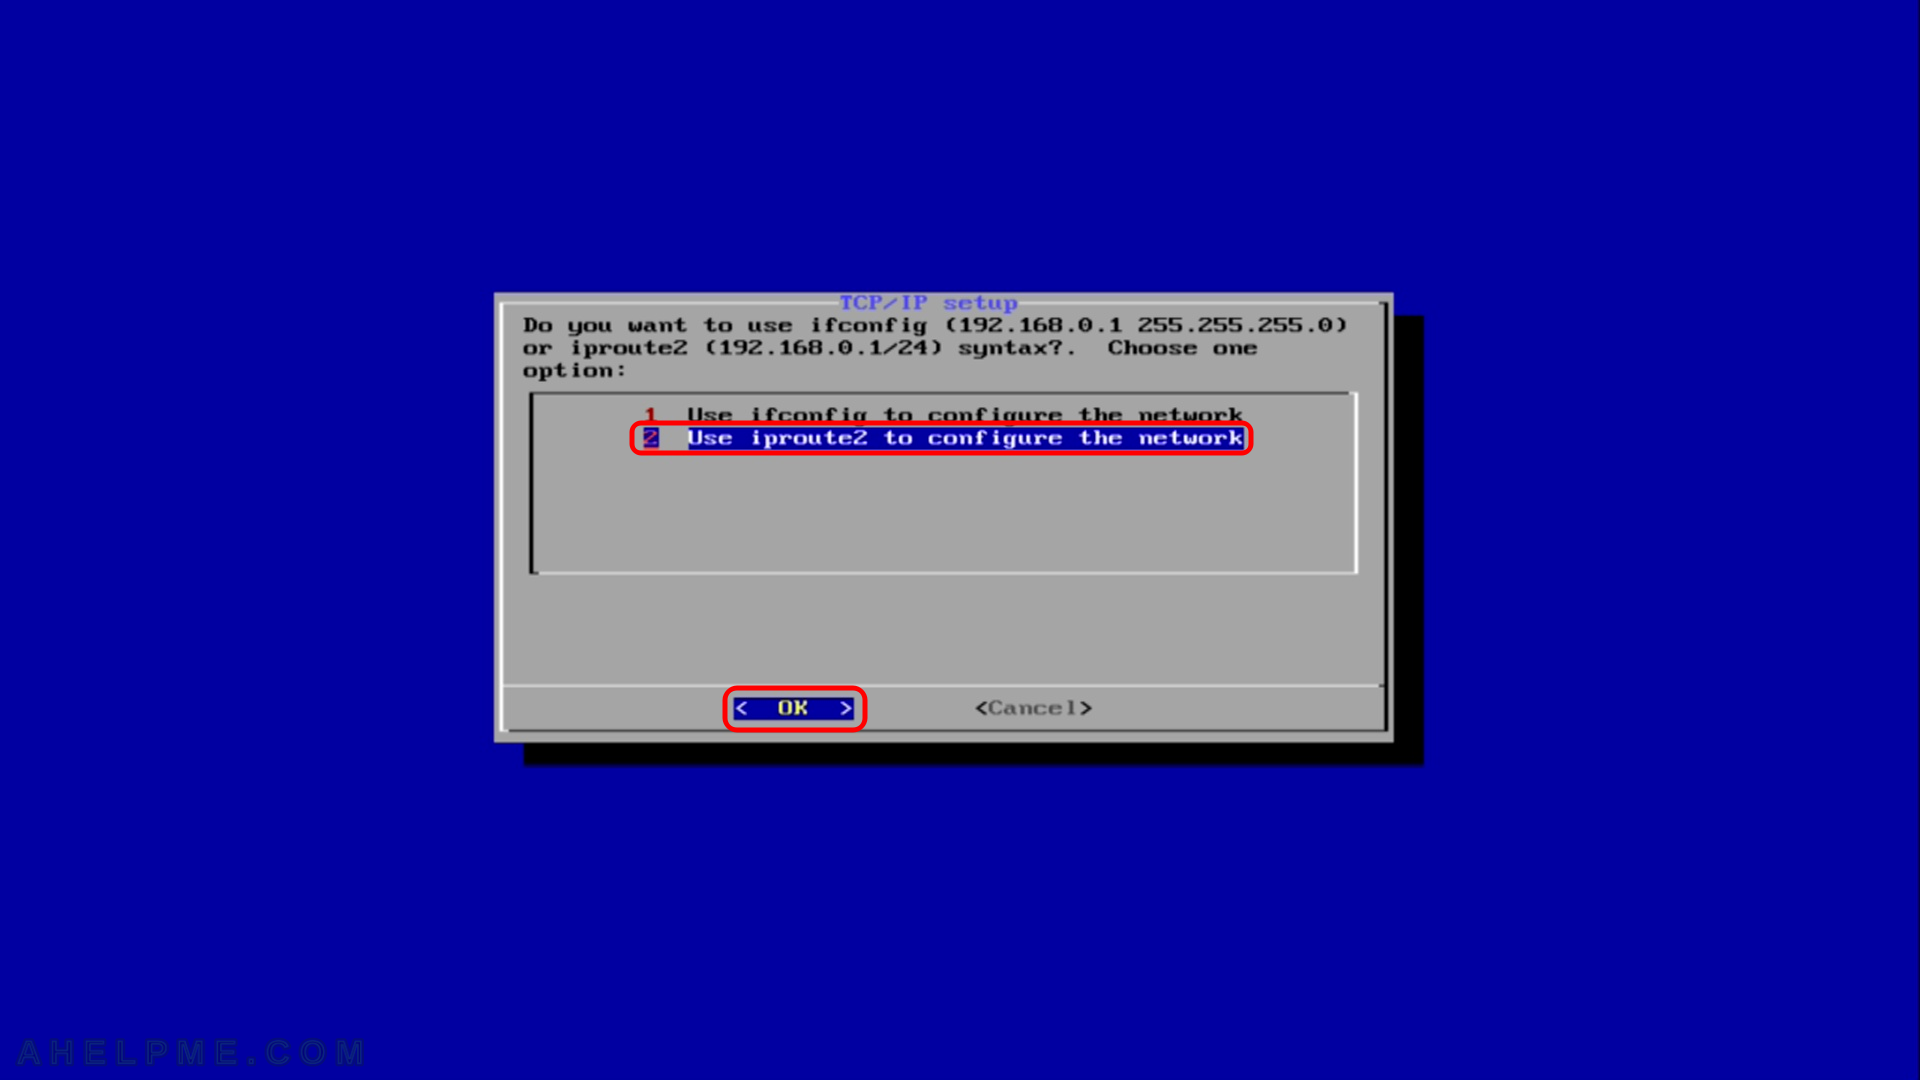
SCREENSHOT 14) Choose your favorite syntax ifconfig or iproute2.
No difference except slightly in the syntax, so we choose here the new utility: “Use iproute2 to configure the network”. Then hit “OK”.
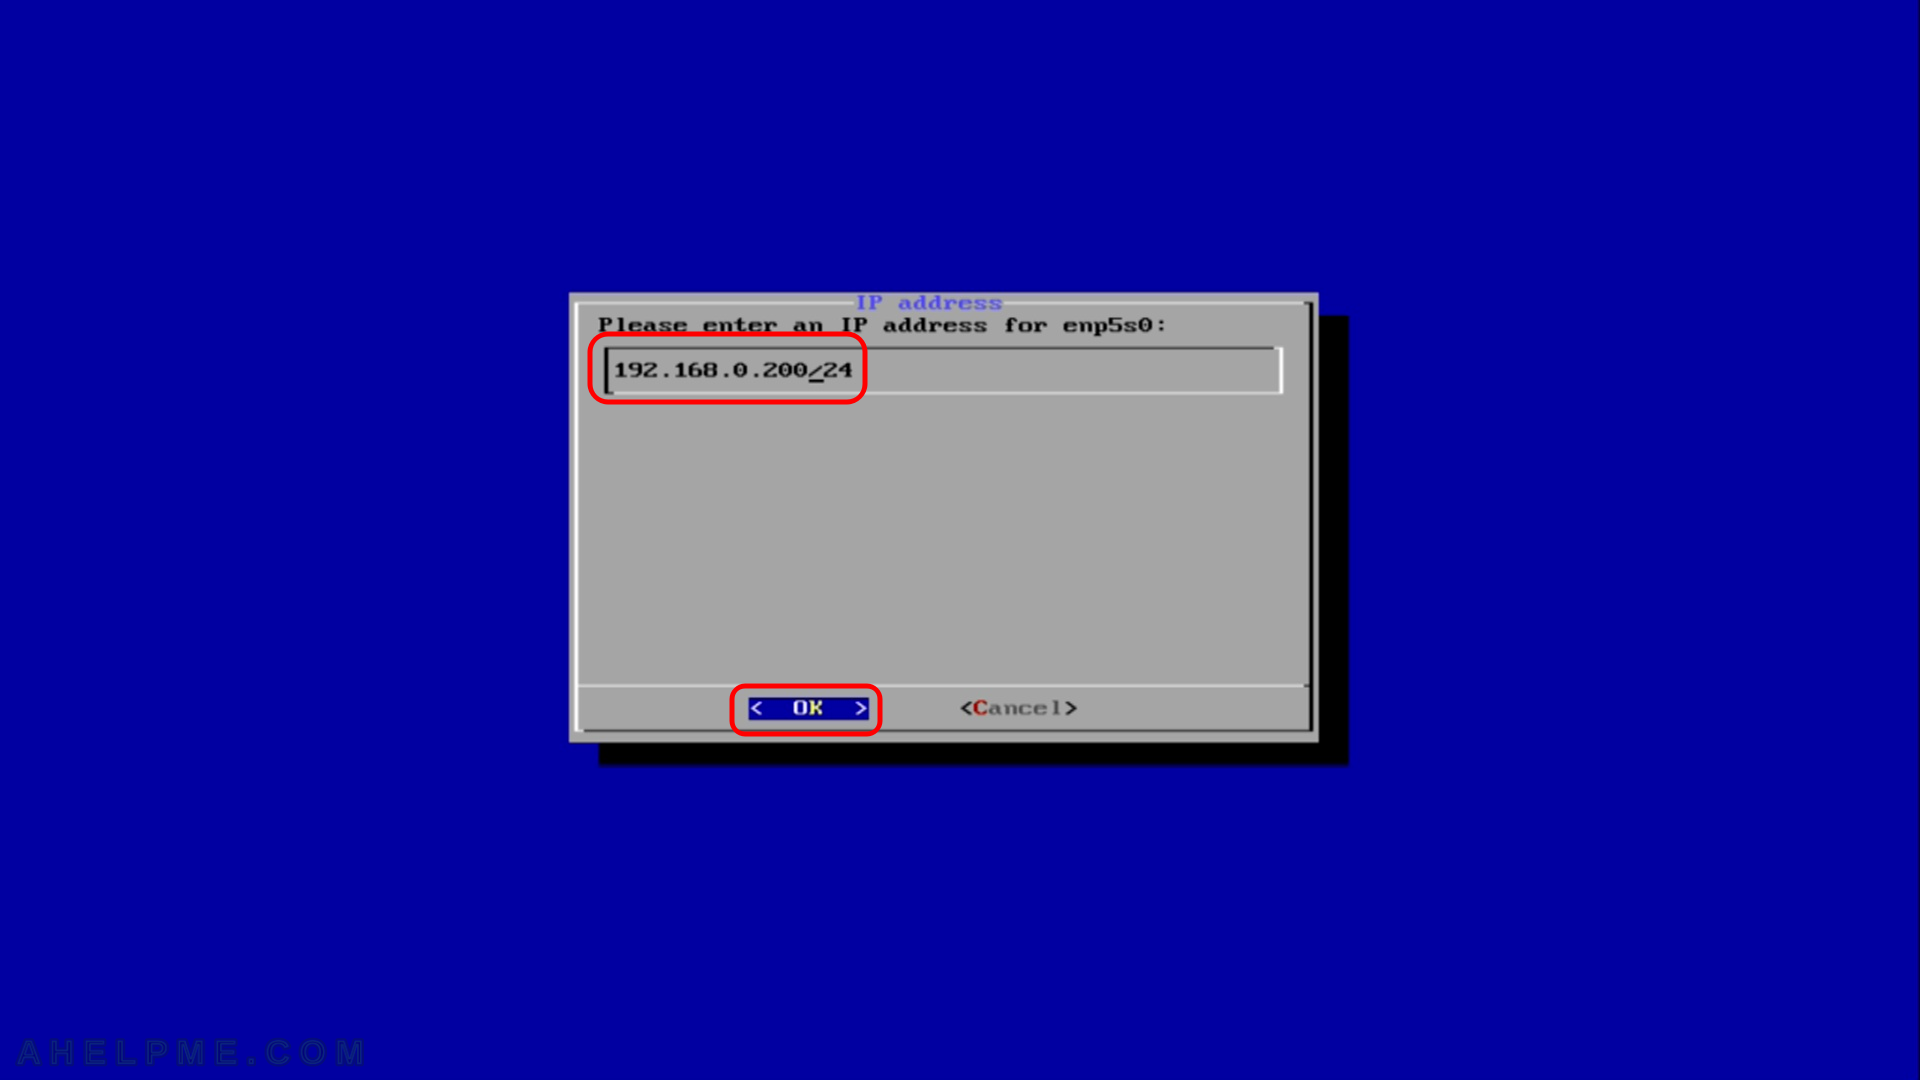
SCREENSHOT 15) IP address
Set the IP address here. We set here: “192.168.0.200/24” – the netmask is 255.255.255.0.
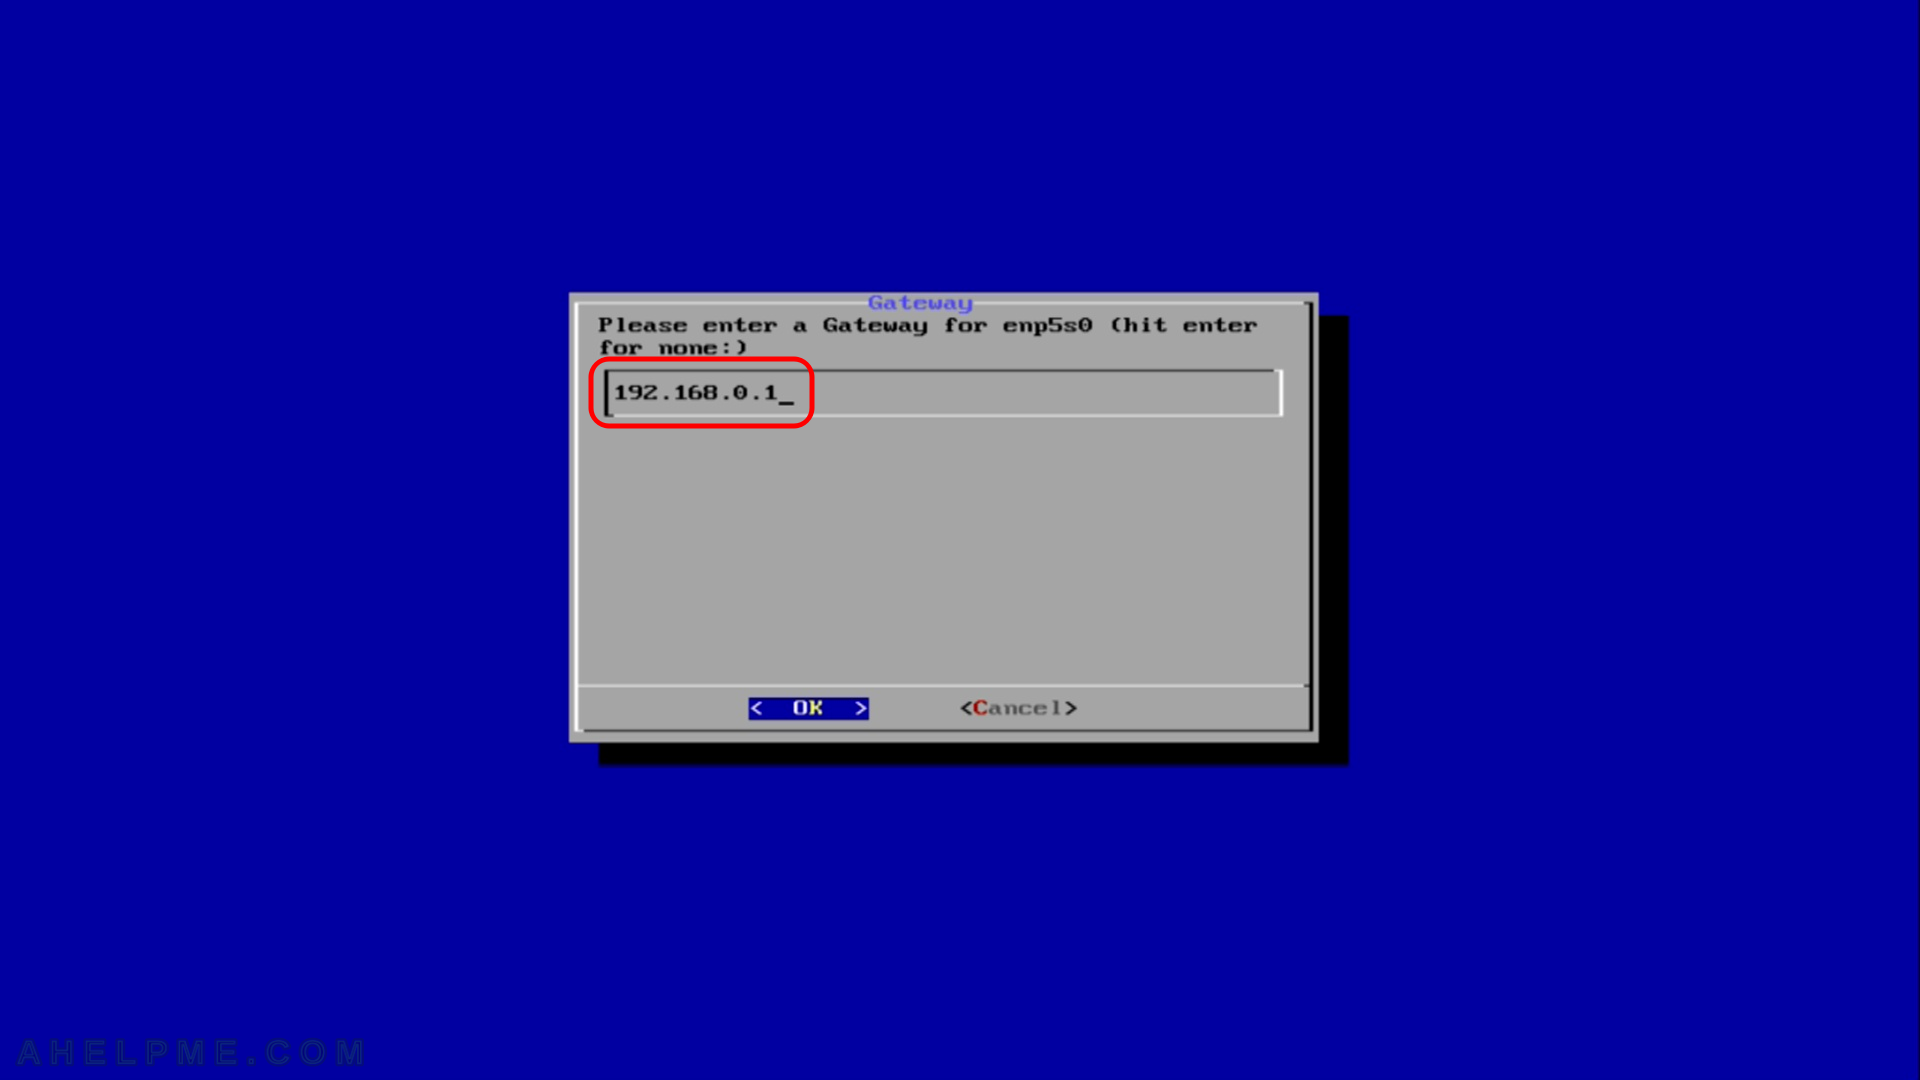
SCREENSHOT 16) Gateway
Set the gateway of your network, we set here: 192.168.0.1, because this is the IP of our router.
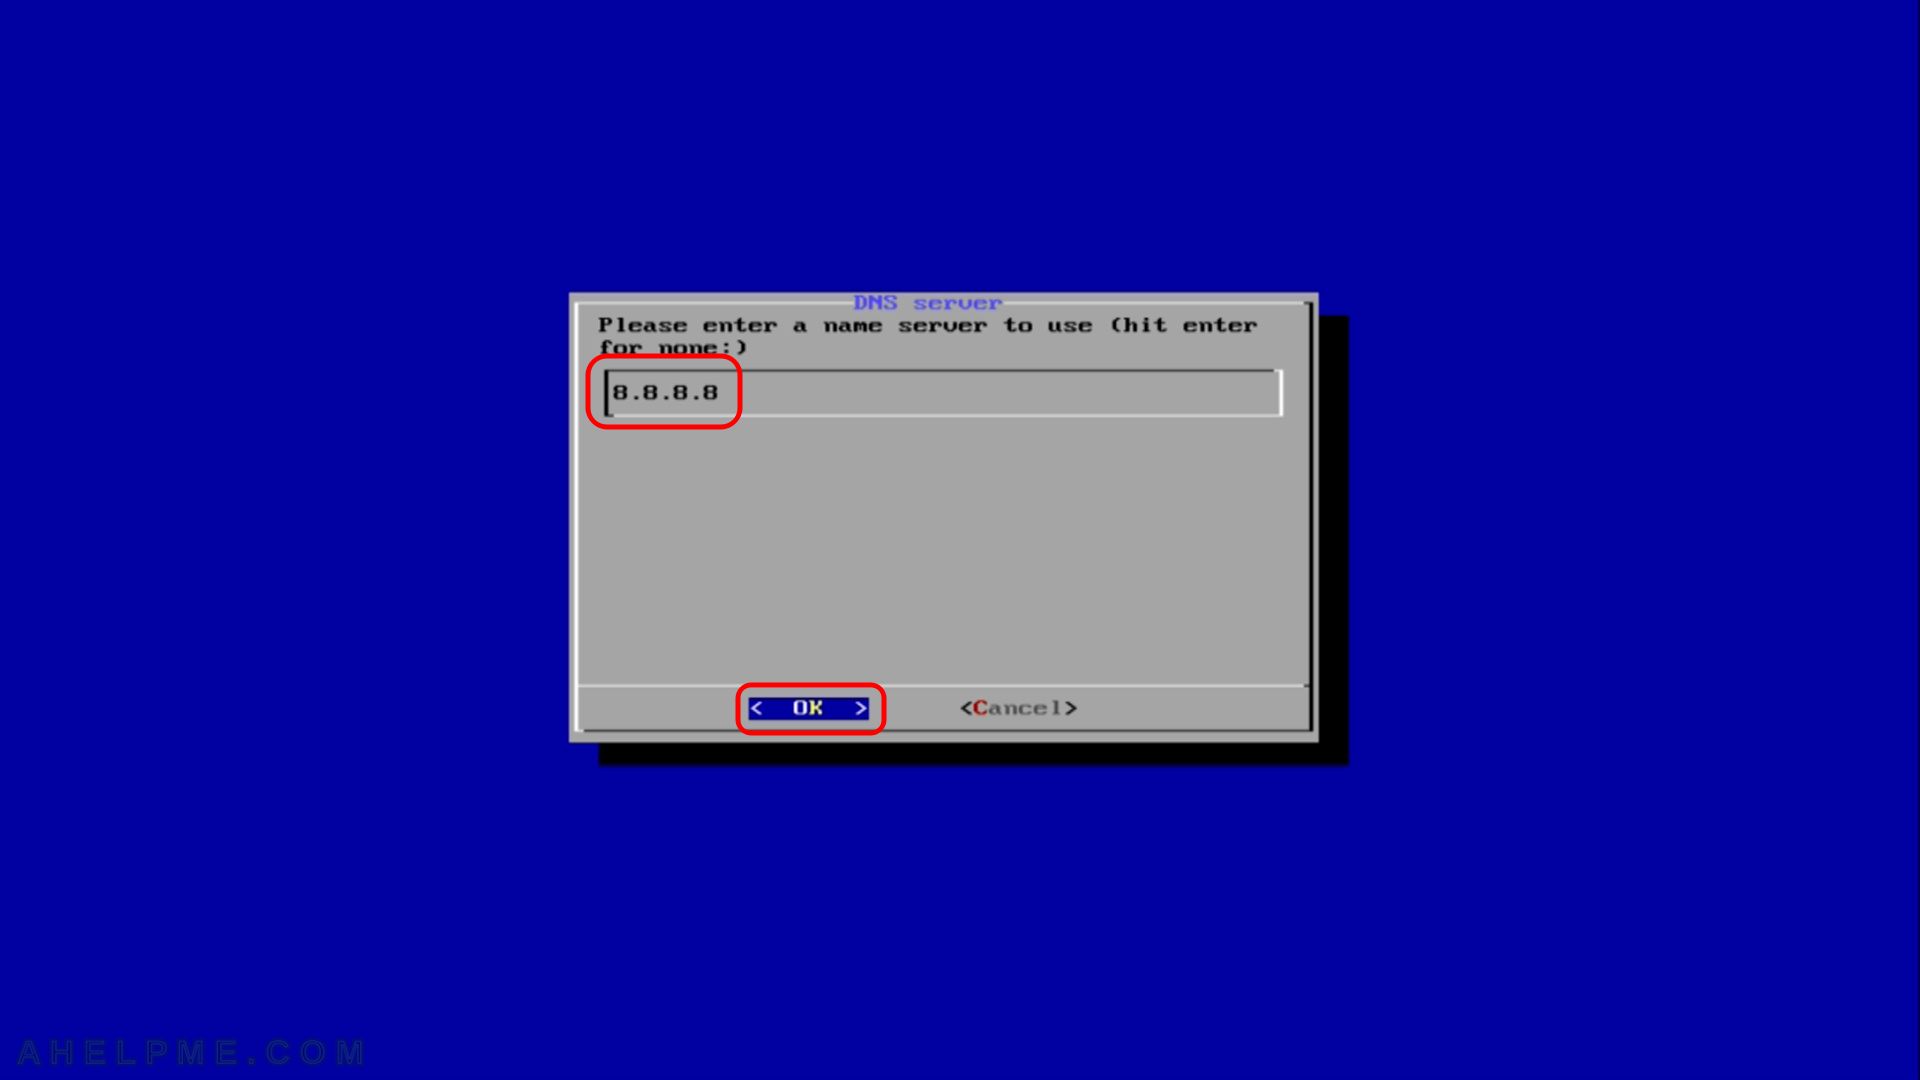
SCREENSHOT 17) DNS Server
Set the DNS server in your network, it’s probably the IP of your router, bu you can use a public DNS server as “8.8.8.8”, which is offered by Google. Enter “8.8.8.8” and hit “OK”.
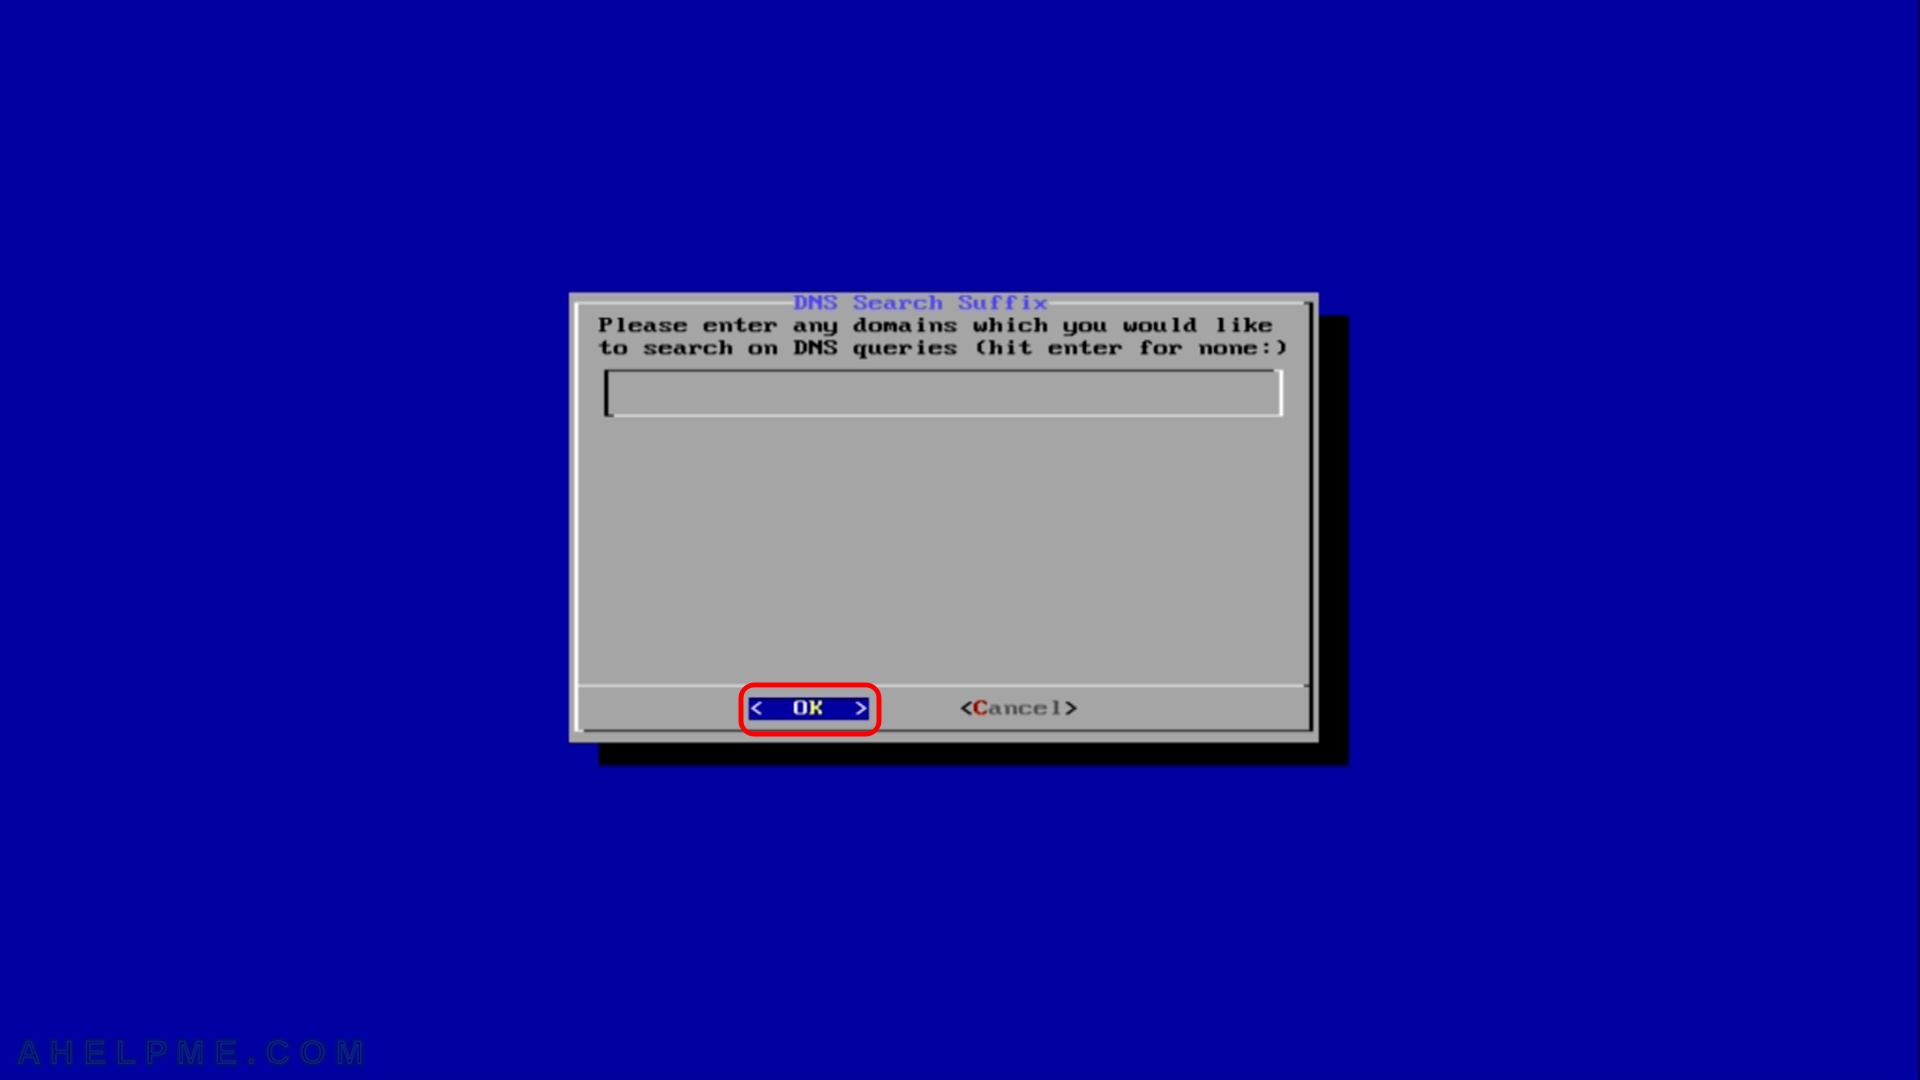
SCREENSHOT 18) DNS Search suffix
Leave blank and just hit “OK”, we won’t use this.
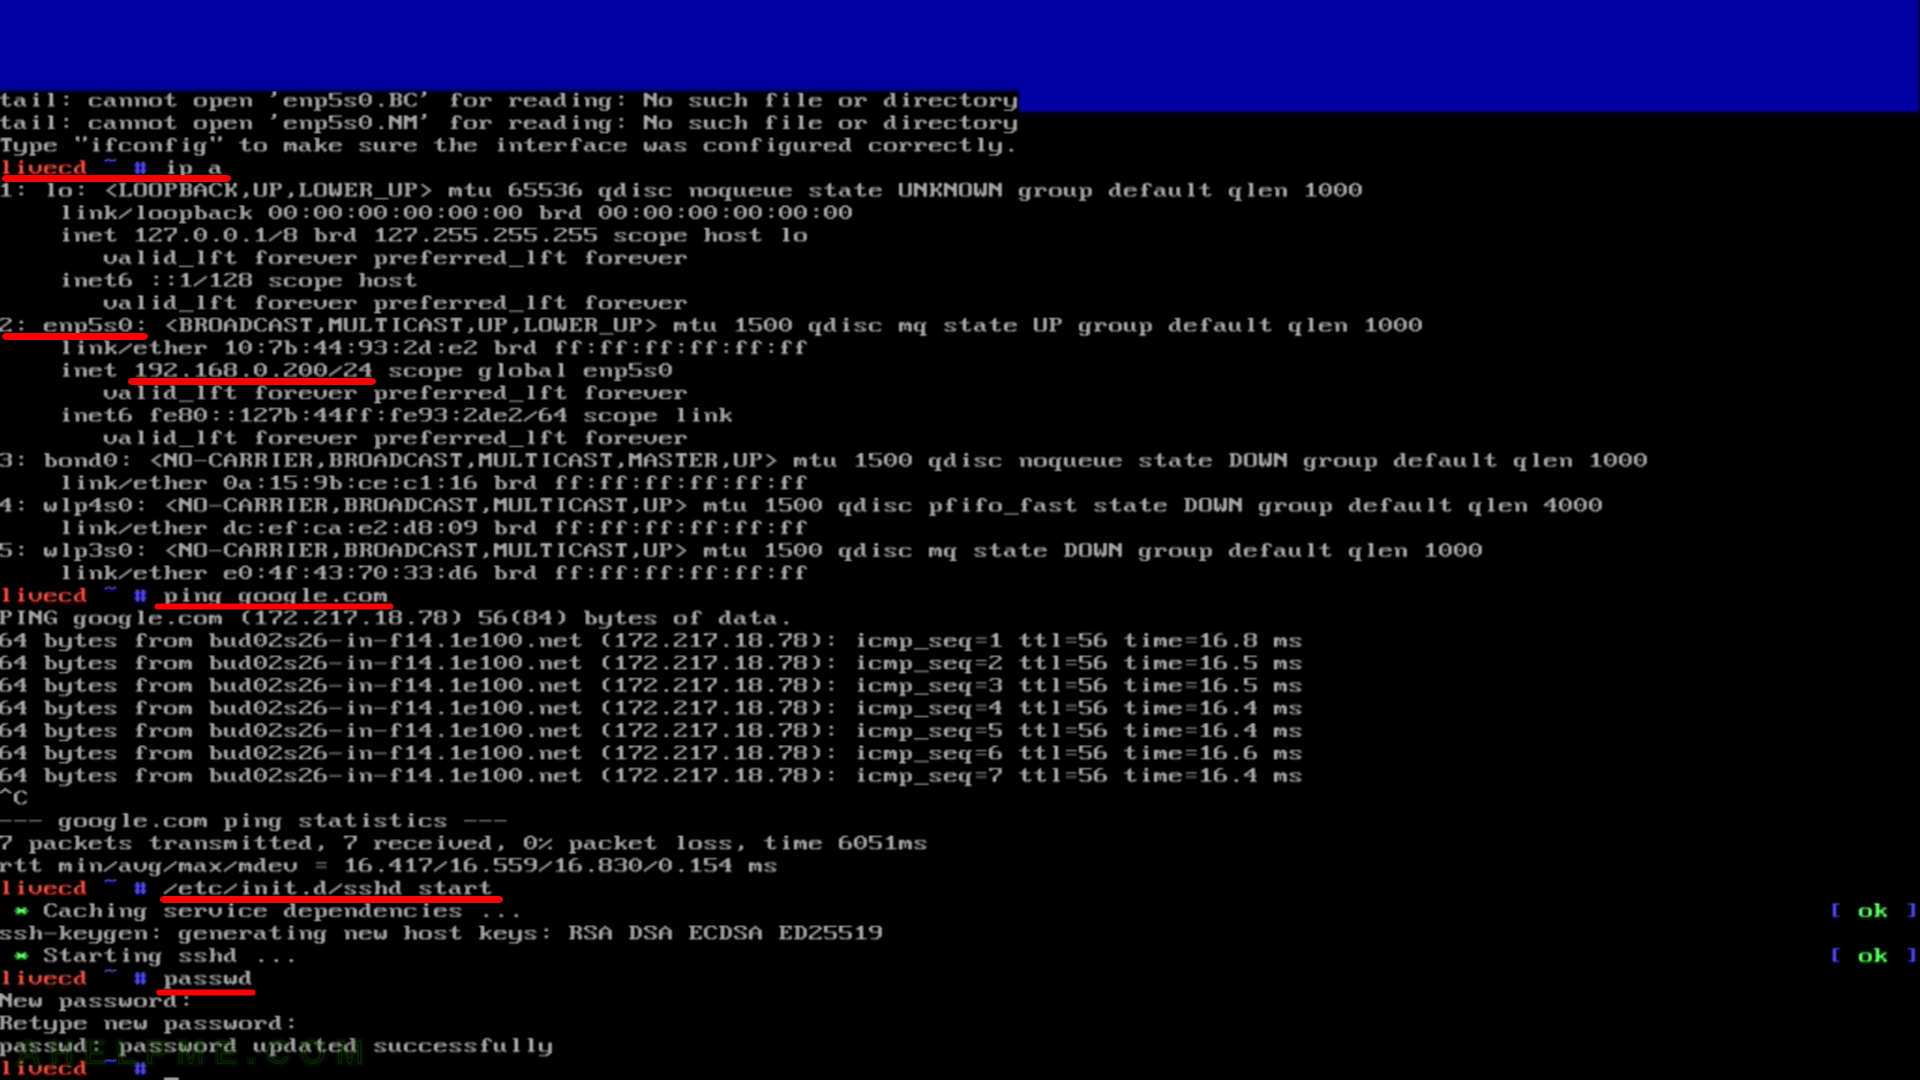
SCREENSHOT 19) Check network settings and start openssh daemon
After setting the network you can check if it works:
ip a
#use domain name to see if your machine could resolve names
ping google.com
Start openssh daemon and set a new password to be able to log in the server remotely, which is way to easy to manage the server – from your console. You could have used this installation CD with IPMI KVM, iDRAC, iLO or other remote server management software.
/etc/init.d/sshd start
passwd
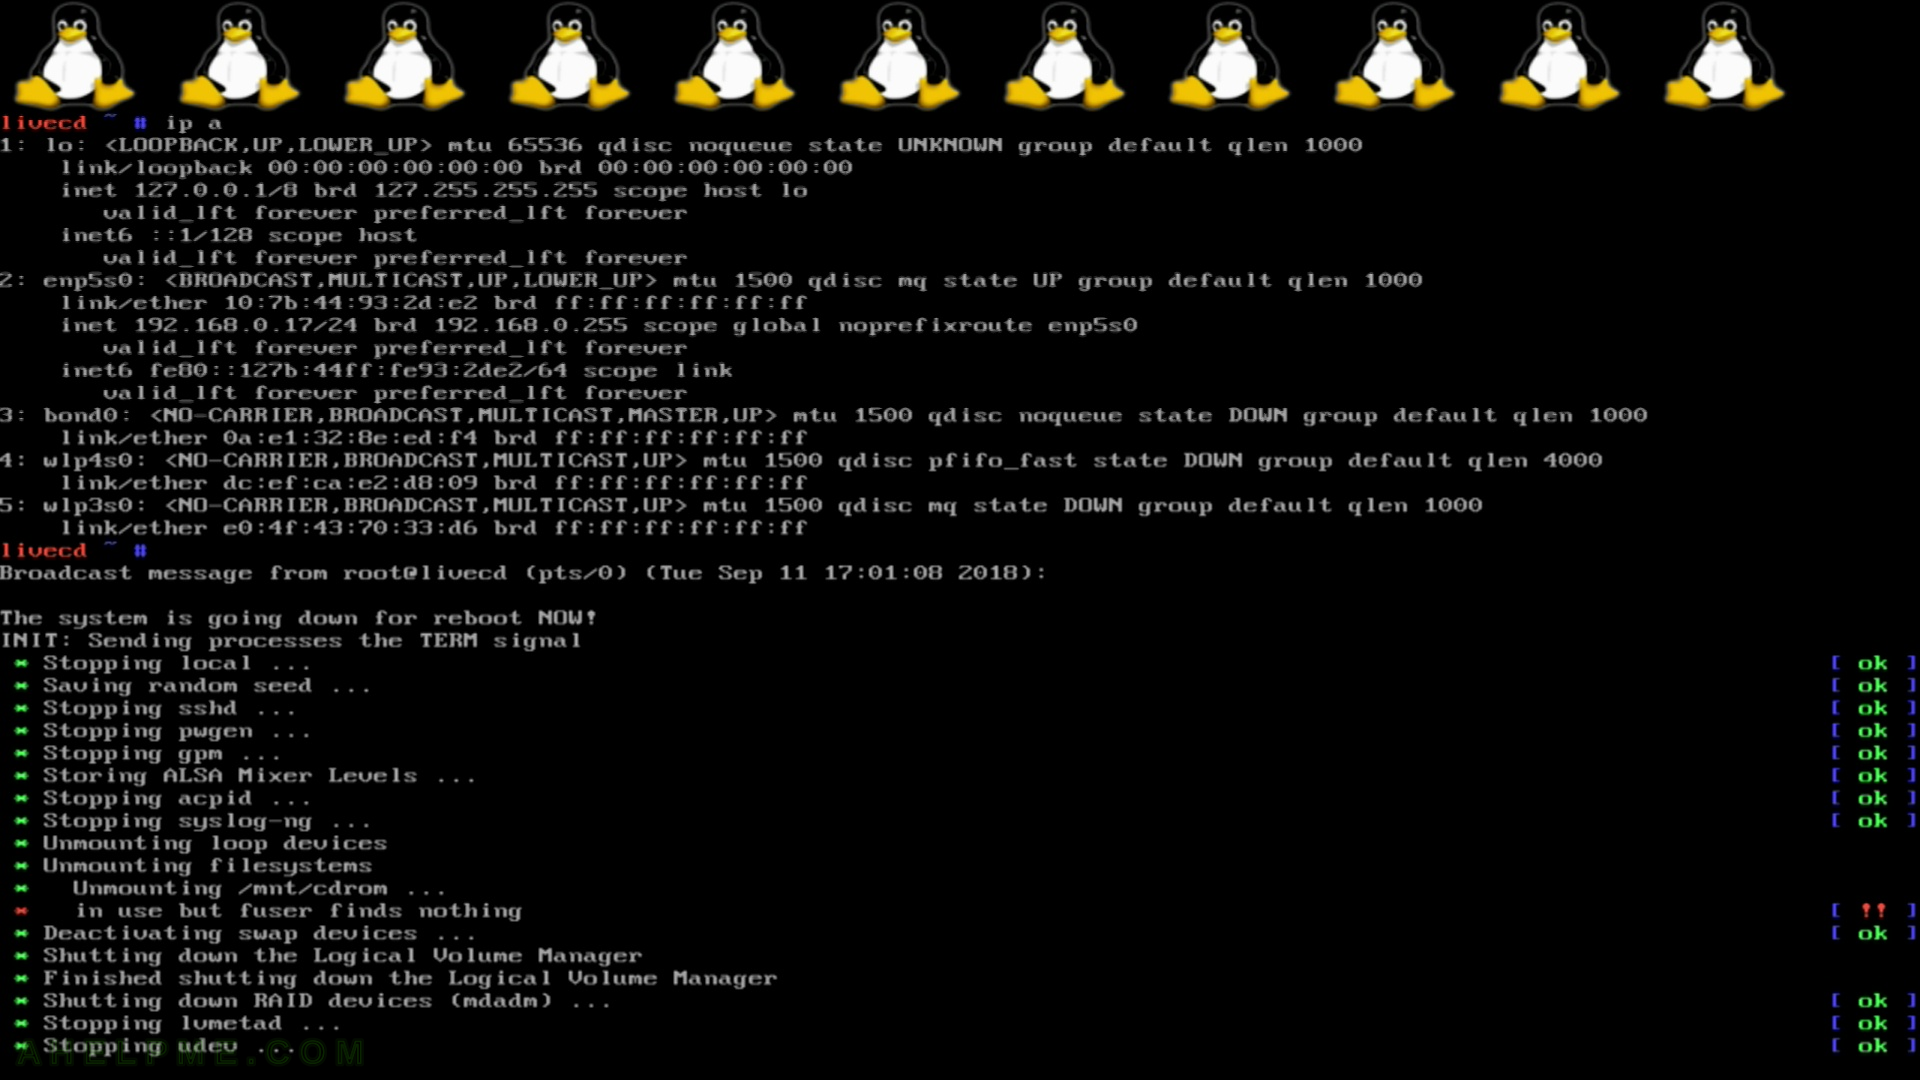
SCREENSHOT 20) Restarting the system
One thought on “Gentoo Minimal Installation CD (amd64 aka x86_64) – booting (in UEFI mode)”