SCREENSHOT 21) Select what software you would like the setup to install at first.
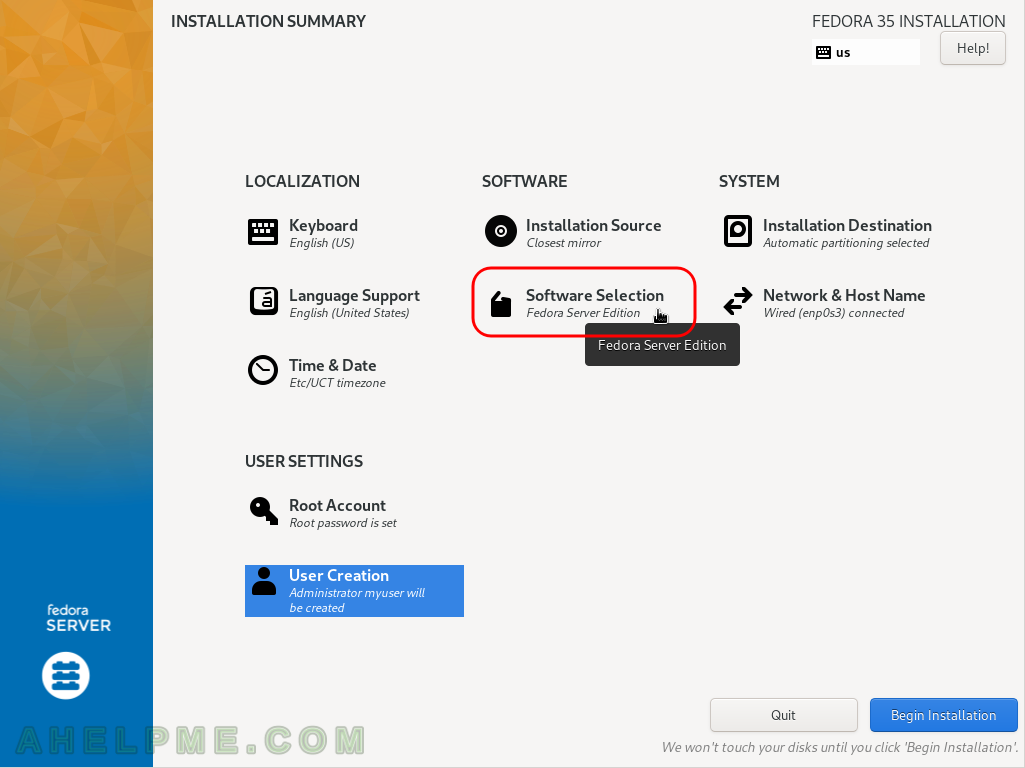
SCREENSHOT 22) By default, it is selected “Fedora Server Edition” and no additional selection in the left.
Leaving it as is, the Fedora 35 Server setup will install only minimal packages for the server edition. On the left the setup shows a list of multiple enironments, which Fedora 35 Server offers with a breaf description for each one. On the first page, there are environments for Container Managment, Domain Membership (Active Diretory Domain), Virtualization, 3D Printing, Administration tools, Audio Production, Authoring and Publishing, C Development tools and libraries, Cloud infrastructure, Cloud managment tools, Compiz, D Development tools and libraries.
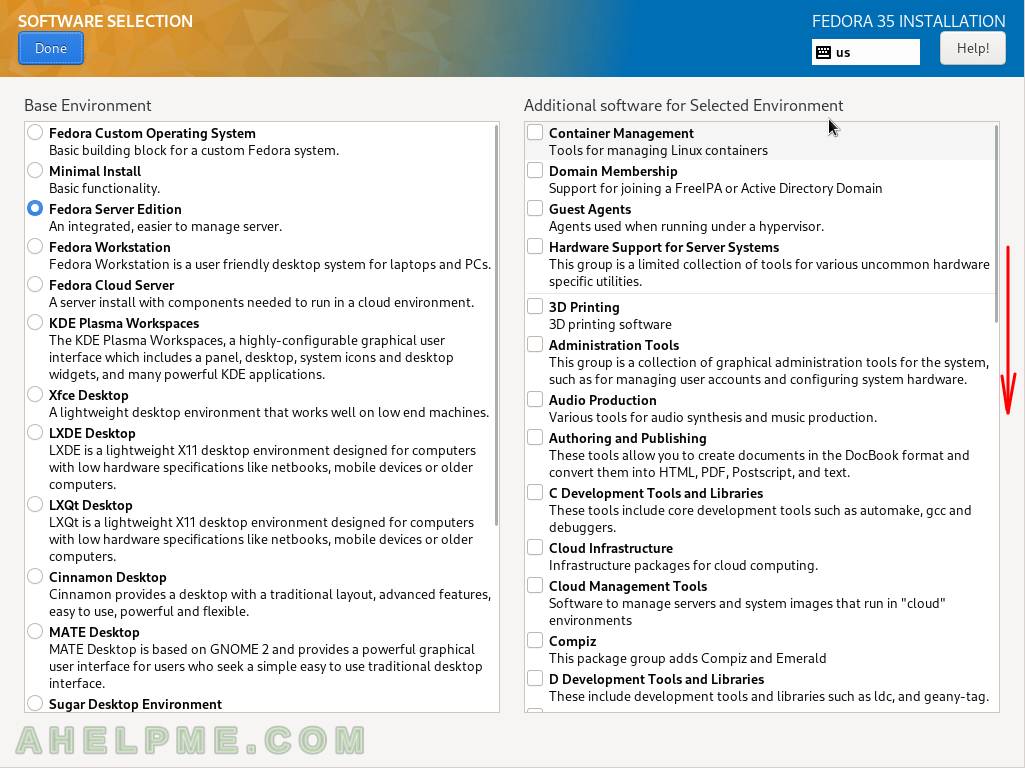
SCREENSHOT 23) Page 2 of software environments offered by the Fedora 35 Server Edition.
On the second page, there are environments for Design Suite, Development tools, Editos, Educational software, Electronic Lab, Engineering and Scientific, FreeIPA Server, Games and entertainment, Headless managment, LibreOffice, MATE Applications, Milkymist and Network servers.
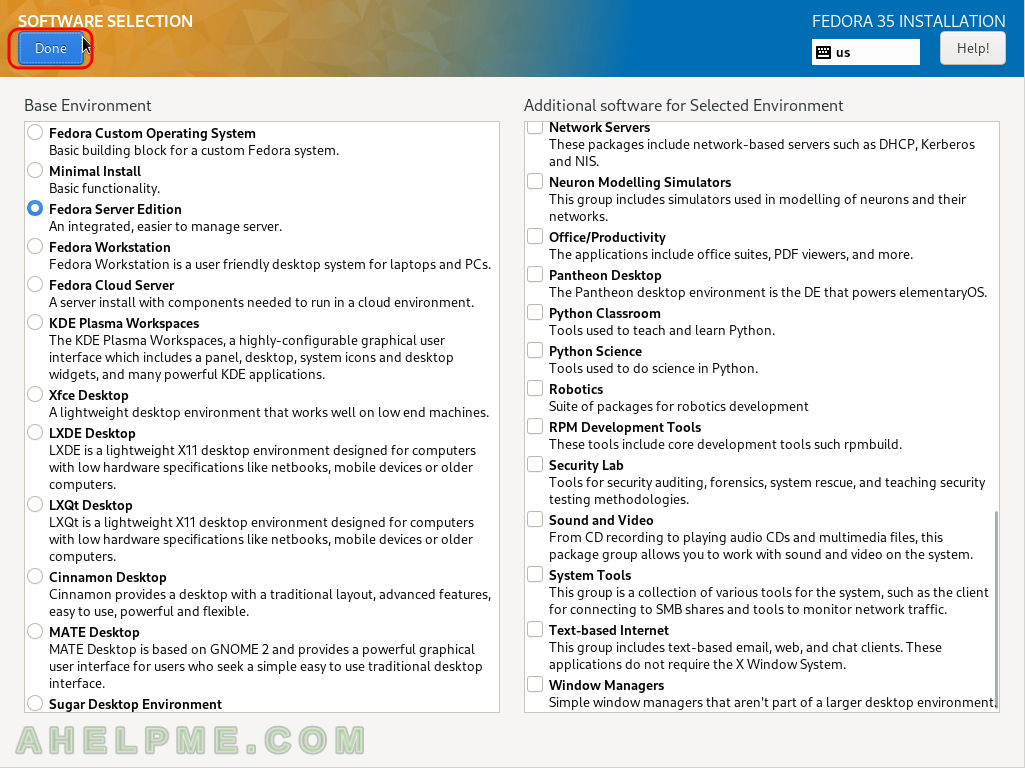
SCREENSHOT 24) Page 3 of software environments offered by the Fedora 35 Server Edition.
On the third page, there are environments for Neuron modelling simulators, Office/Productivity, Pantheon Desktop, Python classroom, Python science, RPM Development, Security Labs, Sound and video, System tools, Text-based Internet and Window Managers (simple one, which are not part of a desktop environment).
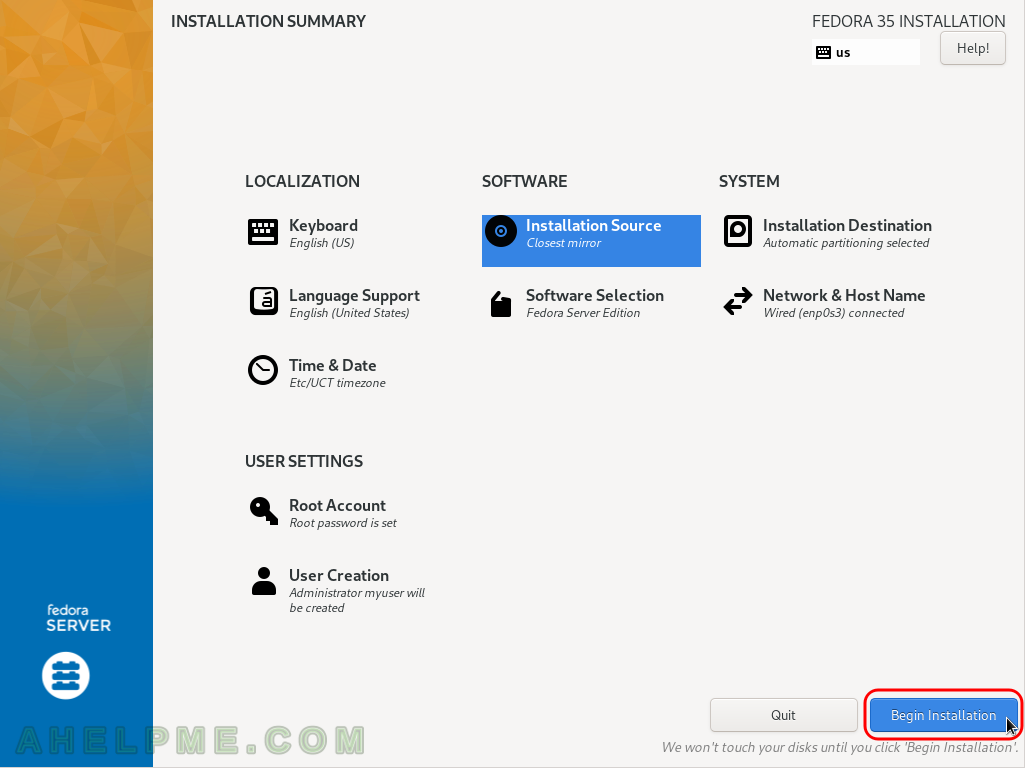
SCREENSHOT 25) Now the installation setup is configured and by clicking on “Begin Installation” the actual installation on your selected hard drive begins.
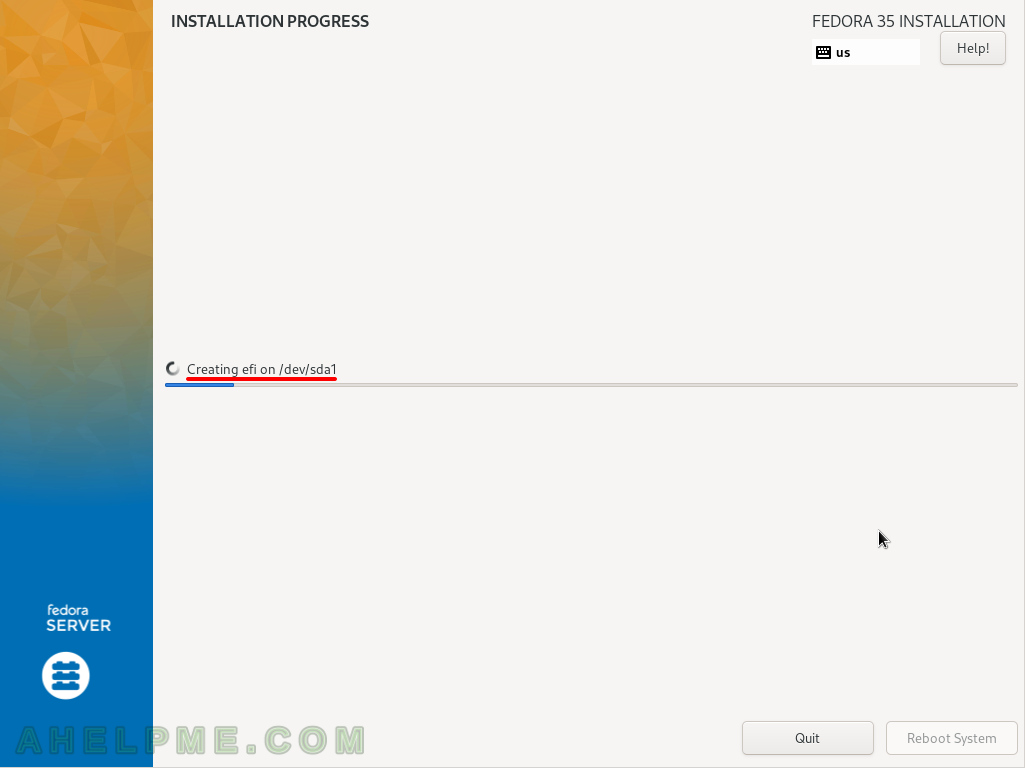
The actual installation begins and first the disk must be prepared, so after clicking the very button the disk layout will be changed according the last 3 steps.
SCREENSHOT 26) The setup chaning the partition layout of the disk.
New partitions are created according to the user selection in the previous step – “Installation destination”.
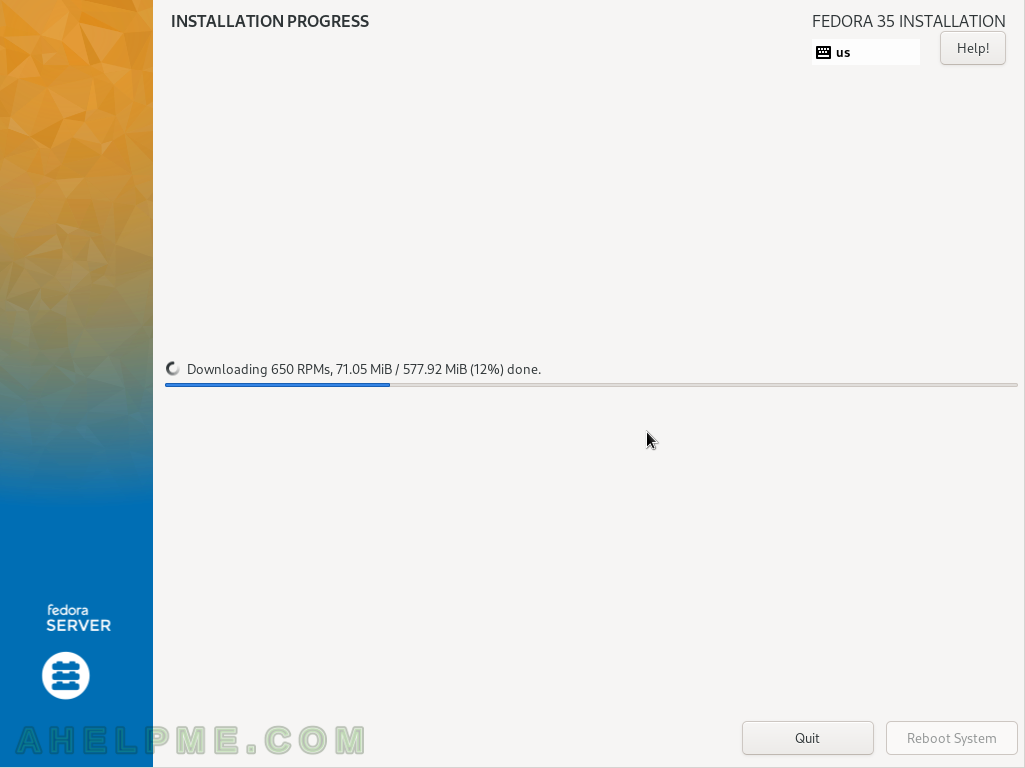
SCREENSHOT 27) The setup is downloading packages.
For the minimal Fedora 35 Server installation 650 RPM packages are downloaded of total 577 MiB.
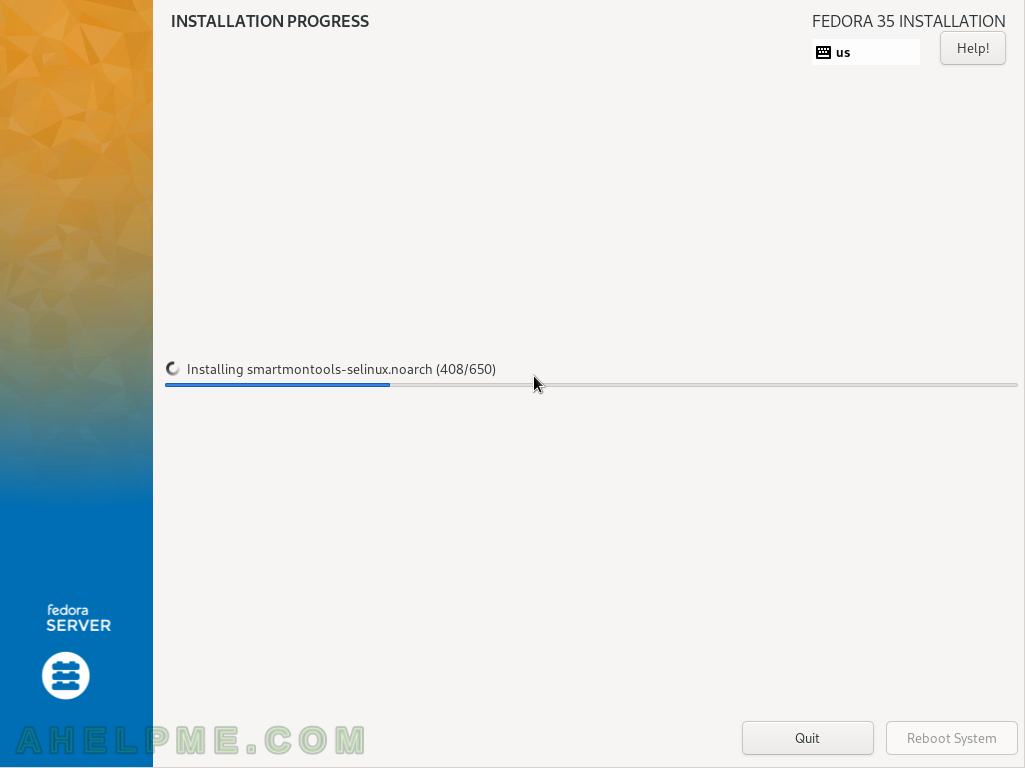
SCREENSHOT 28) The setup is installing packages.
A progress of the package installation is available.
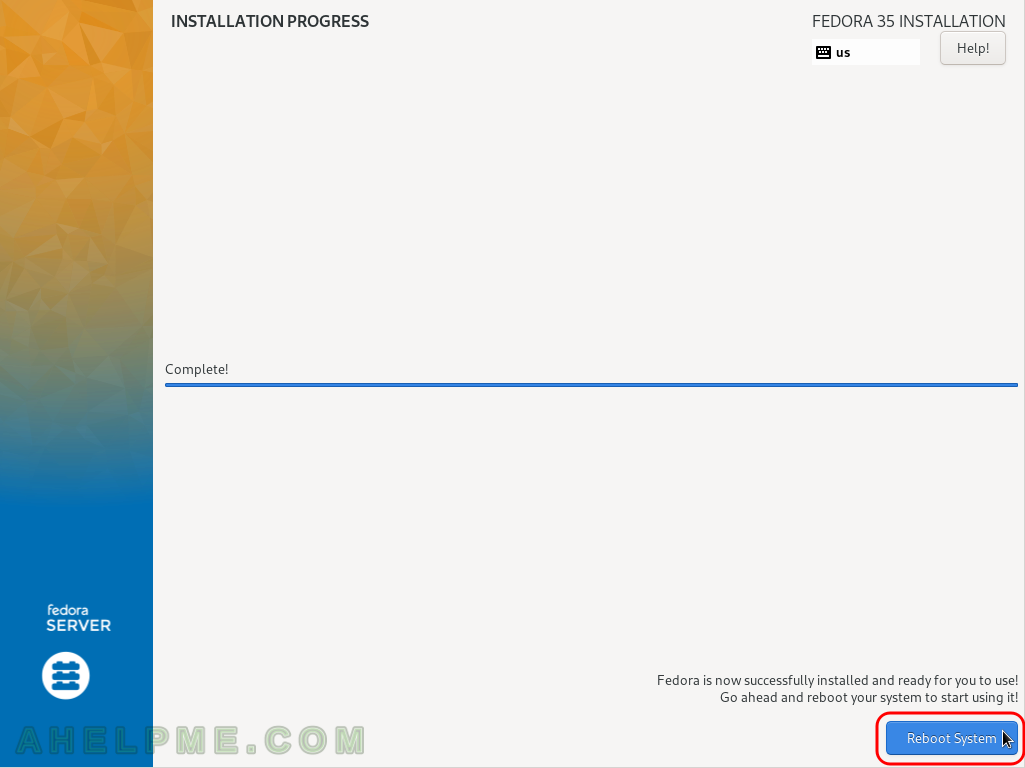
SCREENSHOT 29) The installation of Fedora 35 Server is successful and you may reboot the system by clicking on “Reboot System” button.
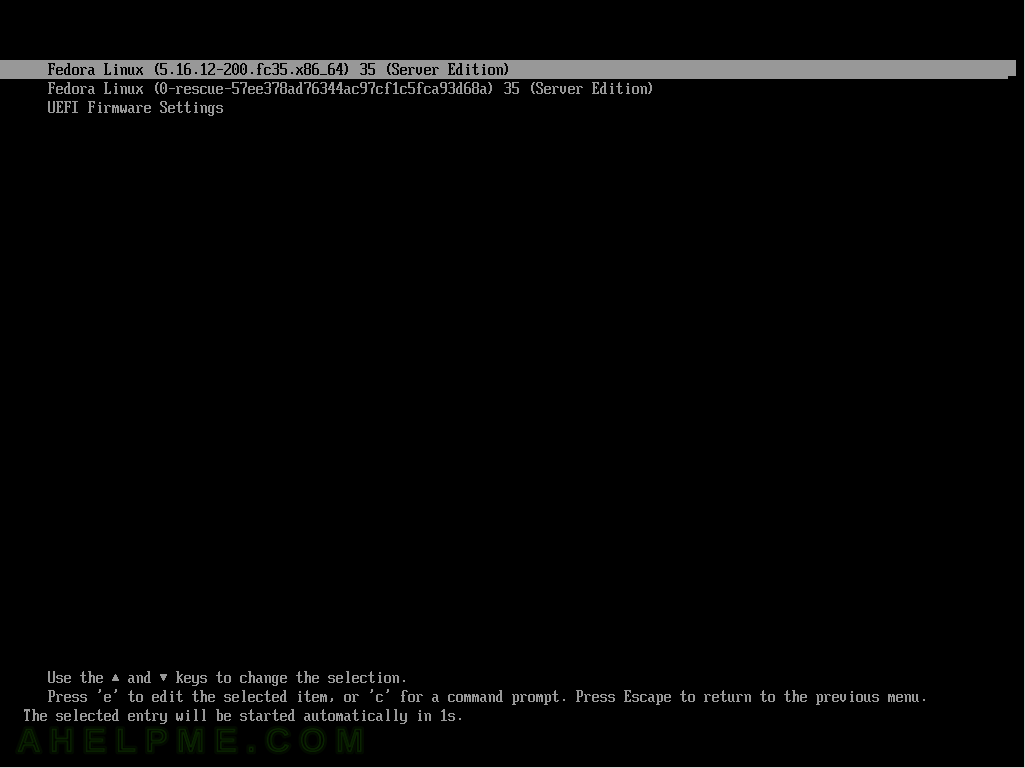
SCREENSHOT 30) Select the system, which to boot. The default is the freshy installed Fedora 35 Server.
Wait for some seconds to boot or just hit “Enter”.