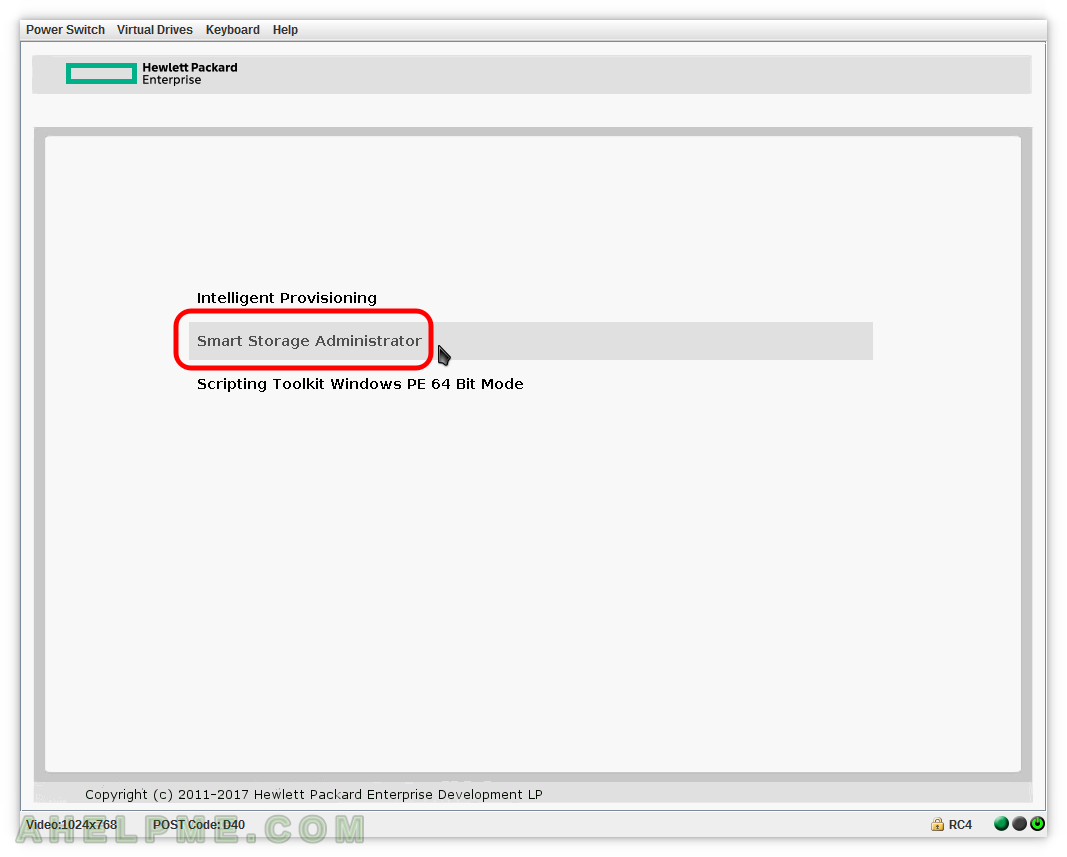
SCREENSHOT 11) Enter or click on “Smart Storage Administrator” will start the HP disk management utility.
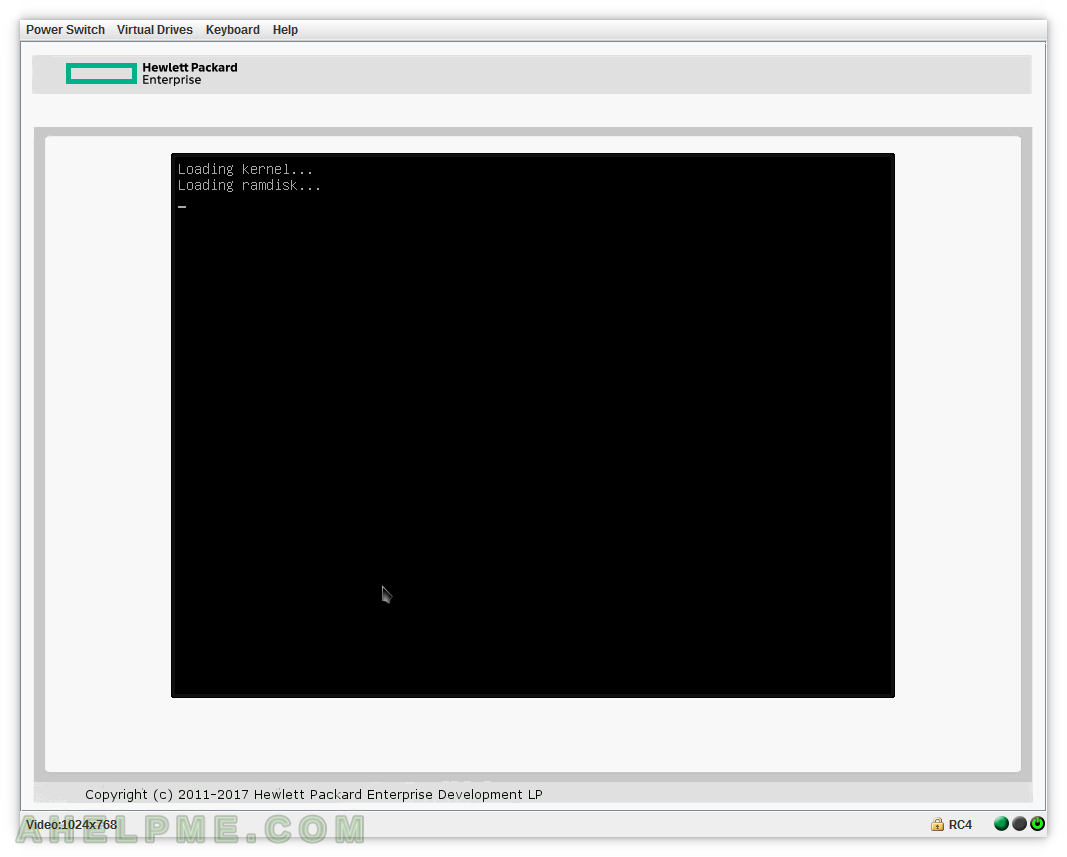
SCREENSHOT 12) Smart Storage Administrator is loading now.
SCREENSHOT 13) HPE logo of Smart Storage Administrator
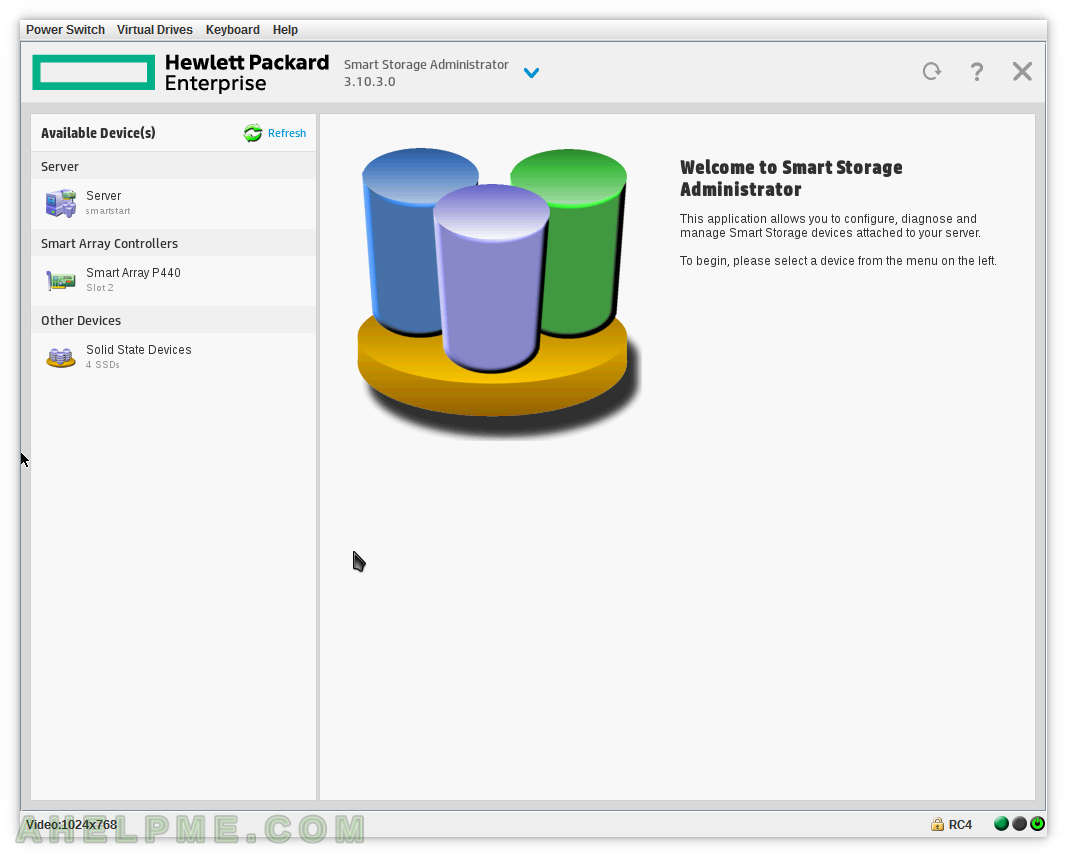
SCREENSHOT 14) HPE Smart Storage Administrator (version 3.10.3.0) first view.
As it says with this tool you can configure, manage and diagnose Smart Storage P440 attached to your server.
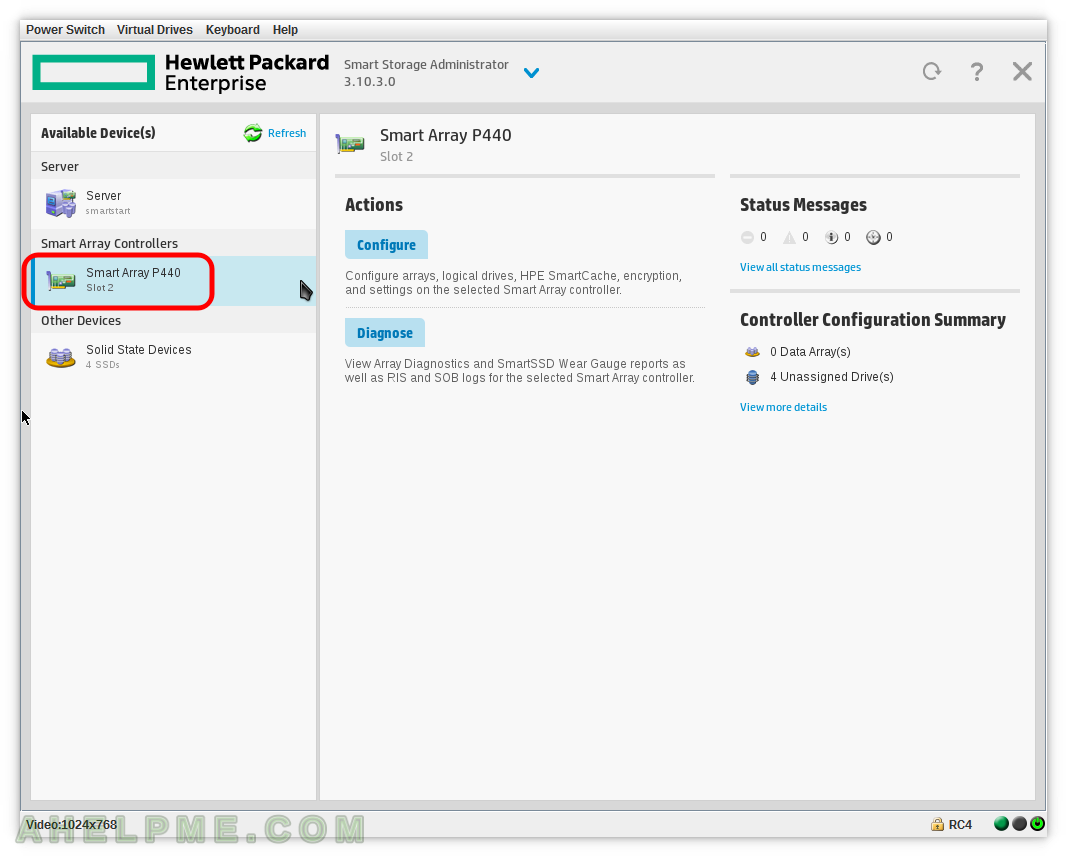
SCREENSHOT 15) When Smart Array P440 is selected there are two actions to perform – Configure and Diagnose.
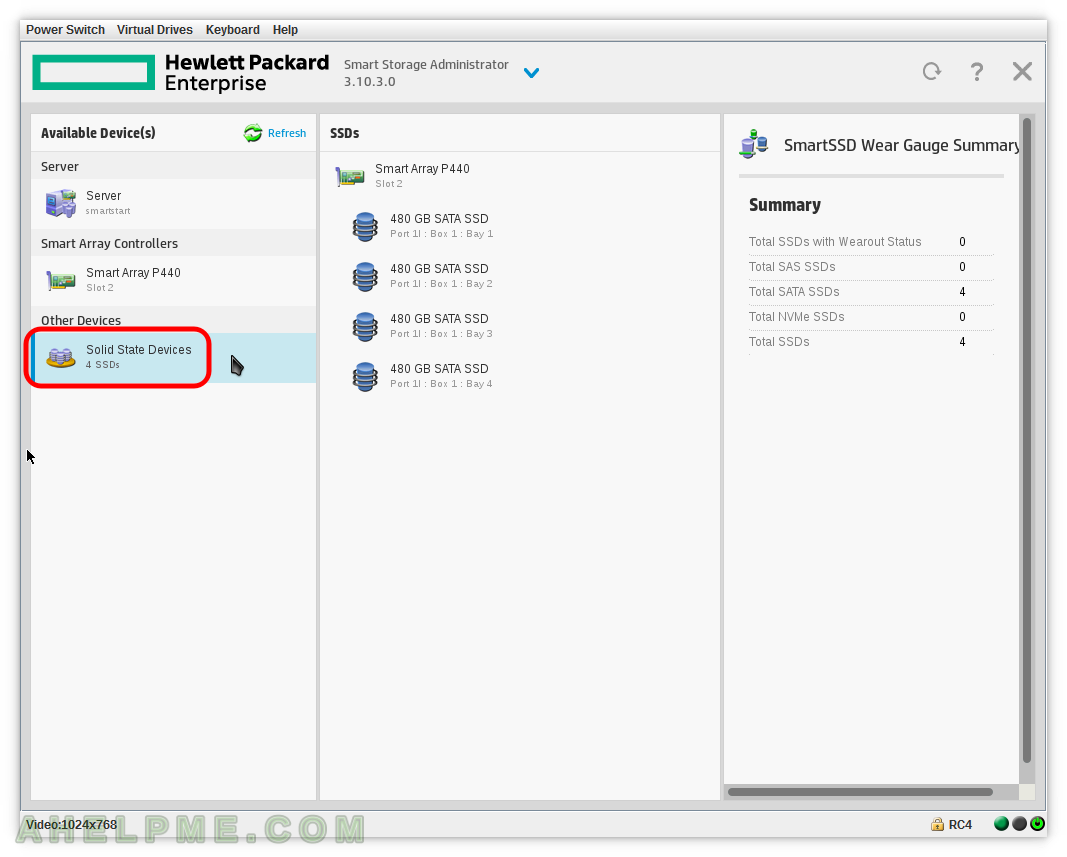
SCREENSHOT 16) The attached devices to the Smart Array P440 are shown here.
As you can see we have 4 SSD SATA disks attached to the controller.
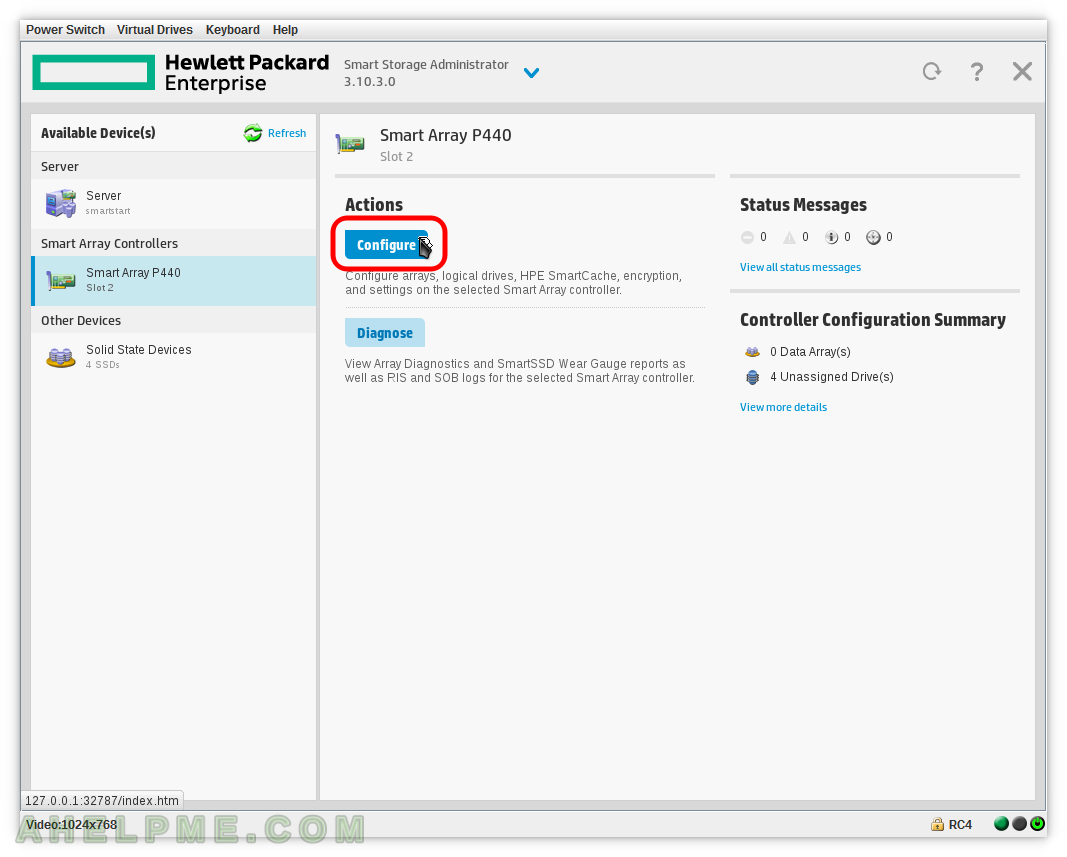
SCREENSHOT 17) Click on the controller “Smart Array P440” on the left and then on action “Configure”.
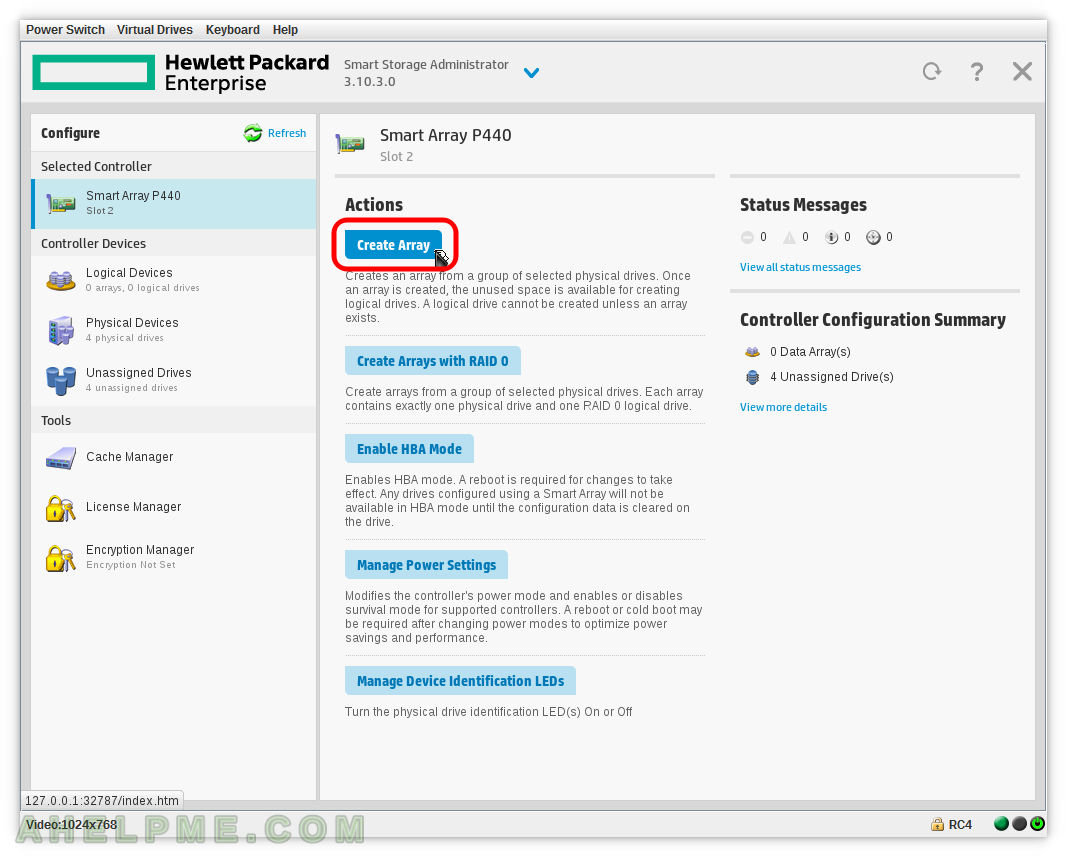
SCREENSHOT 18) Click on “Create Array” to create an array.
There two additional options here “Create Arrays with RAID 0” and “Enable HBA Mode” – the two modes could be used to have direct access to the attached disks.
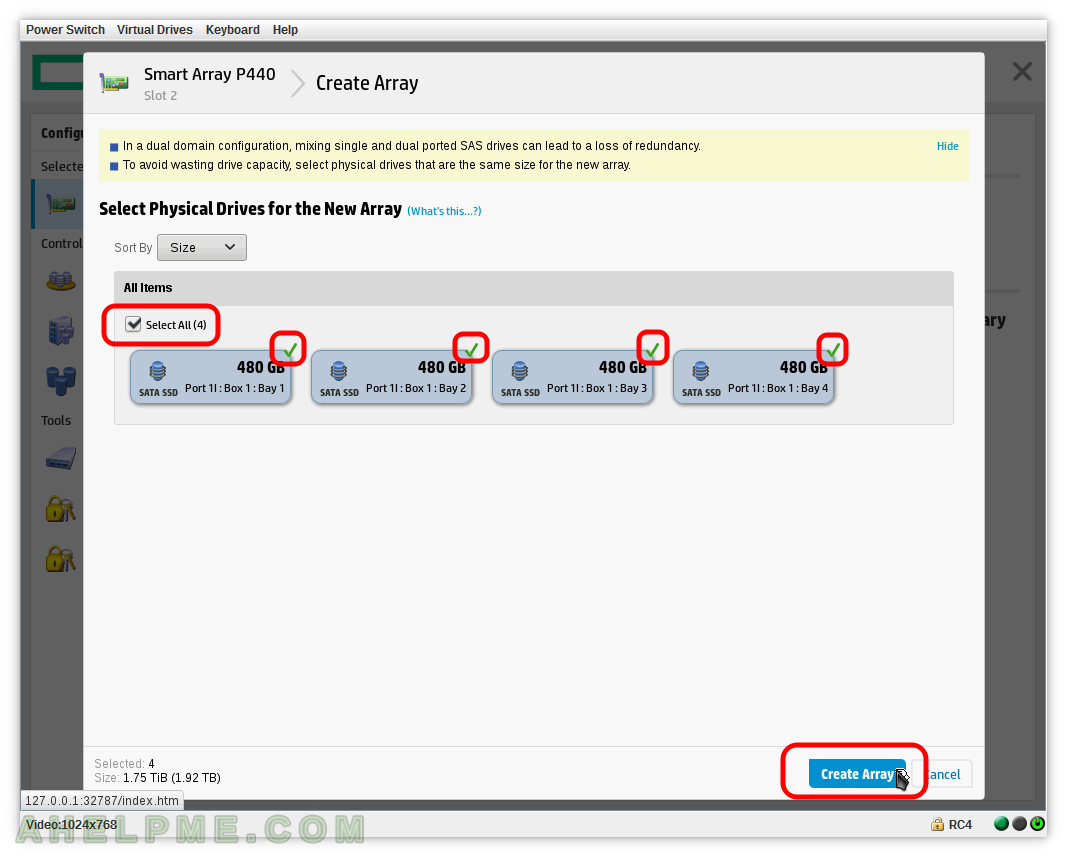
SCREENSHOT 19) Select the hard disks devices, which you want to be used in the new array.
Selected disks will have a green tick on the right top corner. Then press “Create Array”.
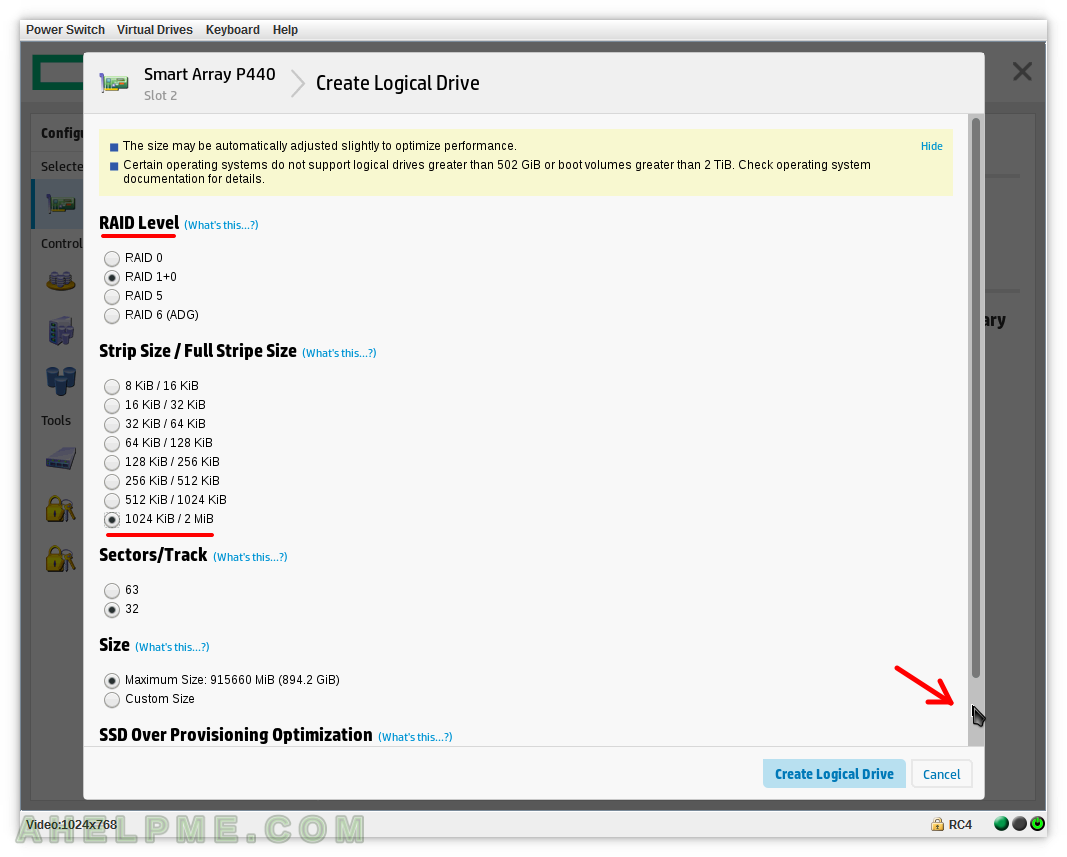
SCREENSHOT 20) Select the RAID Level
Select RAID 0, RAID 1+0, RAID 5, RAID 6 (ADG), Strip Size/Full Stripe Size – 8 KiB / 16 KiB, 16 KiB / 32 KiB, 32 KiB / 64 KiB, 64 KiB / 128 KiB, 128 KiB / 256 KiB, 256 KiB / 512 KiB, 512 KiB /
