This article is to present how you can connect to the iLO remote keyboard, mouse and video (KVM) to create, migrate or view the arrays in hardware controller Smart Array P440. You are going to see multiple screenshots of the graphical user interface of Hewlett Packard Enterprise
Smart Storage Administrator (3.10.3.0)
This is not a command line manual of the command line tool to manage the Smart Array P440. This is the HP’s GUI utility, which you can enter by pressing F10 on server start. So to enter it you must restart your server and you must have physical access to the server or remote access over the Internet with your browser to use the HP’s KVM (keyboard, mouse, video) branded iLO – HP Integrated Lights-Out. With HP iLO you can manage your server as if you are physically in front of it. Check out more here https://en.wikipedia.org/wiki/HP_Integrated_Lights-Out
Here are the steps you can do to manage your Smart Array P440 on a modern HP server – HP ProLiant DL160 Gen9. Our server is powered Off state. This is summery what you can see in the following screenshots: first, we open the web interface of the HP iLO by typing the IP of the iLO. Then we click on “Java Web Start” on the Overview page (it is accessible in the Remote Console menu, too). We are going to create an array and then go through most of the controller and application settings. Read ahead to see the whole process…
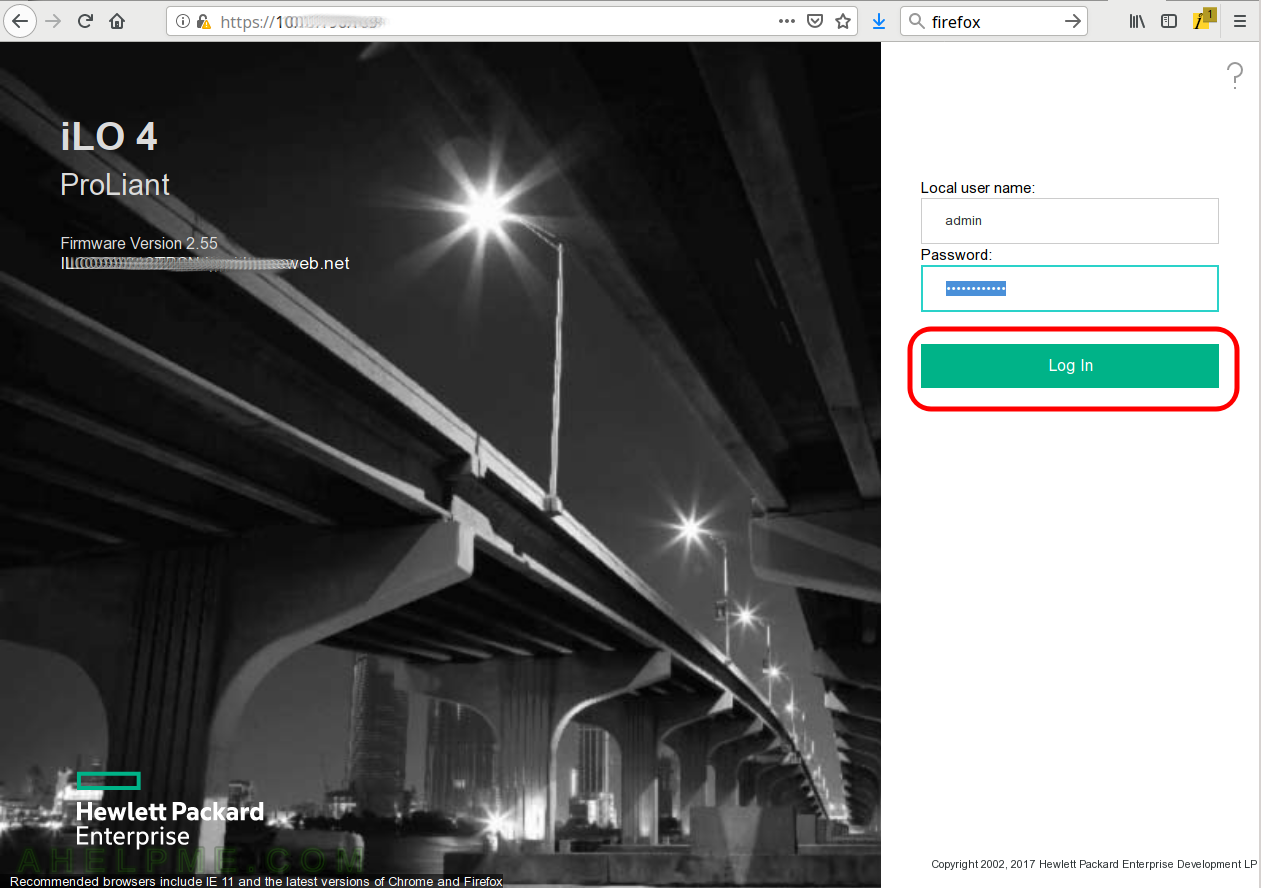
SCREENSHOT 1) The login page of the HPE iLO ProLiant – the HP’s KVM of your server.
Write your login credentials and click on “Log In”.
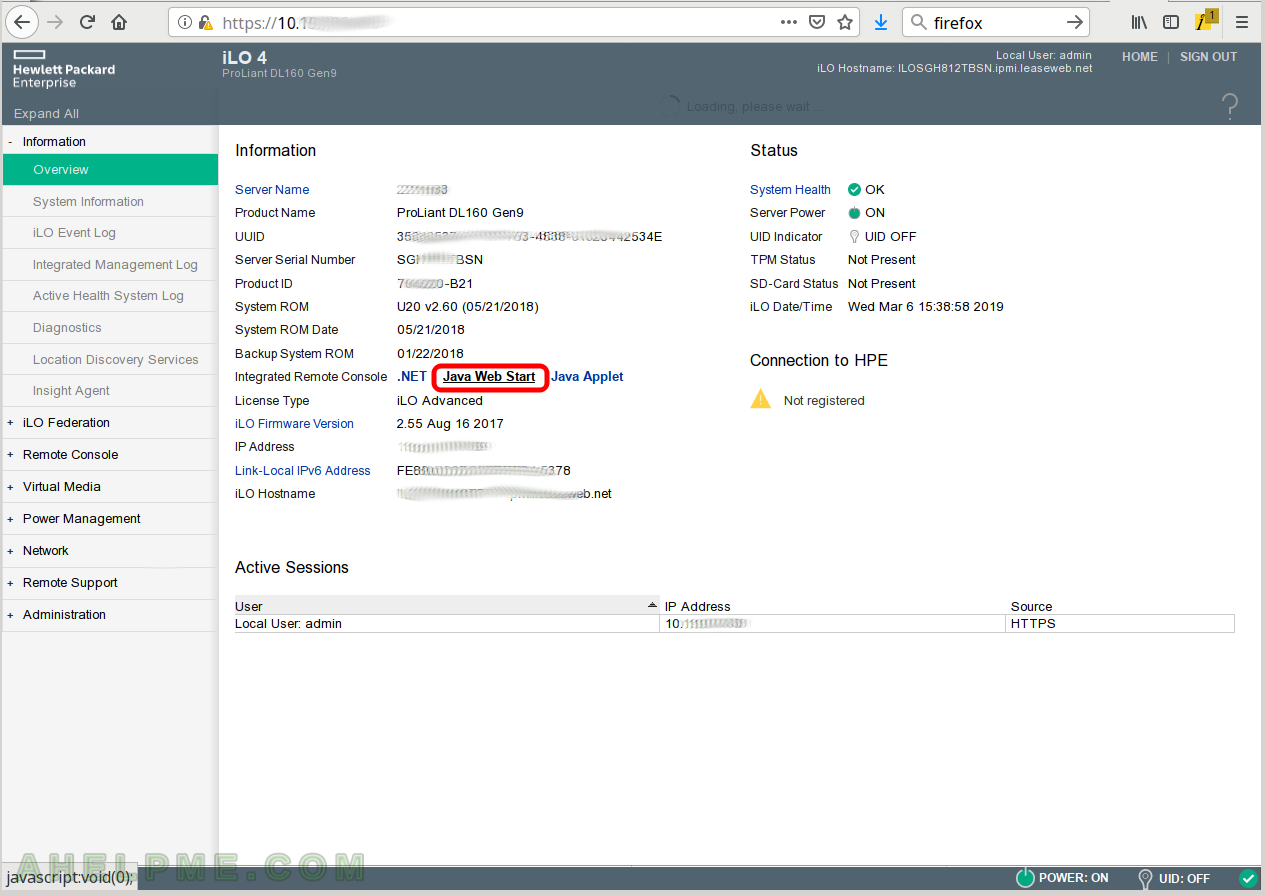
SCREENSHOT 2) The first page when you log in.
Click on “Java Web Start” to start the java application for the KVM. Two other options are still available like a .NET client and a java applet.
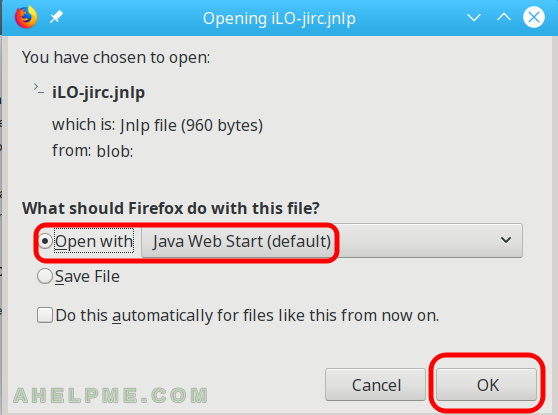
SCREENSHOT 3) Open the iLO-jirc.jnpl with Java Web Start.
It should be your default or if not you can save the file and open Java Web Start file.
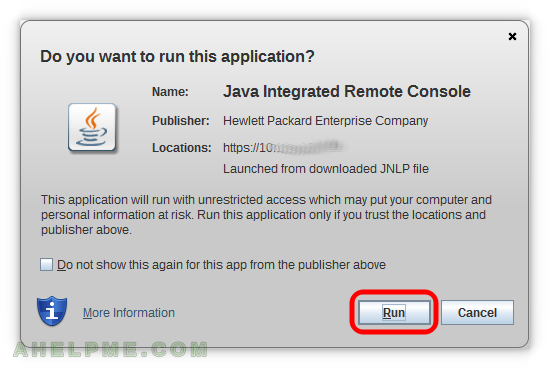
SCREENSHOT 4) Confirmation is needed to open a jnpl file from the Internet.
Click on “Run”.
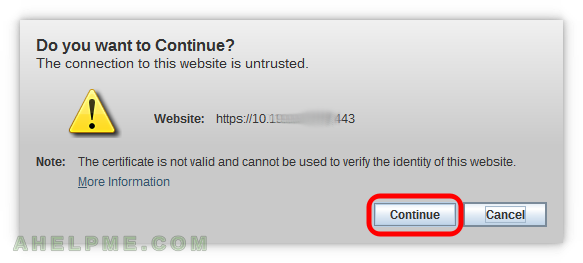
SCREENSHOT 5) Additional confirmation is needed if the certificate is invalid (in most cases when using KVMs).
Click on “Continue”.
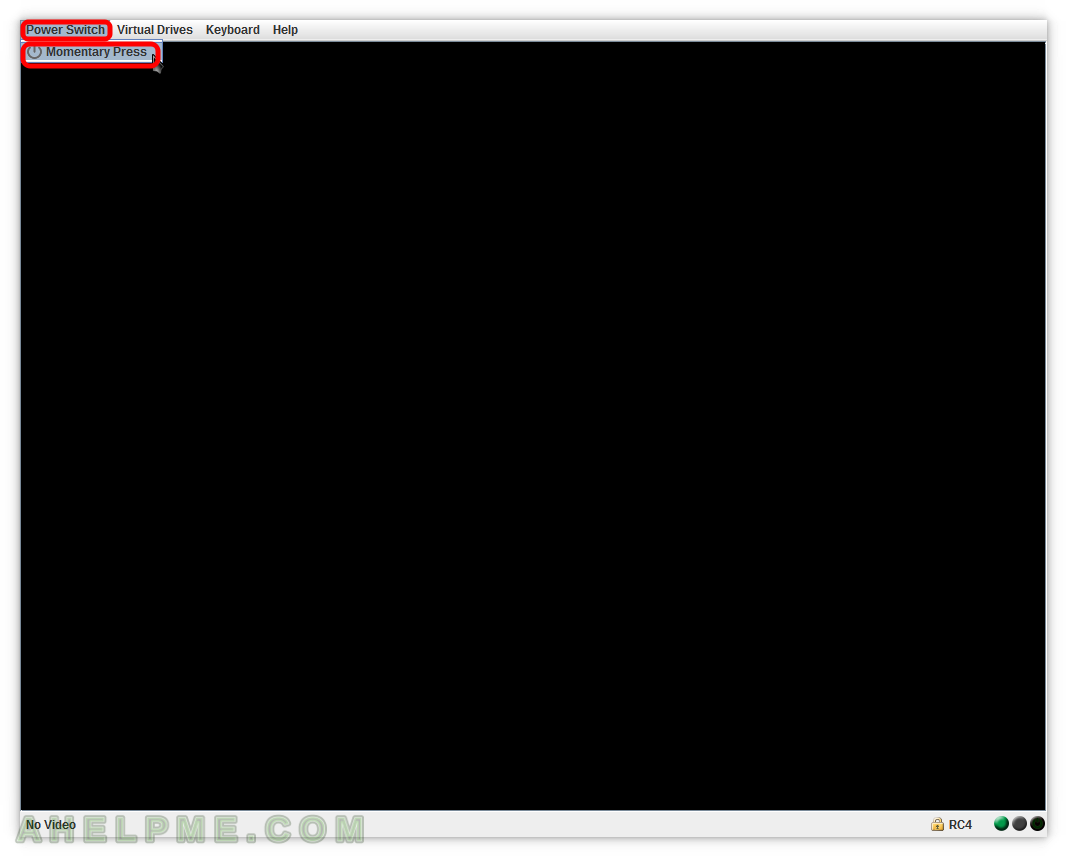
SCREENSHOT 6) Power On the server.
Click on “Power Switch” and then “Momentary Press”.
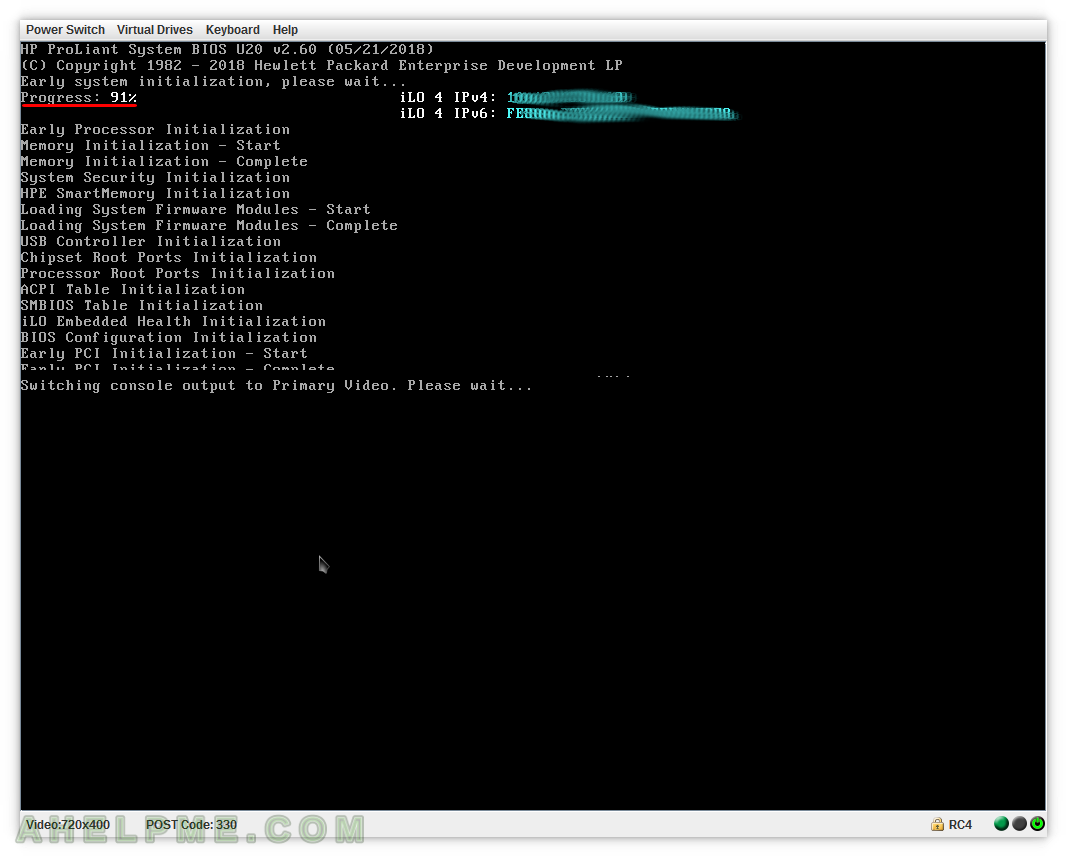
SCREENSHOT 7) The server HP ProLiant DL160 Gen9 initializes all hardware components.
There is progress you can watch.
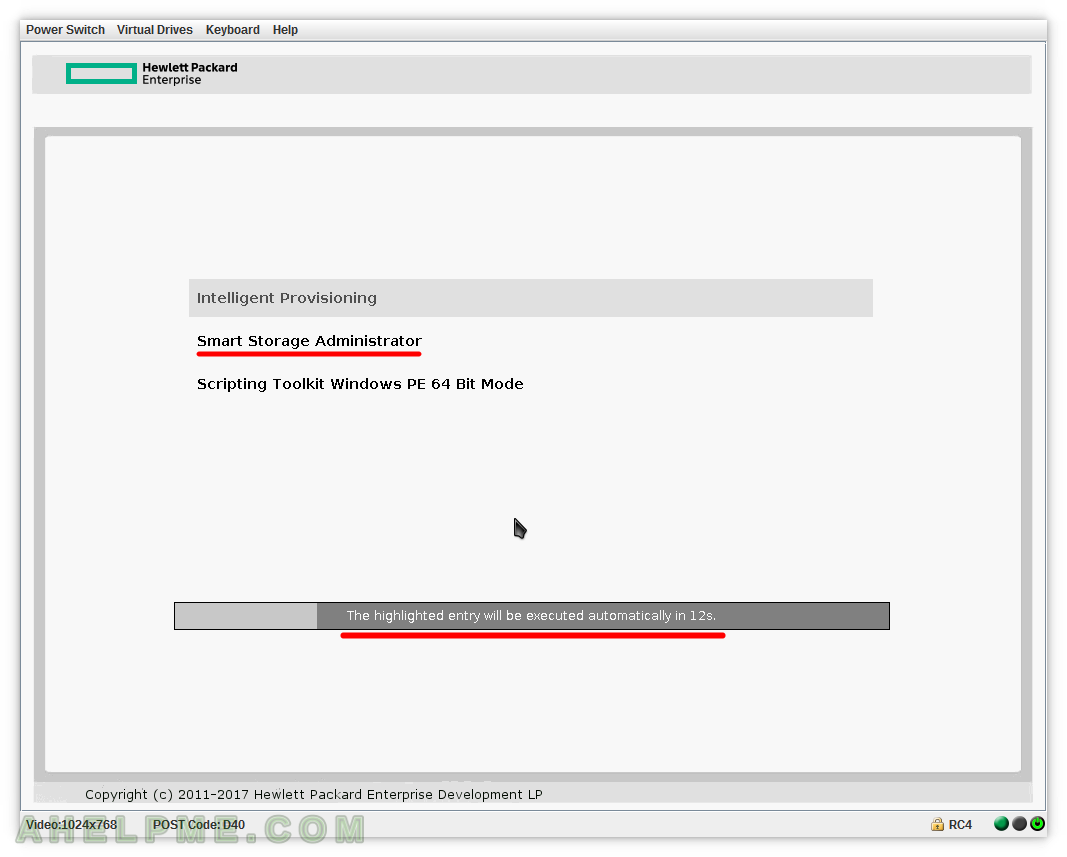
SCREENSHOT 8) The graphical user interface of the HP management utility for disk manipulation is called “Smart Storage Administrator” and is part of the “Intelligent Provisioning” menu.
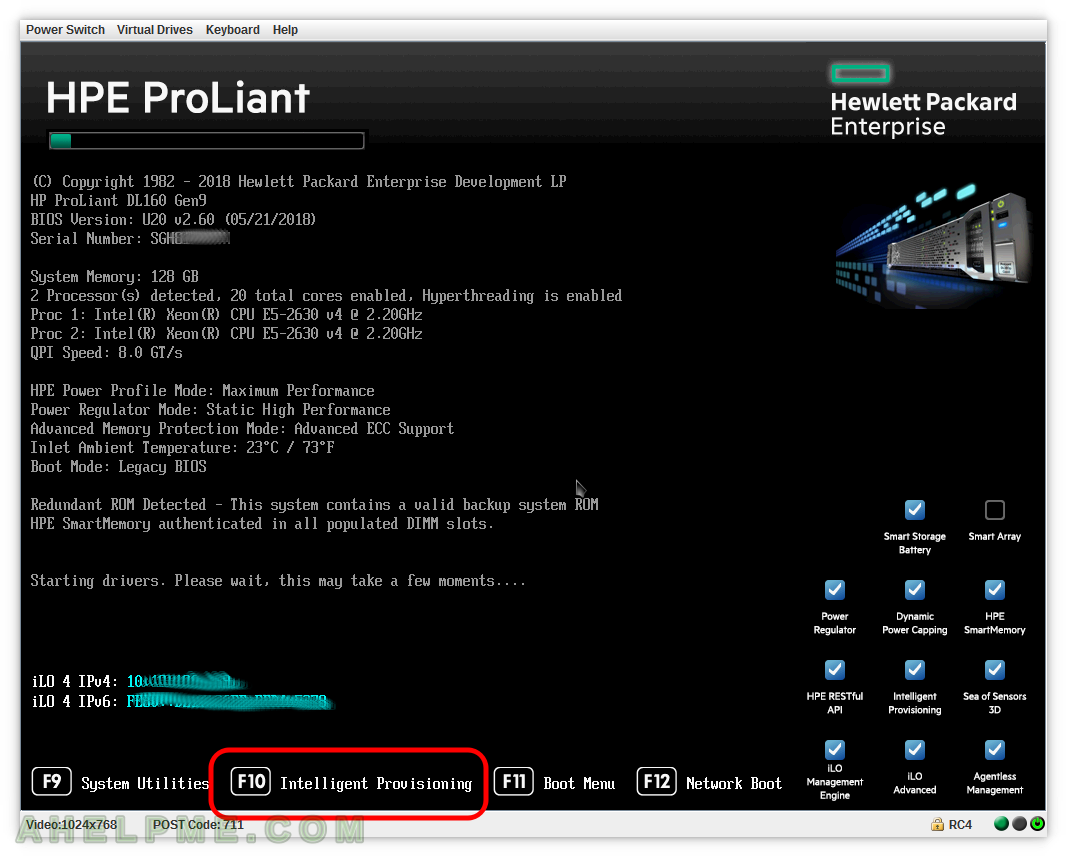
SCREENSHOT 9) The “F10” should be white if selected properly.
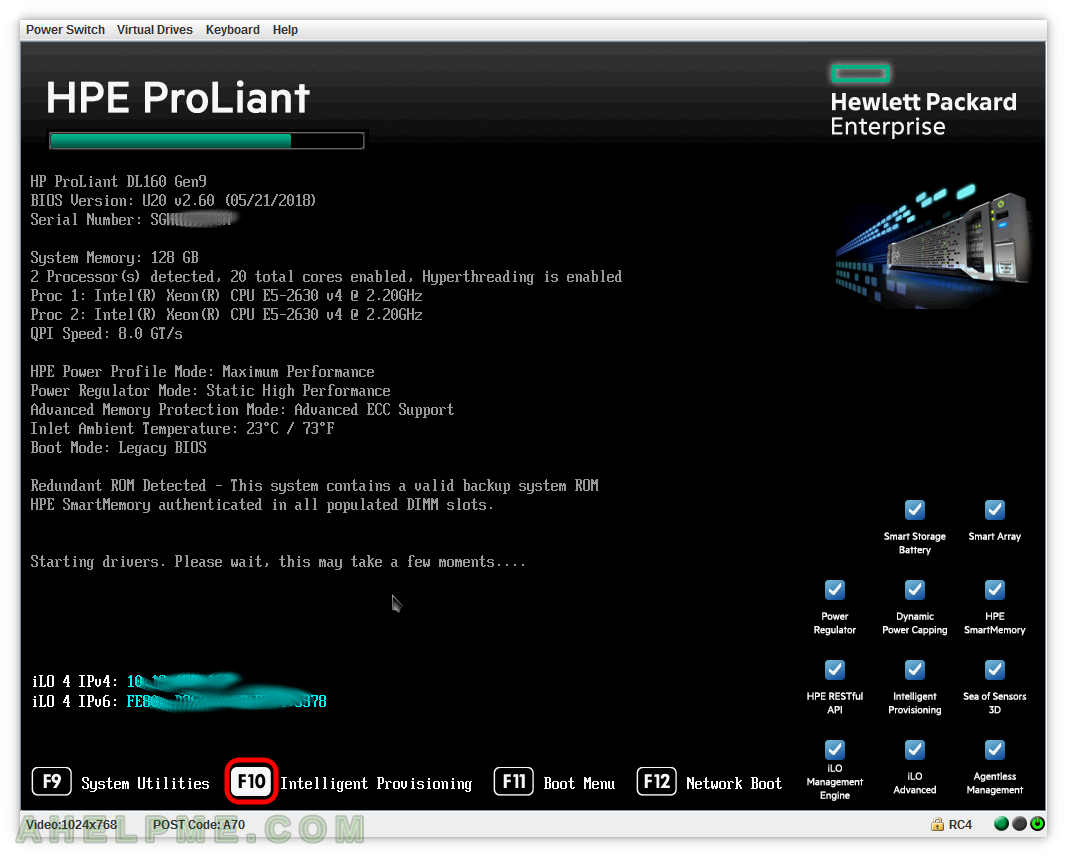
SCREENSHOT 10) By default the option Intelligent Provisioning will be started if you do not select the “Smart Storage Administrator”
You must click on “Smart Storage Administrator” or go with arrow down and press Enter to start it.
