Minimal net install is useful when a dedicated server is installed from a IPMI KVM or Dell iDRAC, HP iLO, IBM IMM or where the initial download of files need to be minimal.
STEP 1) To do a Ubuntu net install first download the correct ISO file from Ubuntu site.
For amd64 Ubuntu 16.04 the net install bootable media is located here (the netboot image is required):
http://archive.ubuntu.com/ubuntu/dists/xenial-updates/main/installer-amd64/current/images/netboot/
Download “mini.iso”:
http://archive.ubuntu.com/ubuntu/dists/xenial-updates/main/installer-amd64/current/images/netboot/mini.iso
The ISO is just only 62Mbytes, so when installing from a remote management utility (some of the different IPMI KVMs) only 62Mbytes will be transferred from the client to the server and all other packets will be downloaded from the Ubuntu mirrors.
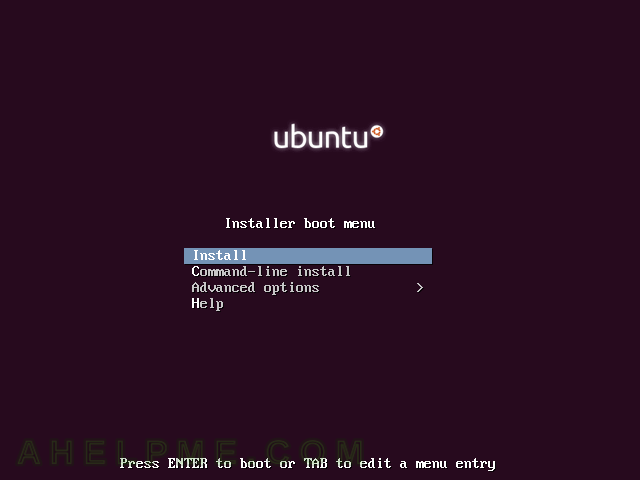
STEP 2) Select “Install” and press Enter to select installation and to continue.
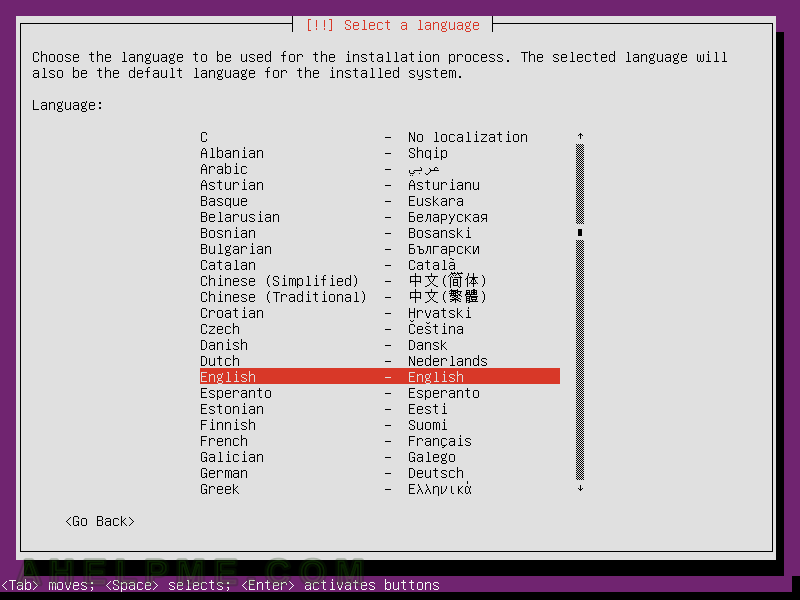
STEP 3) Select your preferred language for the installation steps, this tutorial use English, so probably it is a good idea to just select “English”.
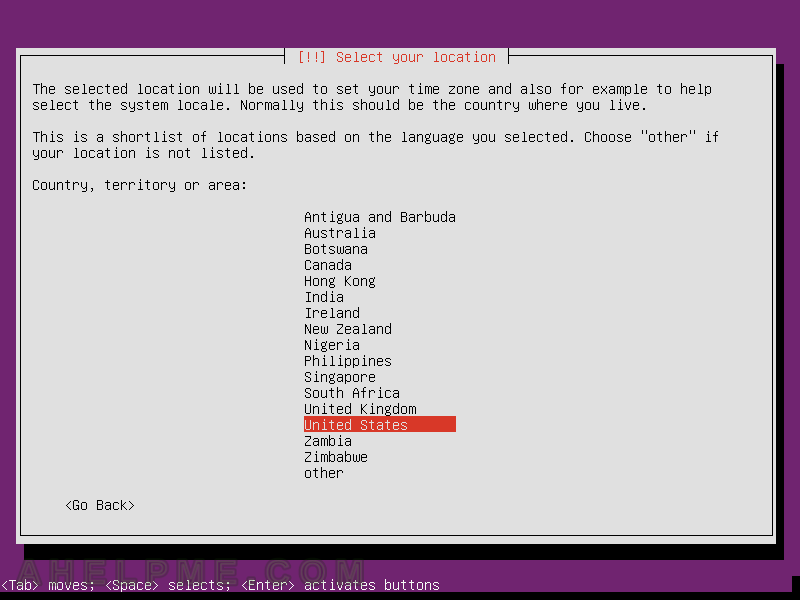
STEP 4) Select the location of your machine you are installing. The default is “United States”.
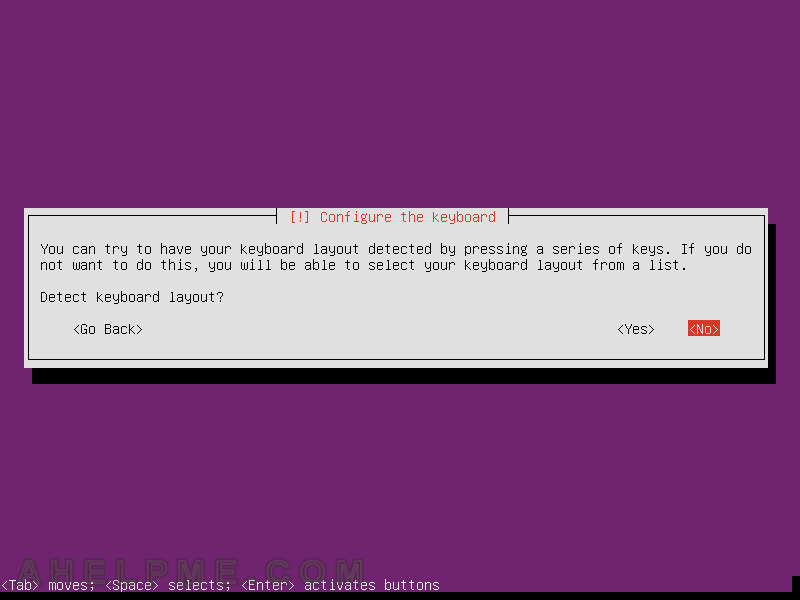
STEP 5) Autodetect your keyboard layout is skipped (the next step is for manual choosing the keyboard layout), just press “No”.
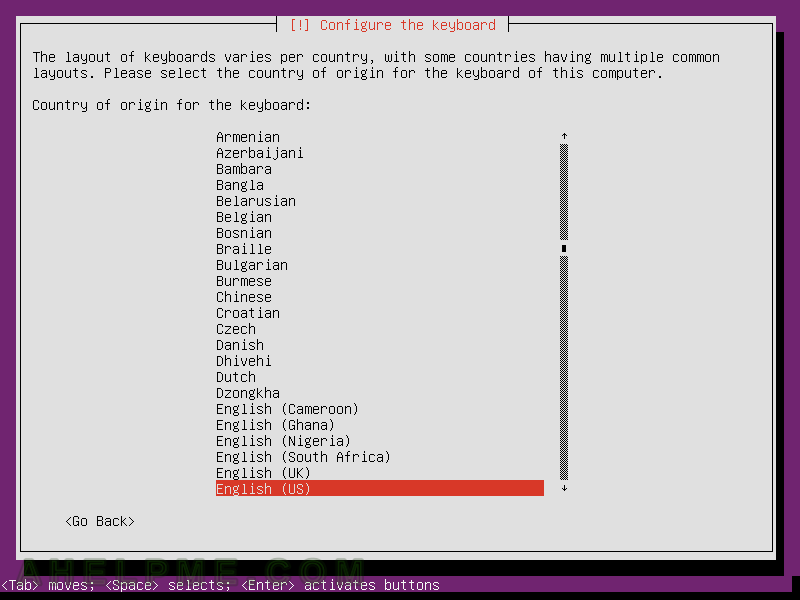
STEP 6) Select the country of origin for the keyboard your are using.
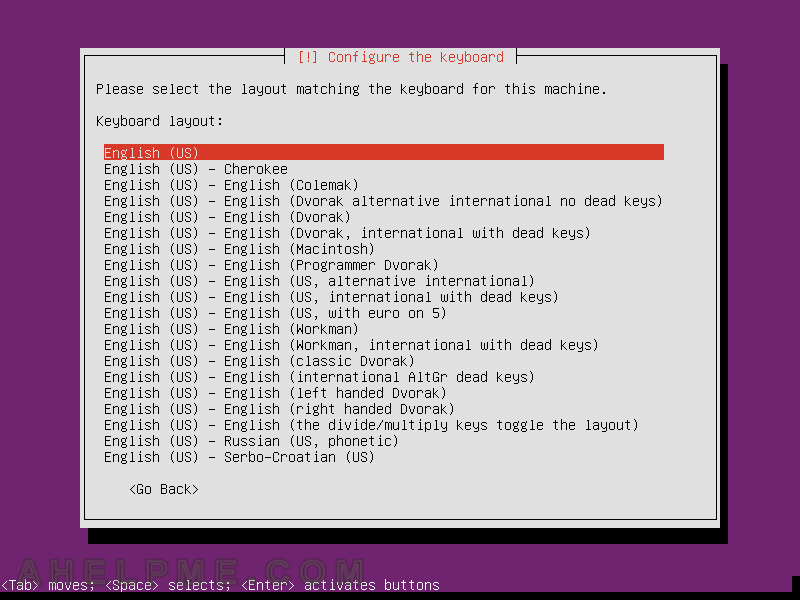
STEP 7) Select your keyboard layout – most used is “English (US)”, but if your keyboard is in different language you could select it from the menu. And then press Enter.
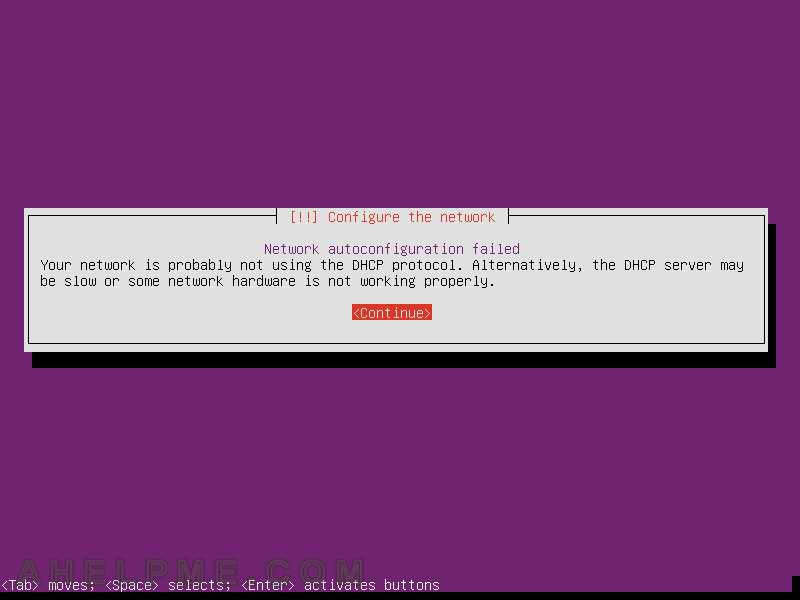
STEP 8) You’ll see a couple of dialogs about the network setup, press immediately Cancel (the Cancel is the default, so just press couple of times “Enter”) to cancel the DHCP setup of the network. When installing a dedicated server you must have the IP from your provider of the service. When installing at home probably you could just leave it without pressing “Cancel” and your home router will configure the IP of your machine. Here we describe the manual process of setting the network.
STEP 9) After canceling the default process of network setup, there will be showed “Network configuration failed.”. Press “Enter” to continue with manual network configuration.
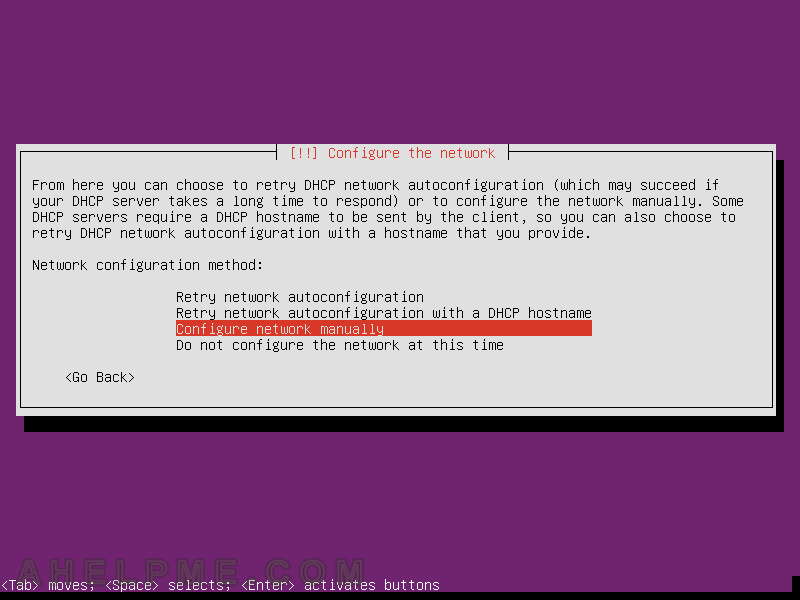
STEP 10) Mark “Configure network manually” and press “Enter”.
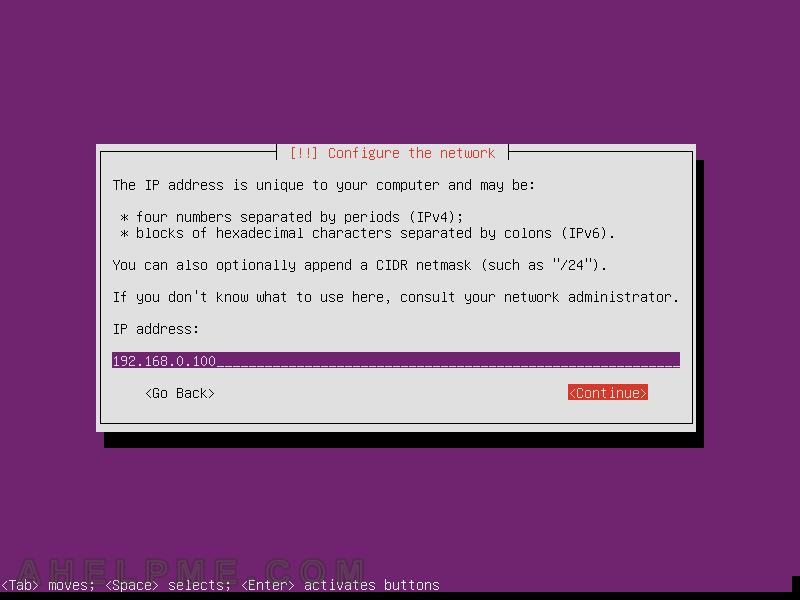
STEP 11) Set your IP address, the IP address of our dedicated server is 192.168.0.100 And press “tab” to mark “Continue” and then press “Enter”.
STEP 12) Set your netmask of the network. Here we set up the whole subnetwork /24, so the netmask is 255.255.255.0 And press “tab” to mark “Continue” and then press “Enter”.

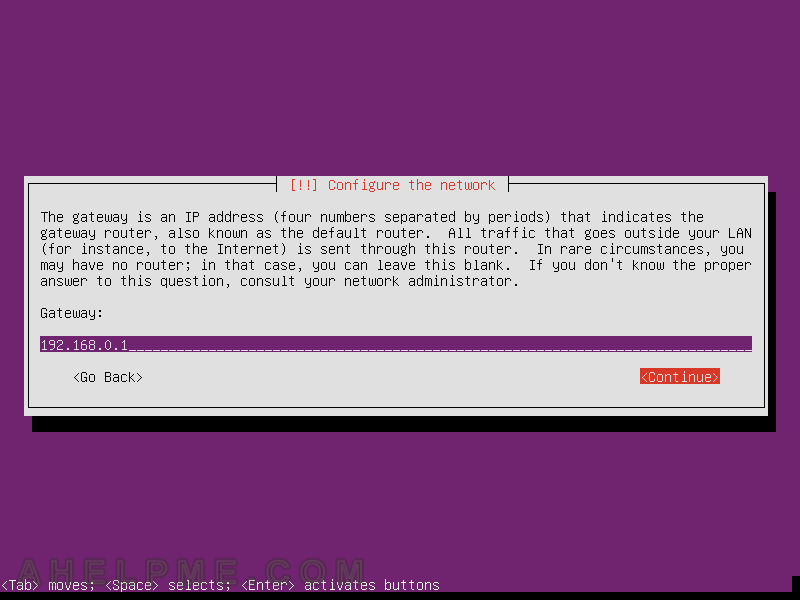
STEP 13) Set the gateway of the network, the router IP (from where the Internet “comes”). Our router has IP 192.168.0.1 And press “tab” to mark “Continue” and then press “Enter”.
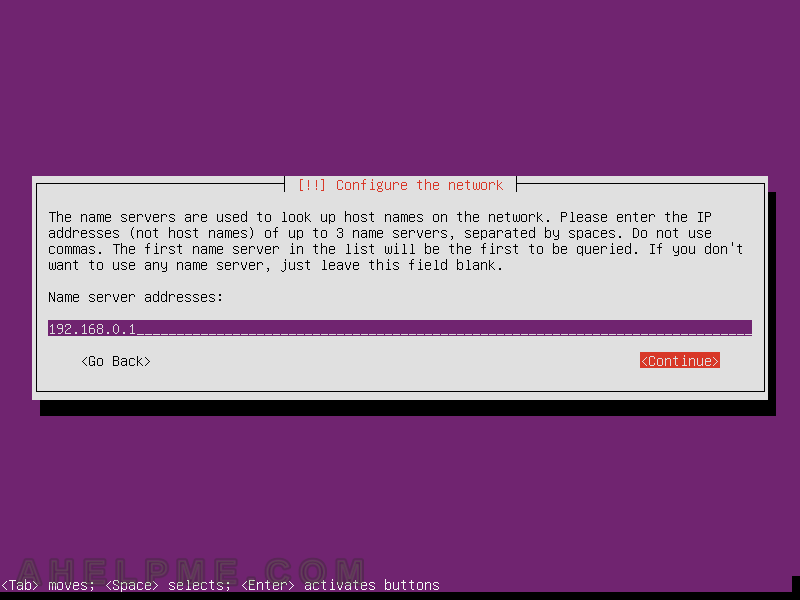
STEP 14) Set the nameservers to be used for resolving domain names to IP addresses, probably this is the IP of your router (as in our case), but you could use for example google DNS servers “8.8.8.8,8.8.4.4”. If you have more than one,just use commas to separate the IP addresses.
STEP 15) Set the hostname of your server, this is the name of your machine. We use “ubuntu-test”. Or you can use more meaningful name like “srv1-dns-eu”

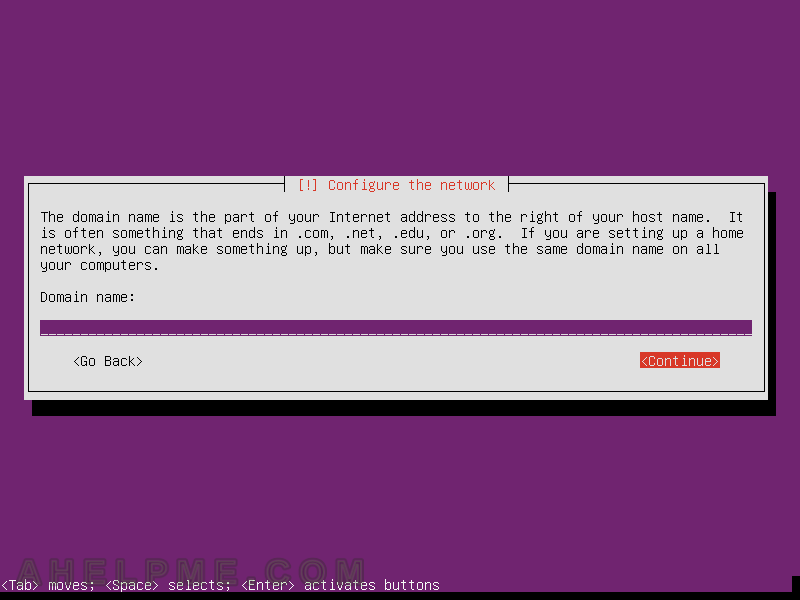
STEP 16) The domain name part of the server’s name if any. Leave blank or if you have it will be sort of “cdn.com”,so the fully qualified domain name (FQDN) will be “srv1-dns-eu.cdn.com”
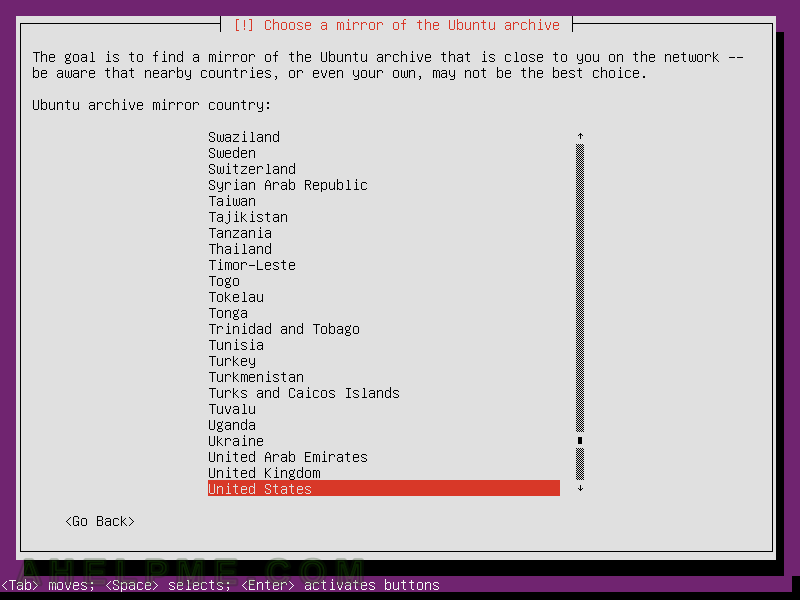
STEP 17) Select the source of the installation files and packages. Choose the nearest location to your machine to be sure the fastest speed and fast installation.
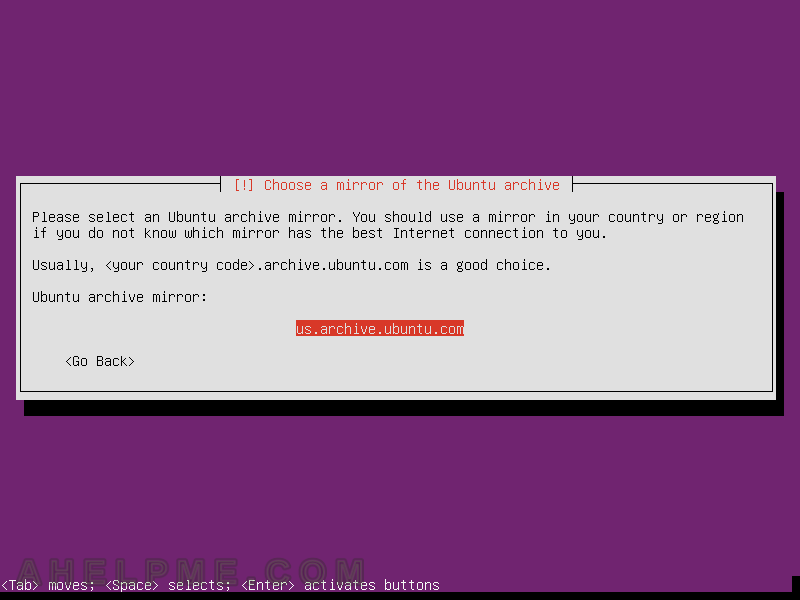
STEP 18) The installation process will offer the right name of the mirror servers, select it and press “Enter”.
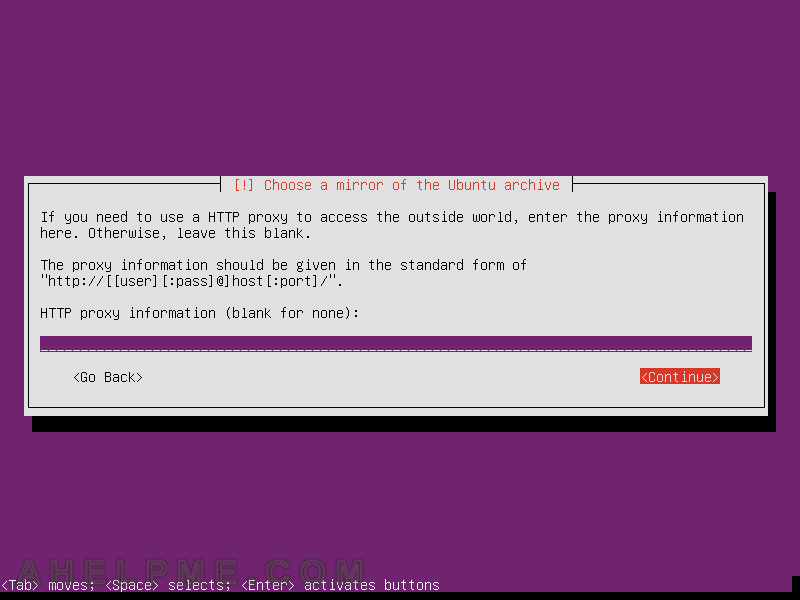
STEP 19) If you need a proxy to connect to the Internet it is time to set it up, but probably you do not need it, so leave blank, press “tab” to mark “Continue” and press “Enter”
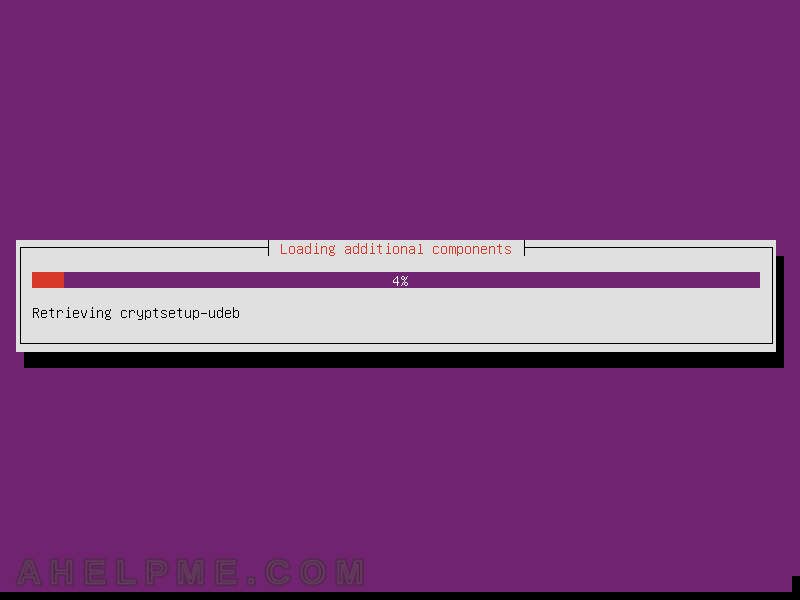
STEP 20) …
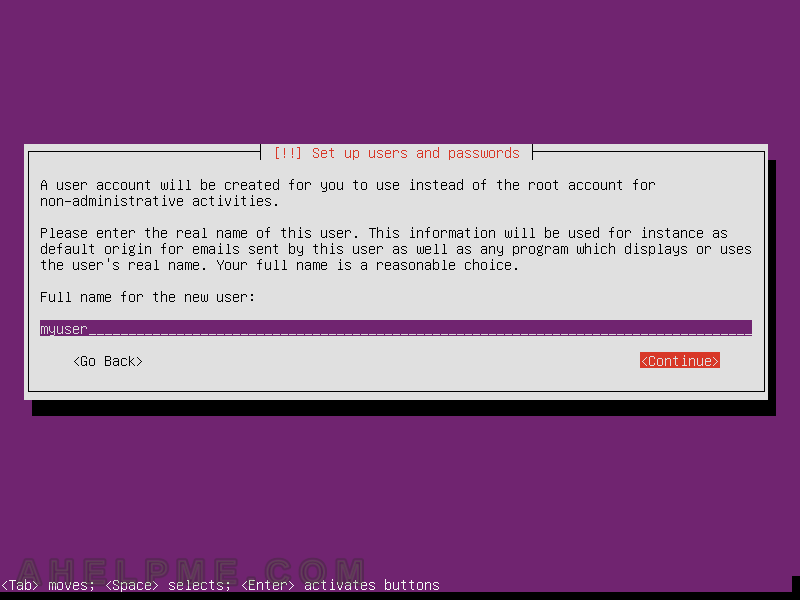
STEP 21) You must create a user account, which will have the ability to escalate to root, default process of installation do not allow to set root password, but a user, which could switch to root. Set the Full name of your user (it could be just the username as shown). And press “tab” to mark “Continue” and then press “Enter”.
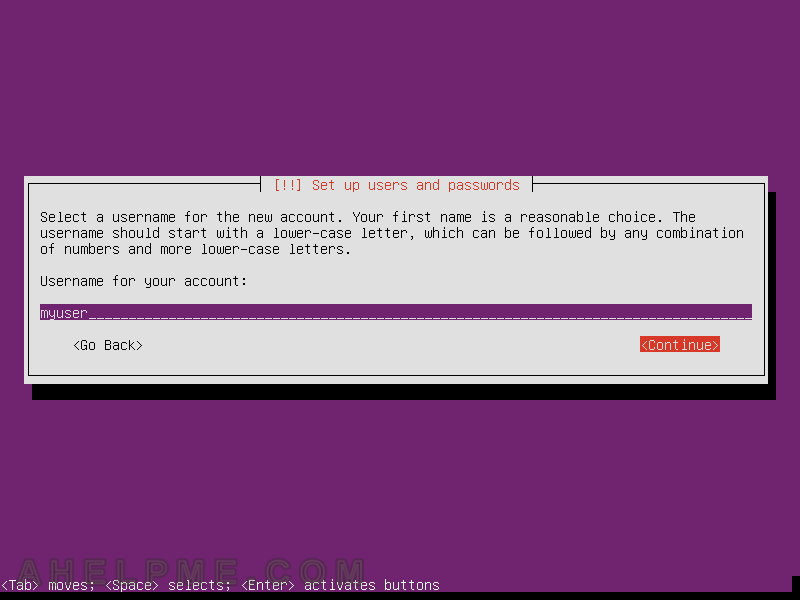
STEP 22) Set the username, how you log in the system. We used the same as the Fullname from the previous step. And press “tab” to mark “Continue” and then press “Enter”.
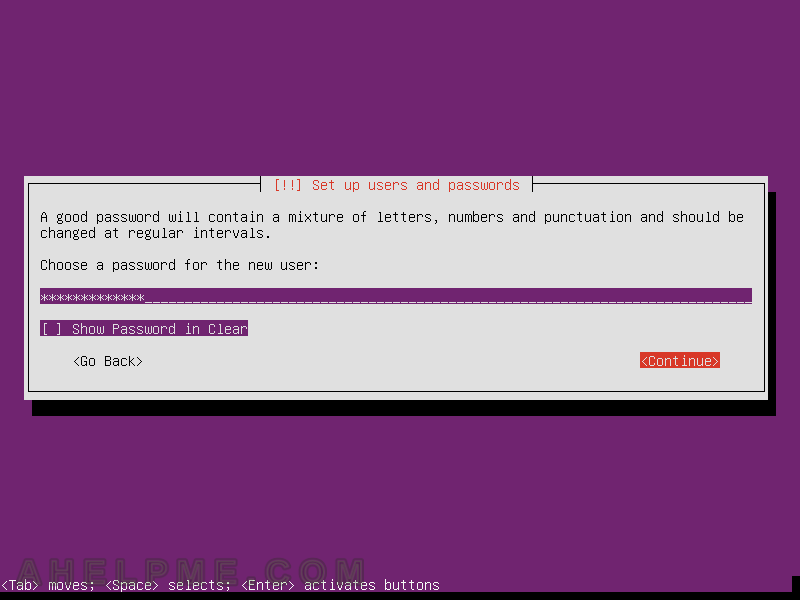
STEP 23) Set the password of the user. And press “tab” to mark “Continue” and then press “Enter”.
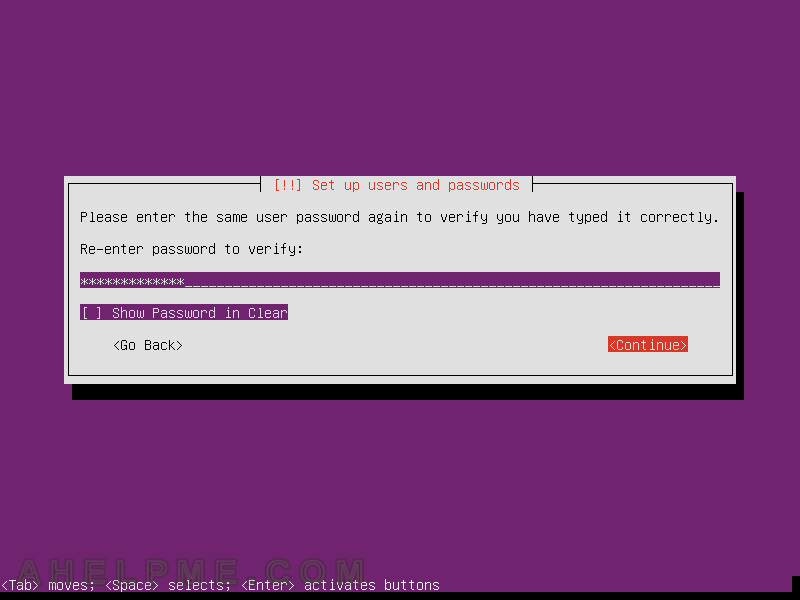
STEP 24) Repeate the password of the user to verify you have typed it correctly. And press “tab” to mark “Continue” and then press “Enter”.
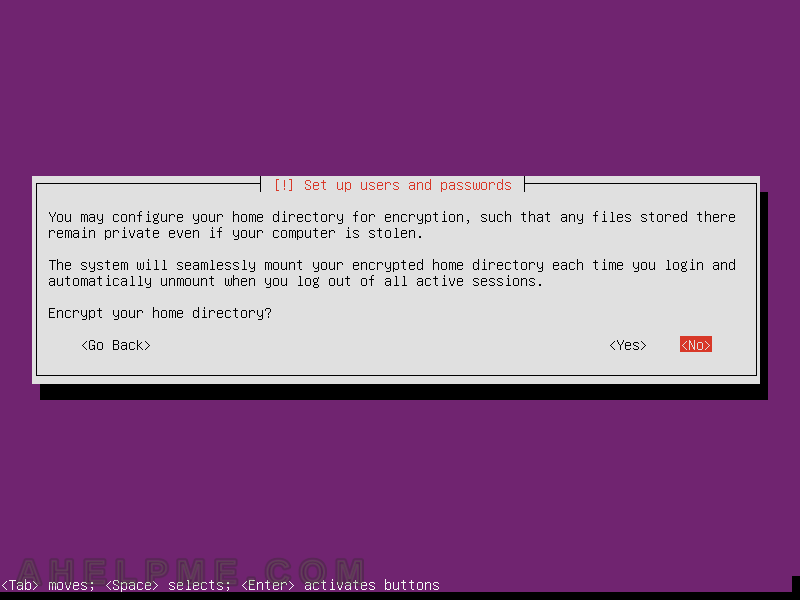
STEP 25) If you would like you can encrypt your home directory. Most cases for servers, mark the default “No”, but for laptop or home desktop machine it it advisable to encrypt your personal data! So mark your choice and press “Enter”.
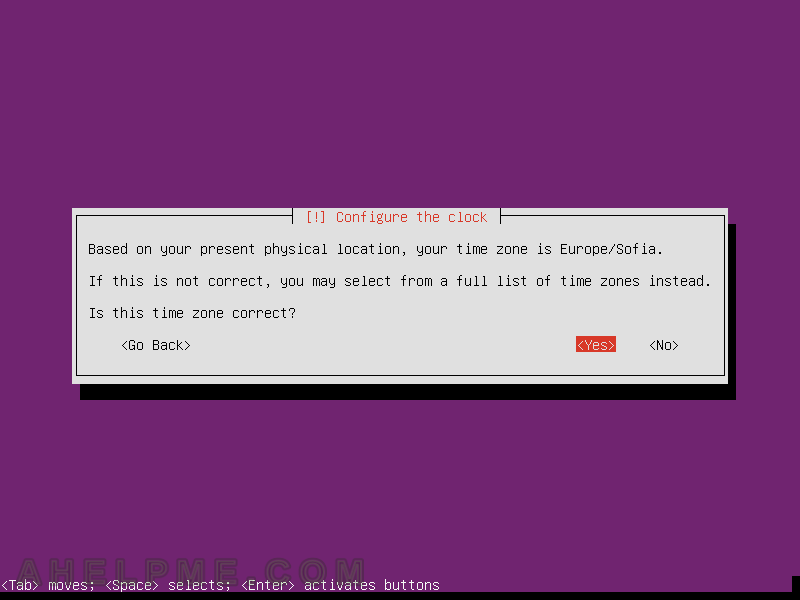
STEP 26) Set the right timezone of your machine, most time for servers it is UTC and for leave it as detected. Press “Enter”.
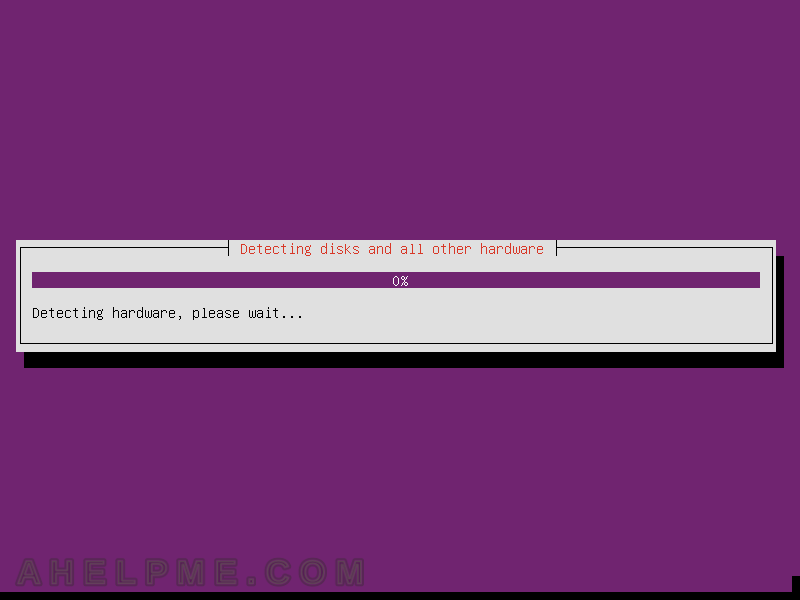
STEP 27) Detecting disks configuration.
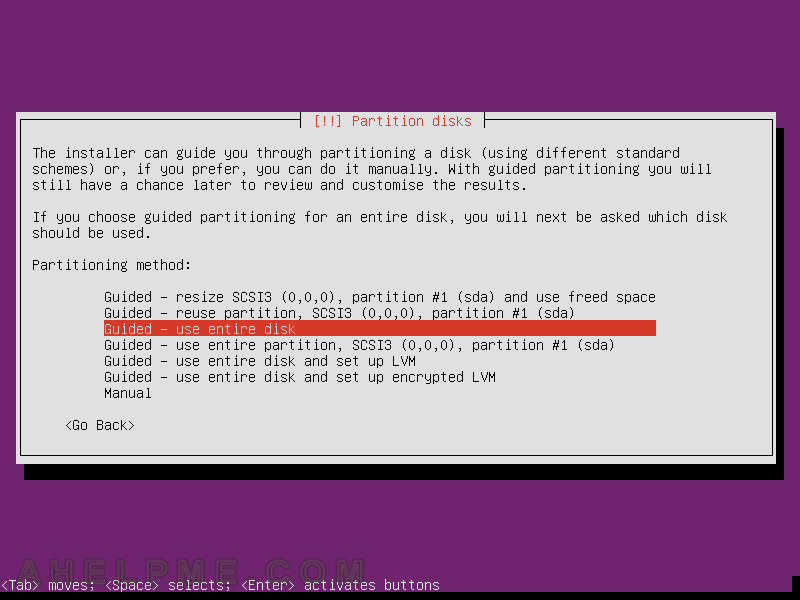
STEP 28) The easiest way here is to use the entire disk for Ubuntu installation. All other options are for another tutorial, which could get more complicated. That’s why we use “Guided – use entire disk” for simplicity. It could be used LVM or encrypted LVM, too. Here we chose the simplest option.
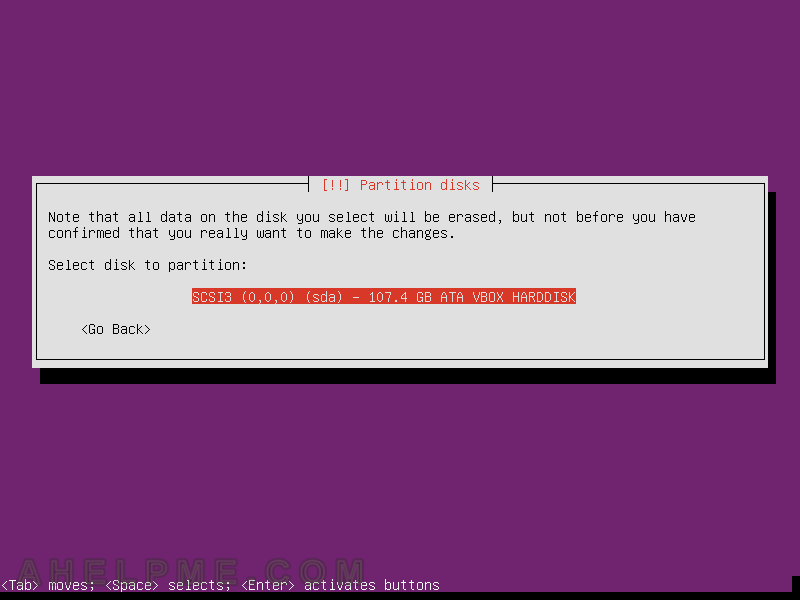
STEP 29) Select the disk to use for your ubuntu installation, if you have multiple disk be sure to select the right one! Choosing a wrong disk could lead to data loss. Press “Enter” to continue.
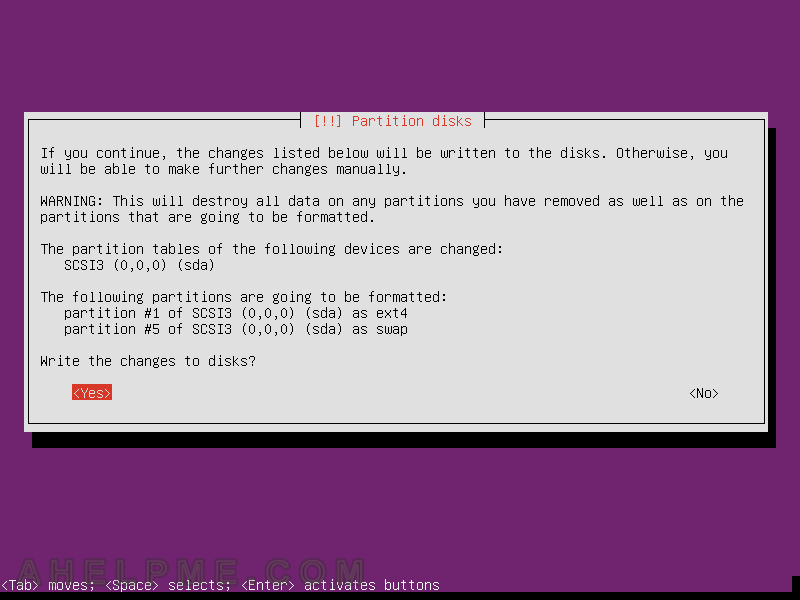
STEP 30) The user must confirm the changes on the disk, as it is written this operation will erased all the information ot your selected disk!!! Be sure you marked “Yes” and press “Enter”.
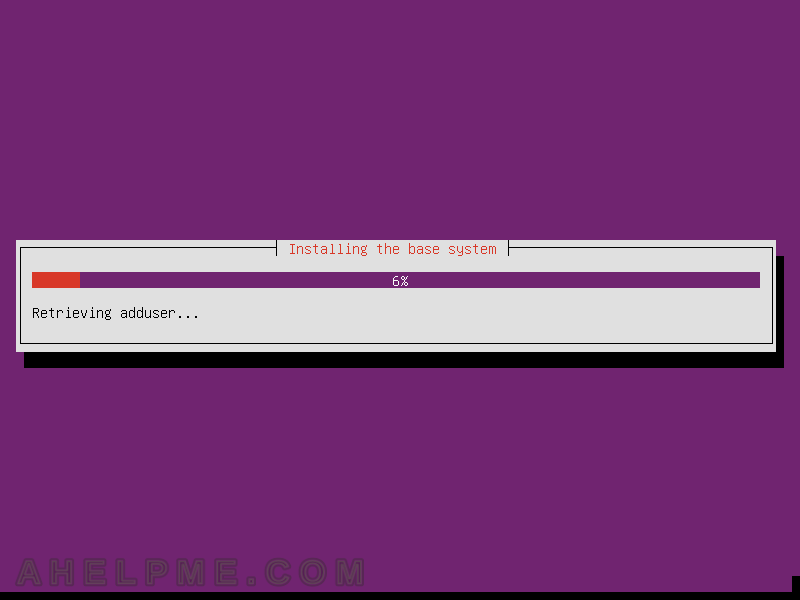
STEP 31) Installing the base system.
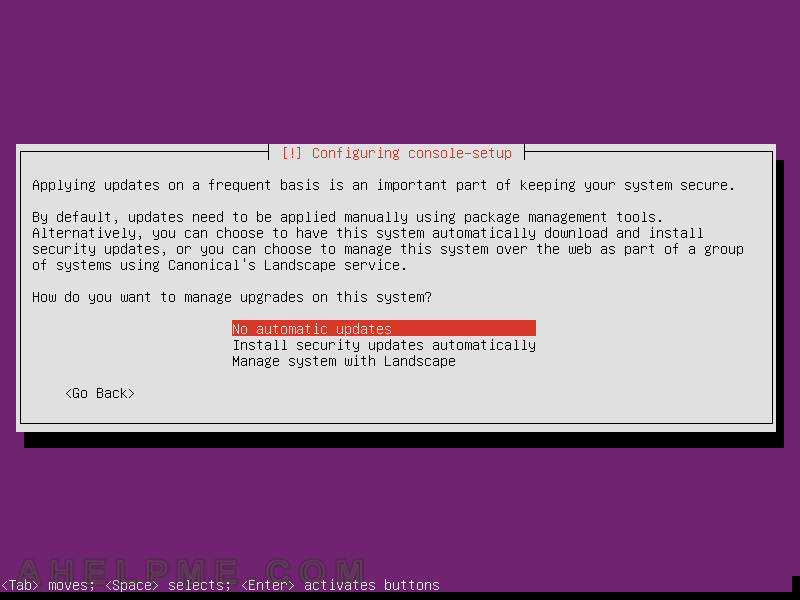
STEP 32) Just select “No automatic updates” and hit “Enter”. Always update your system when you are online, becuase sometimes during update process there are service restarts, which could be critical for your server. So guided updates are always the right way!
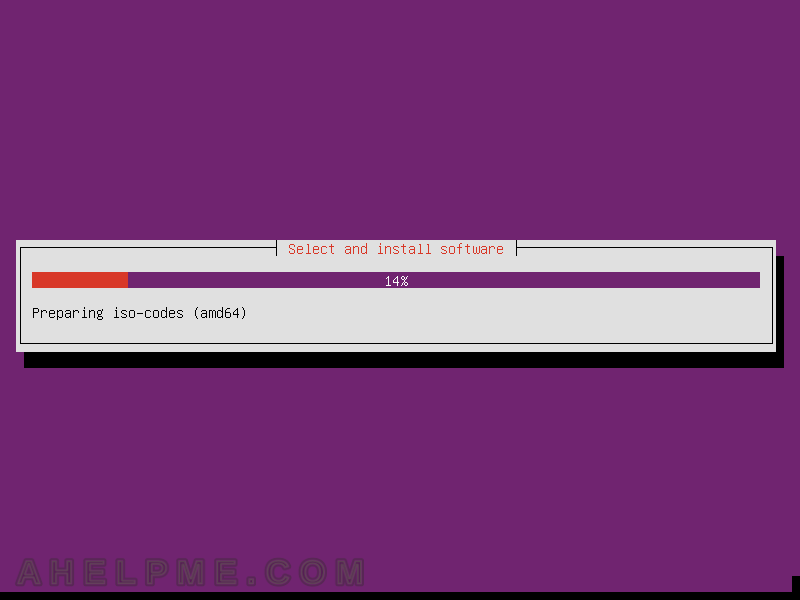
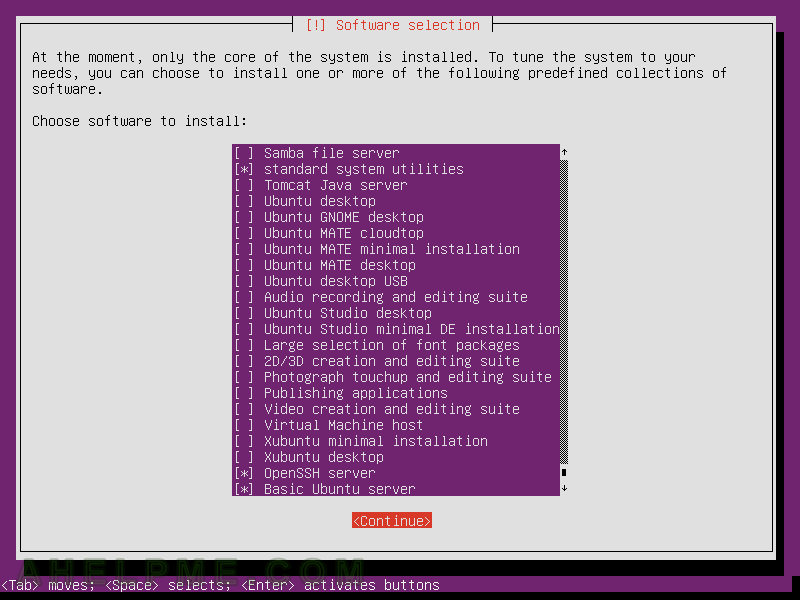
STEP 33) Select and install software.
STEP 34) What kind of system do you build? GUI, server or with specific services? These are predefined collections ensuring to install the right packages for the coresponding software collection.
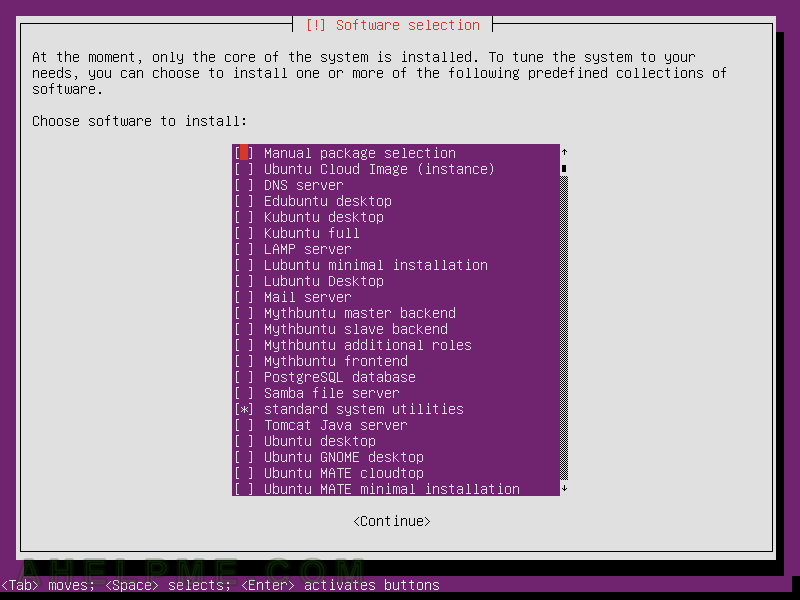
STEP 35) We selected only OpenSSH server and Basic Ubuntu server, because we want to install a base linux system with remote access. Press “tab” and mark “Continue”, the press “Enter”.
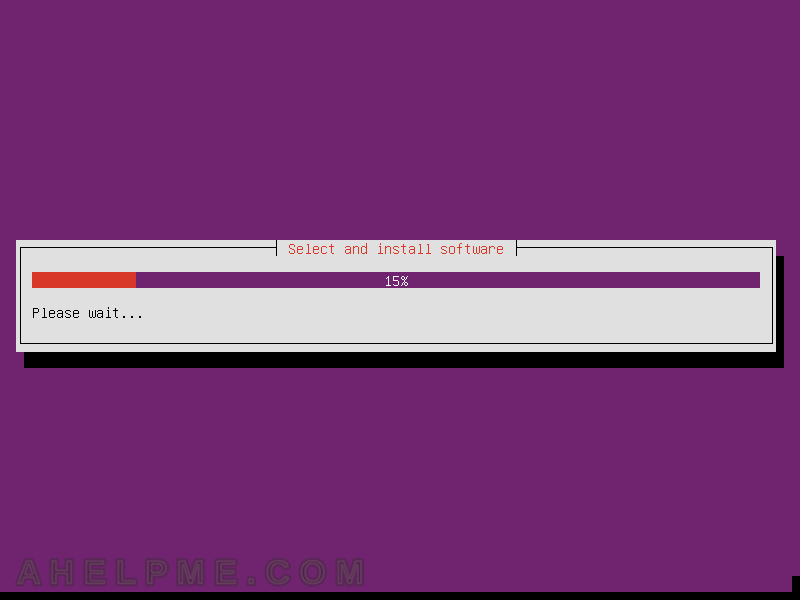
STEP 36) Select and install software.
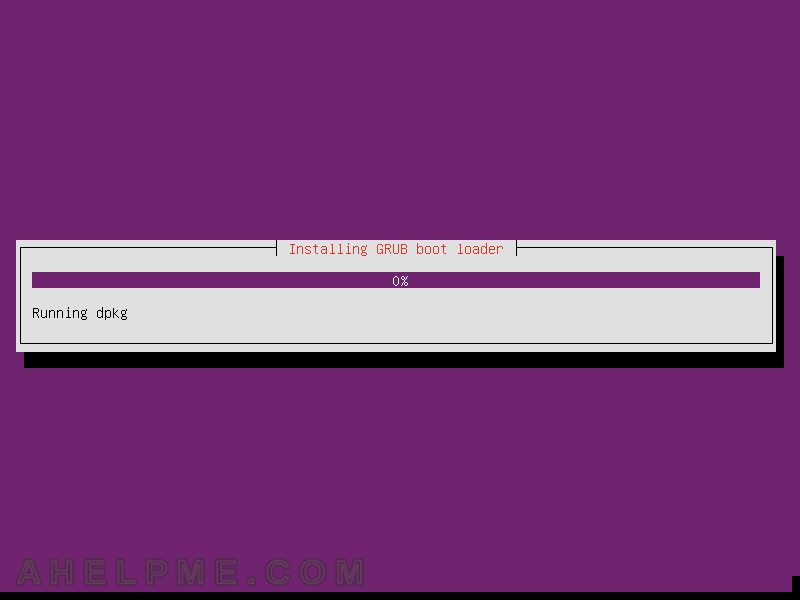
STEP 37) Installing GRUB boot loader.
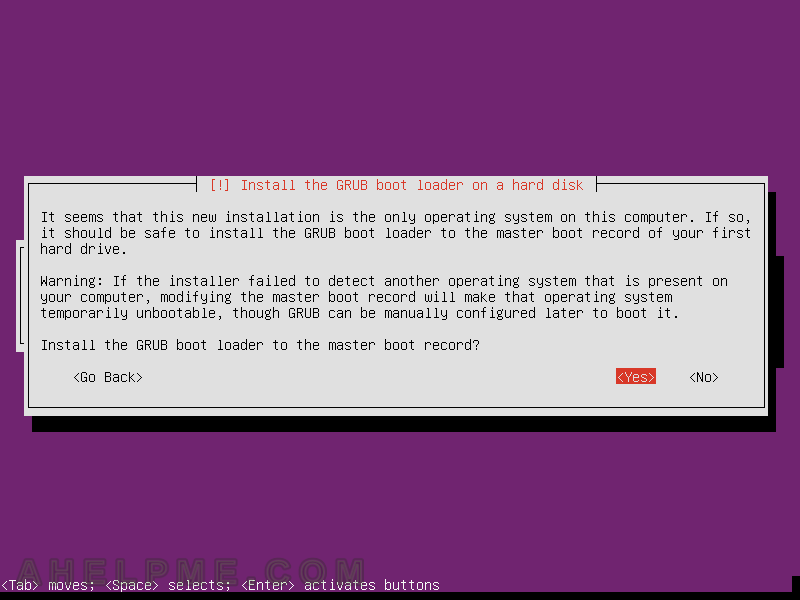
STEP 38) Because this will be the only operating system, it is safe to install the GRUB to the master boot record. Mark “Yes” an hit “Enter”
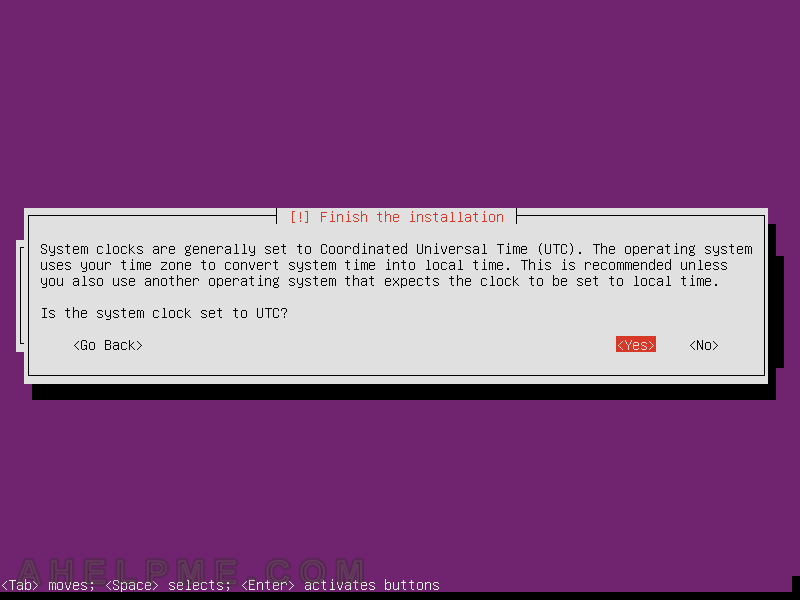
STEP 39) In most cases the system clock is set to UTC, so just press “Enter”. No problem to change this settings your case is not the same.
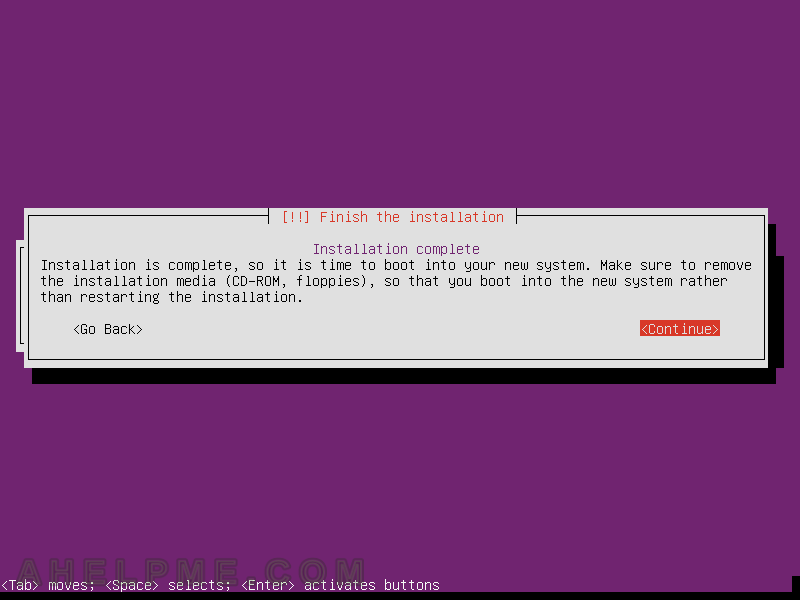
STEP 40) Remove the installation disk – CD, DVD, unmap virtual CD/DVD or USB and then press “Continue”. The machine will restart.
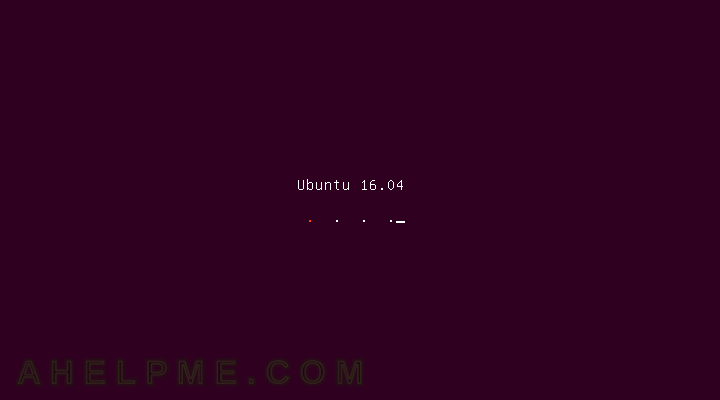
STEP 41) Ubuntu 16.04 is booting…
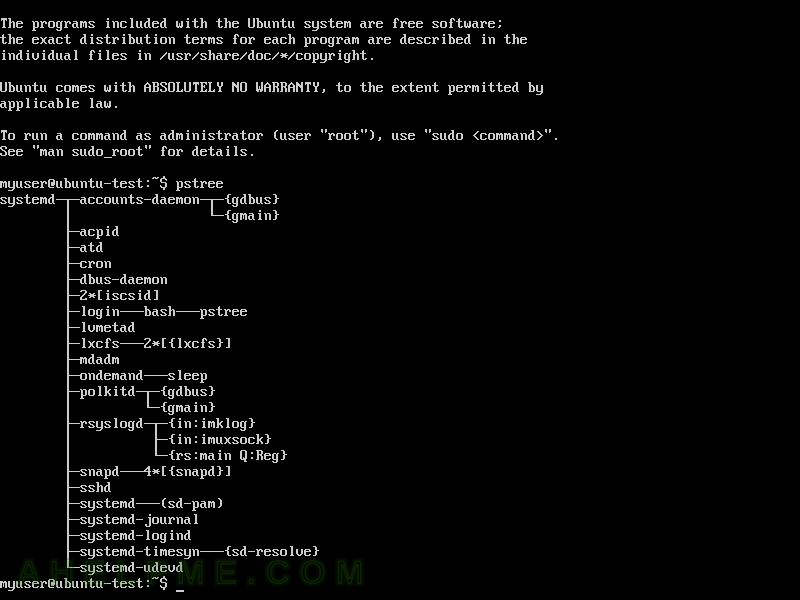
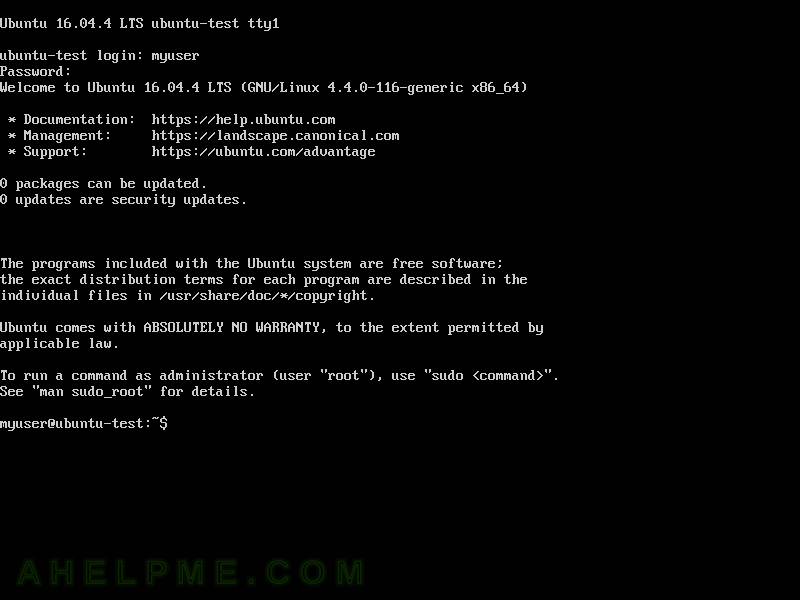
STEP 42) The machine is working properly, it is logged with myuser.
STEP 43) And here are the running programs of a base Ubuntu system.