STEP 11) Just click on “OK” and your computer will reset.
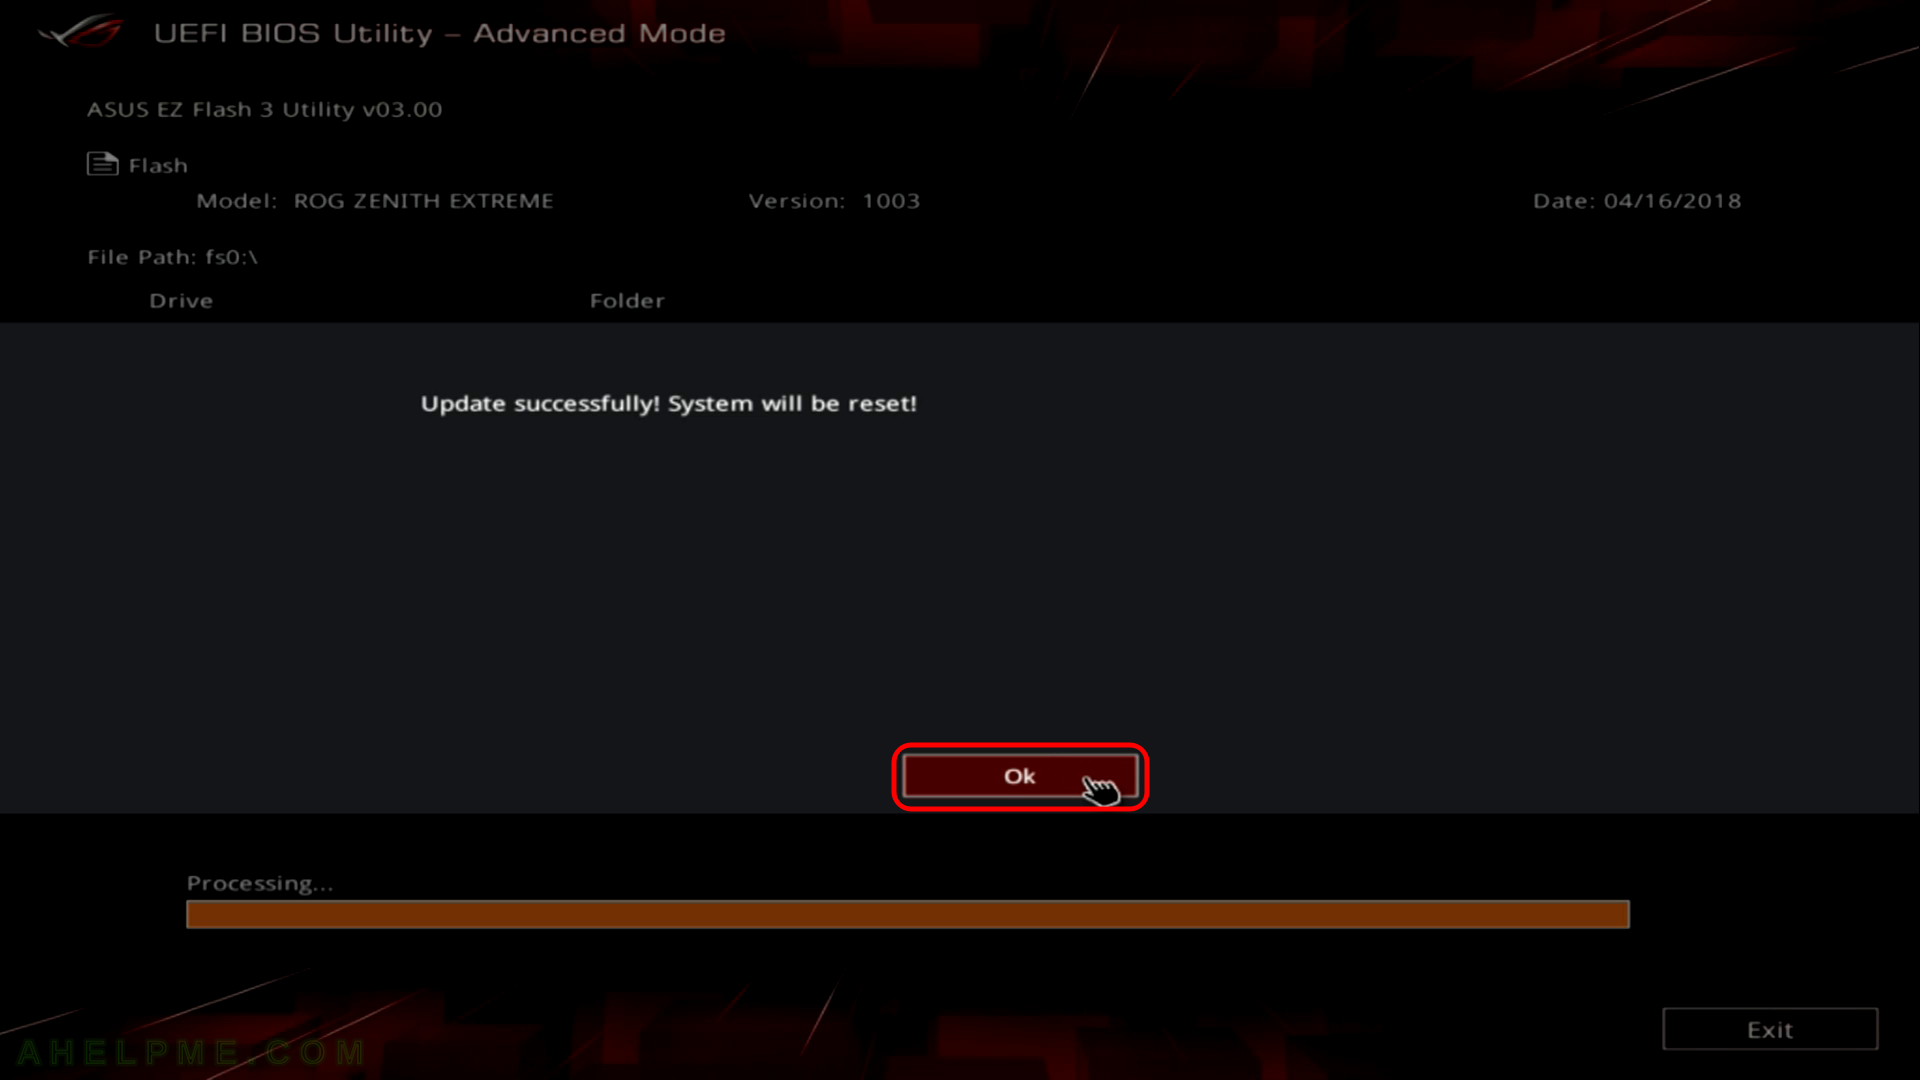
STEP 12) Do not shut down or reset the system to prevent system bootup failure. After that your computer will reset again.
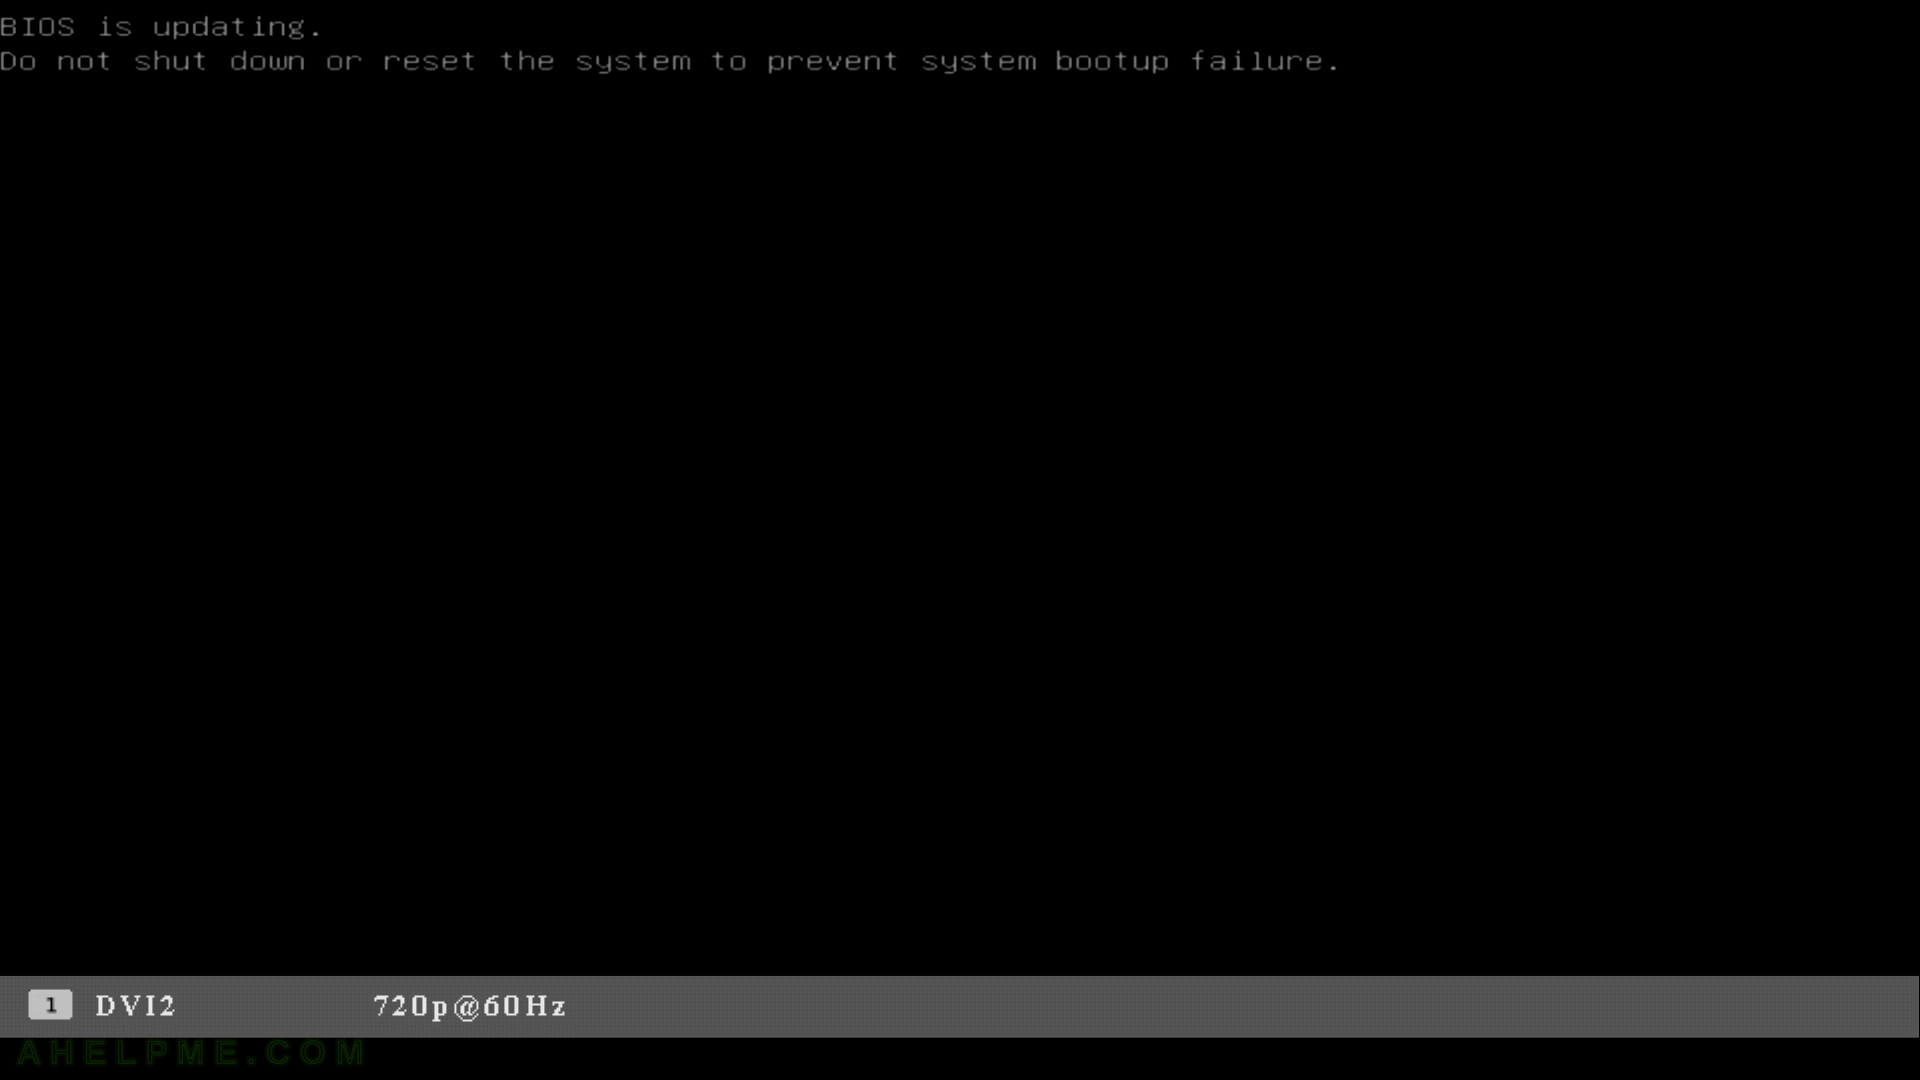
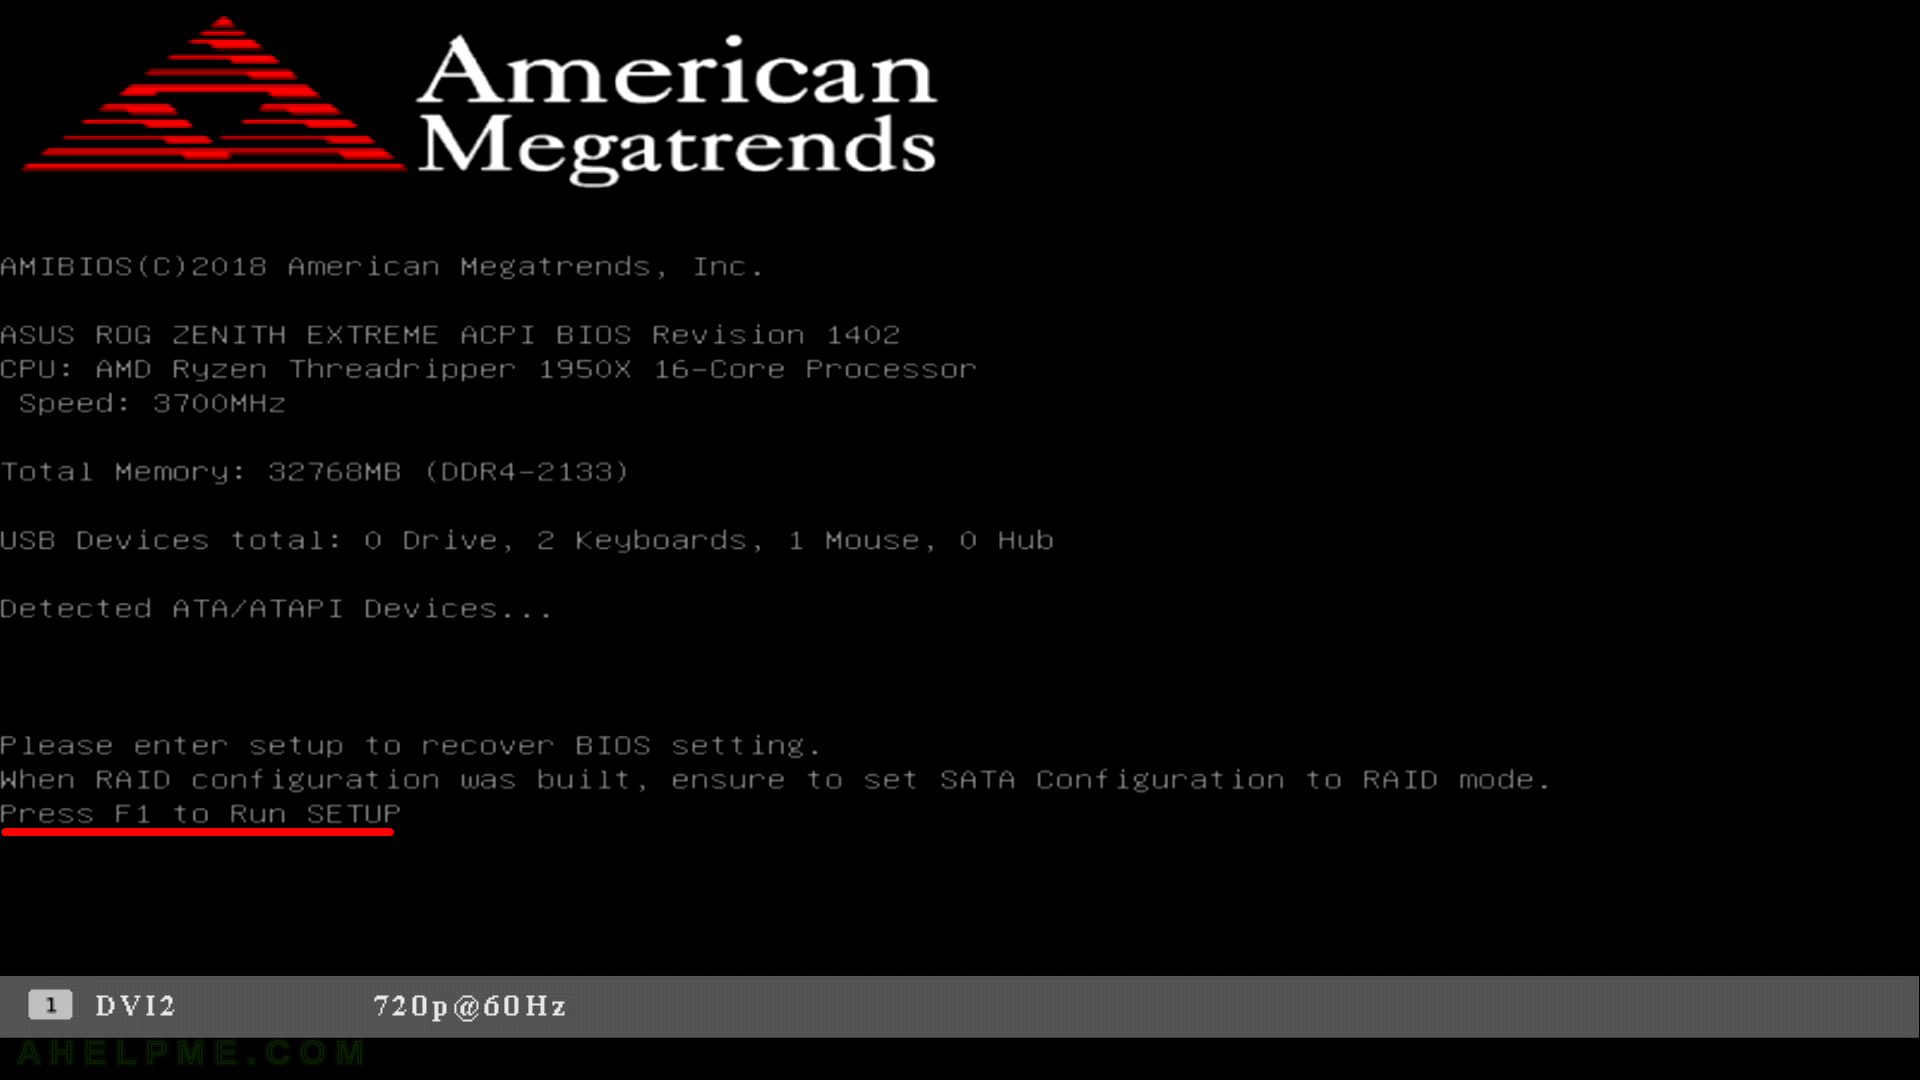
STEP 13) After the last reset the UEFI BIOS version is the new one and you should enter the BIOS again to make the configuration.
When updating some of the options could be changed so you are invited to enter the BIOS.
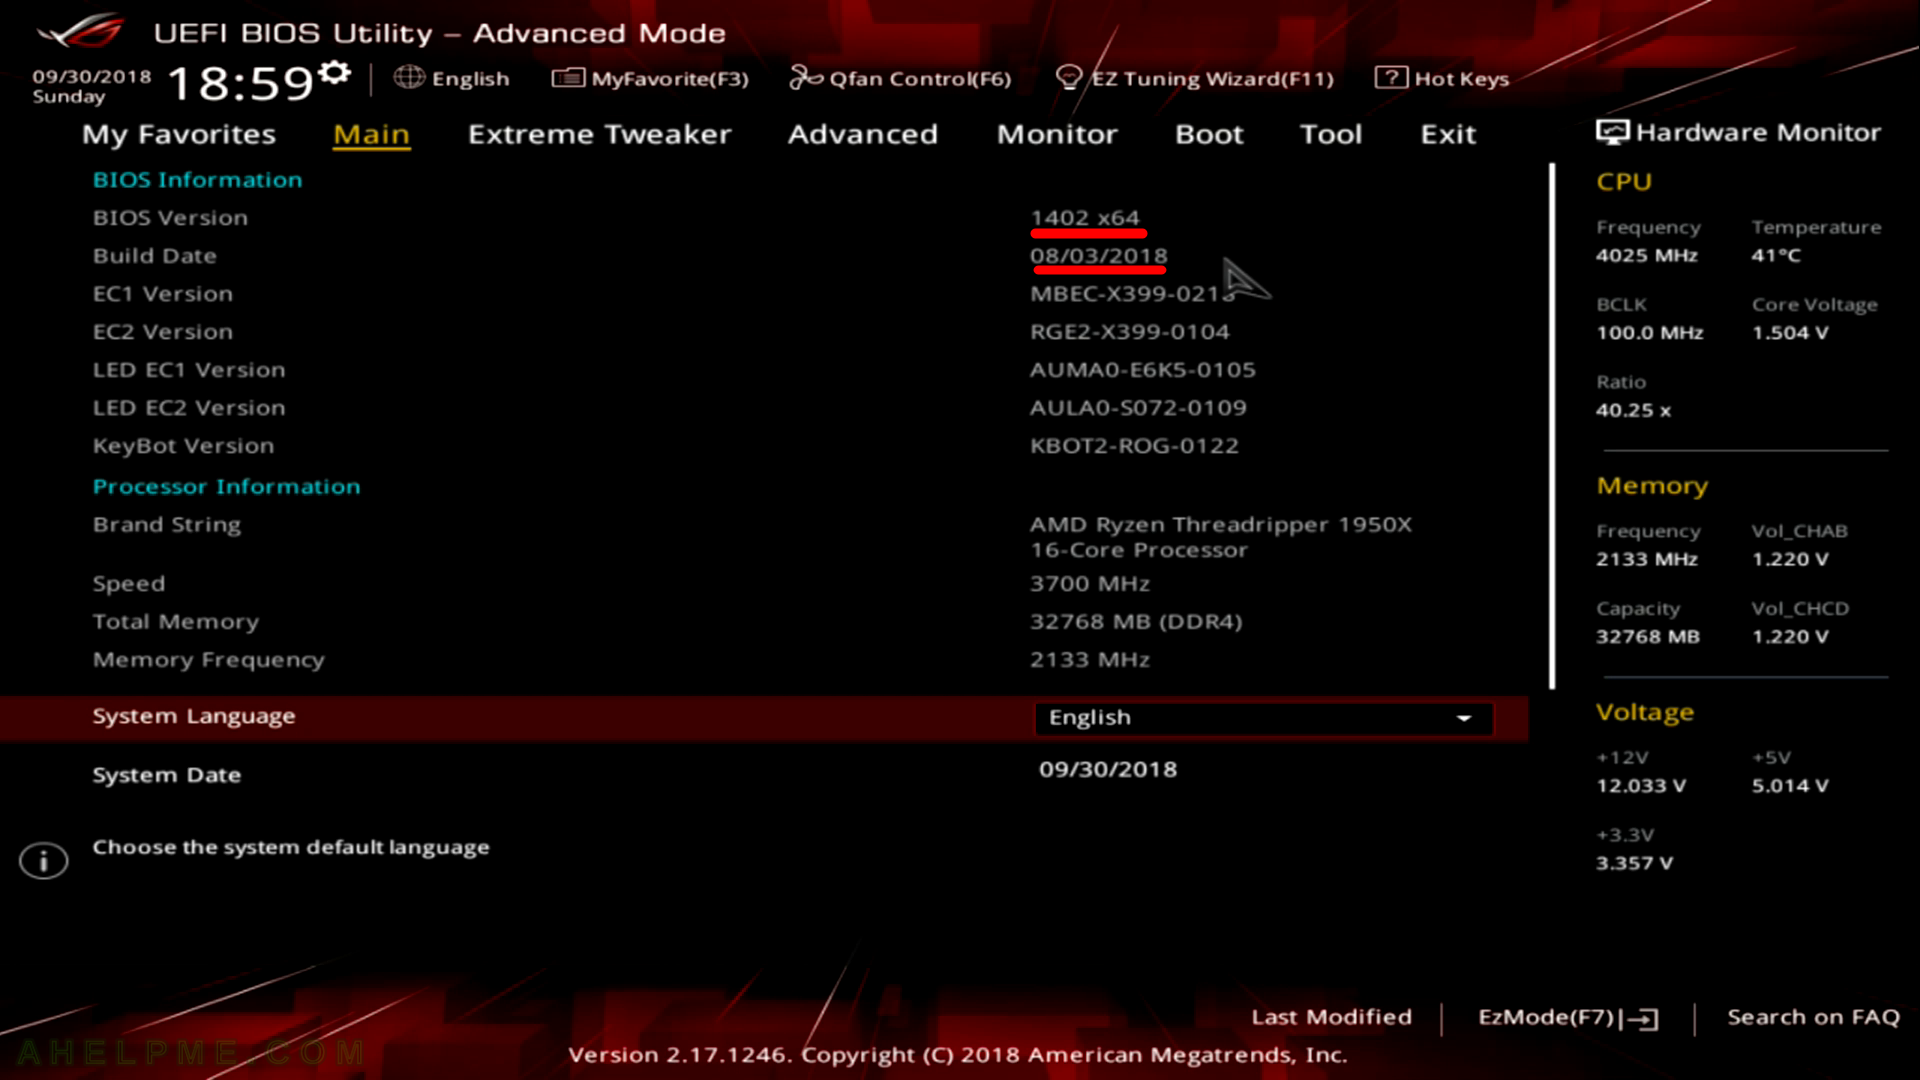
STEP 14) Again you are in the Main Menu and as you can see the UEFI BIOS version is new 1402 x64 and the Build Date is 08/03/2018.
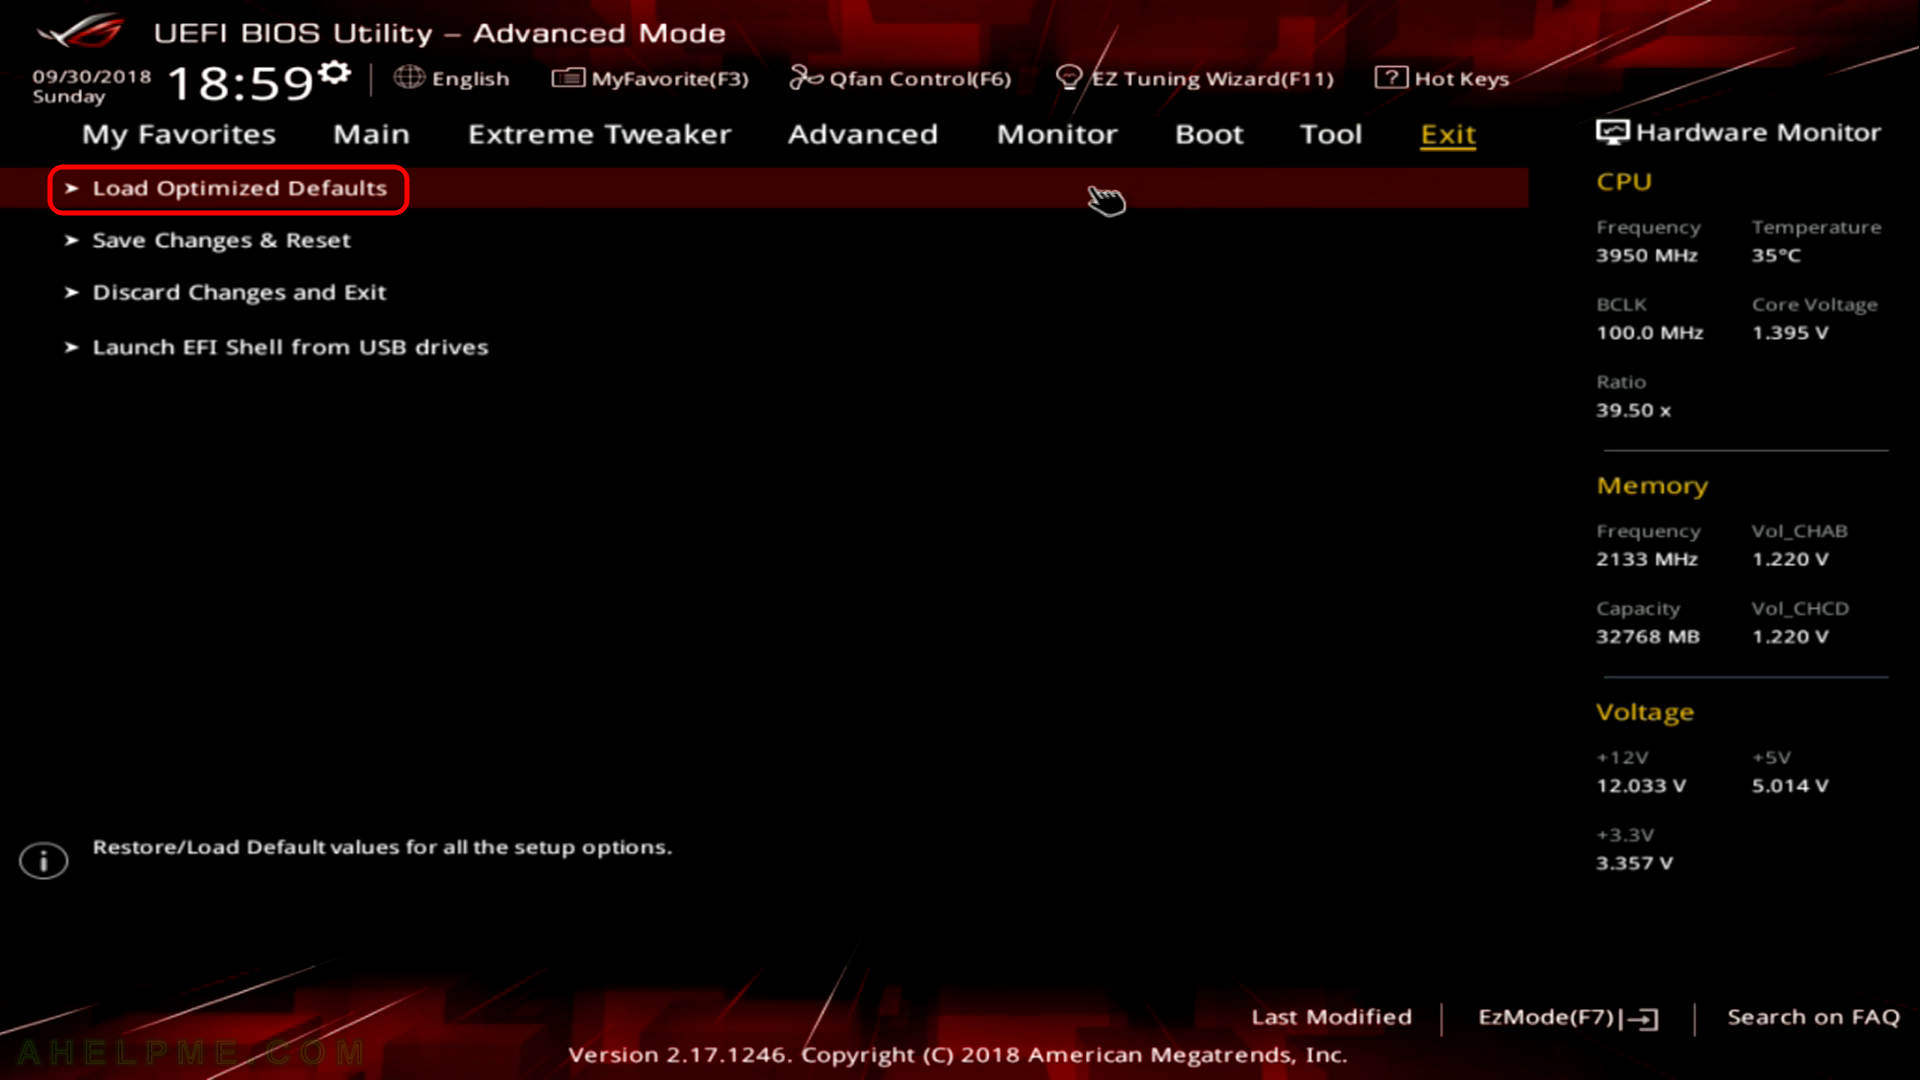
STEP 15) Clock on “Exit” Menu.
In most cases you should load the “Load Optimized Defaults” after a successful update, because there could be different options in the new BIOS, which are not compliant with the old one. If you do not know what you are doing, the safe and better option here is to click on “Load Optimized Defaults” and to load the defaults.
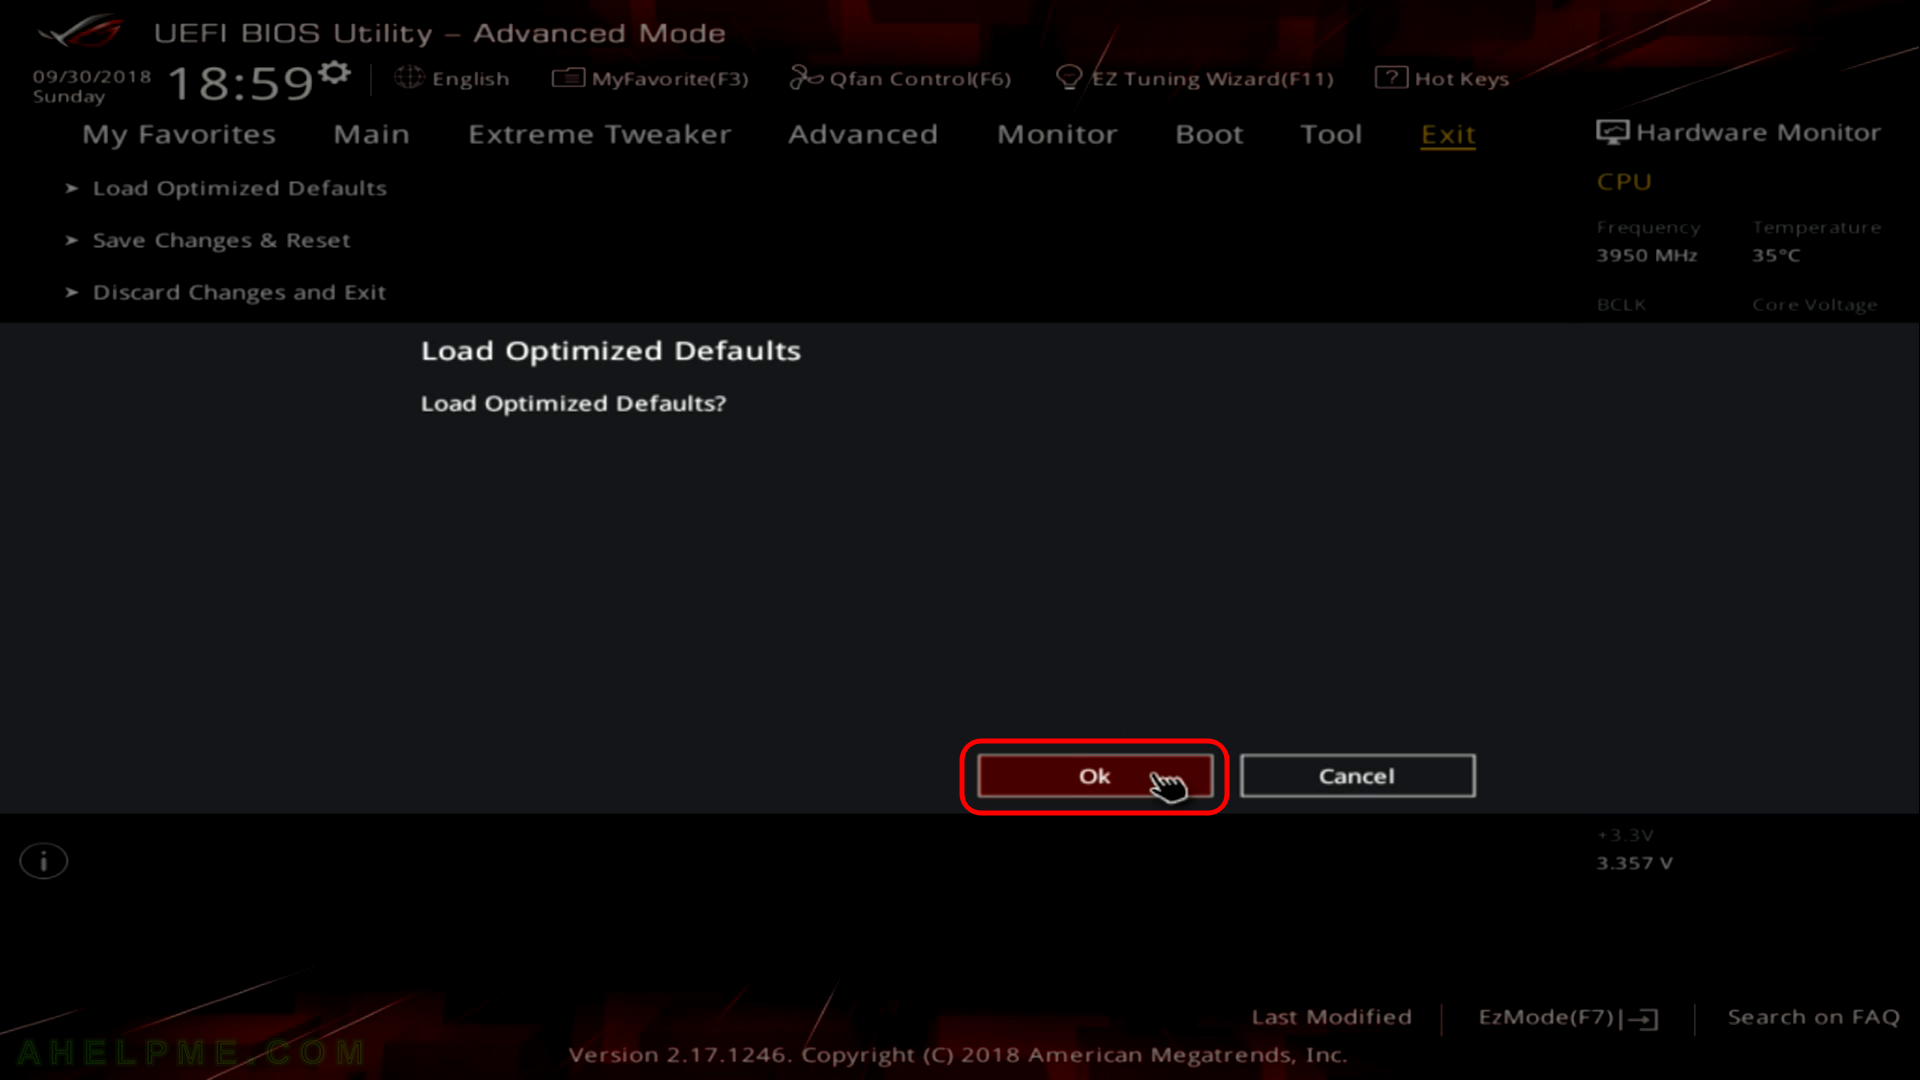
STEP 16) Confirm by clicking on “OK” to load the BIOS Defaults.
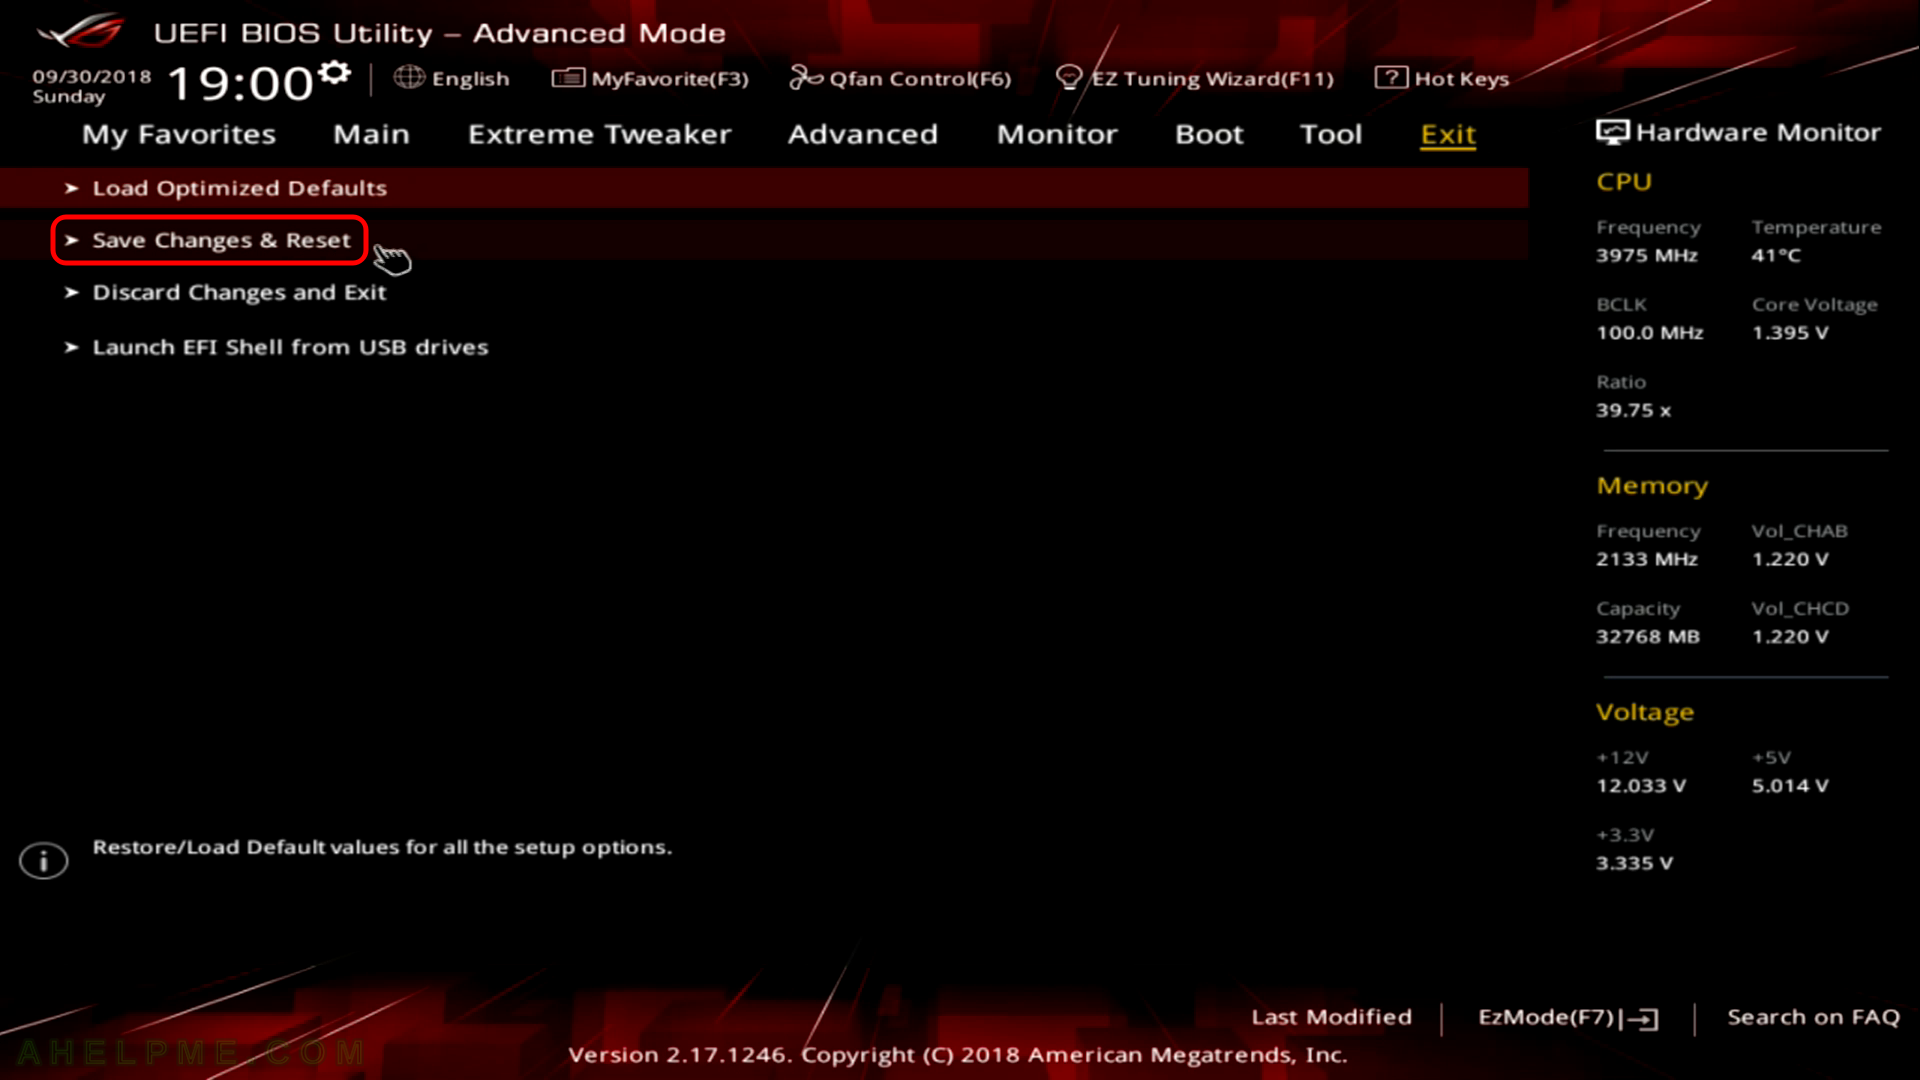
STEP 17) Aster loading the defaults you must save the changes and exit the UEFI BIOS. Click on “Save Changes & Reset”.
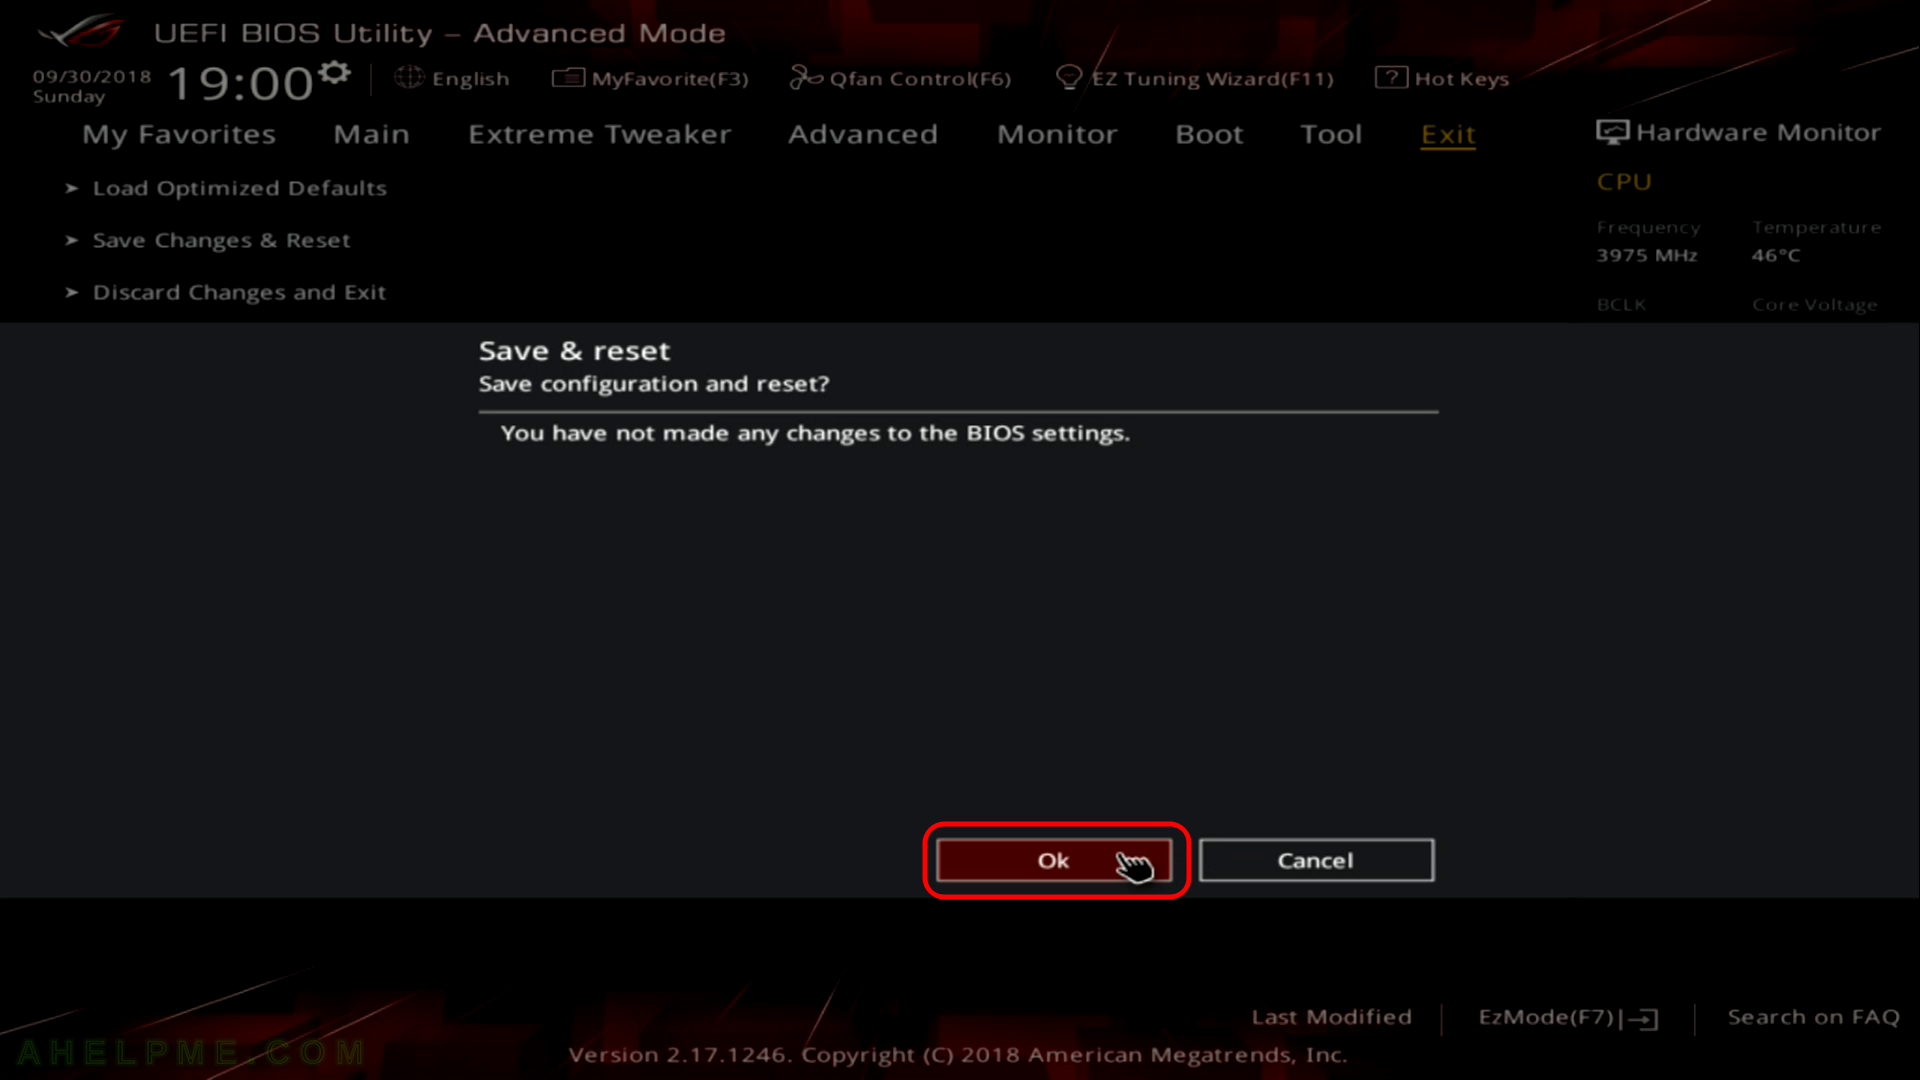
STEP 18) Confirm you want to save the changes made and exit the UEFI BIOS.
STEP 19) Another reset and you are ready to use your computer. Boot your OS.
Pages: 1 2