This article is to show how to enable or disable the x2APIC processor feature from your BIOS in HP ProLiant DL160 Gen9. Generally, in other servers, you should find it under the Processor features menu. Here we show you how to Disable it in HP ProLiant DL160 Gen9:
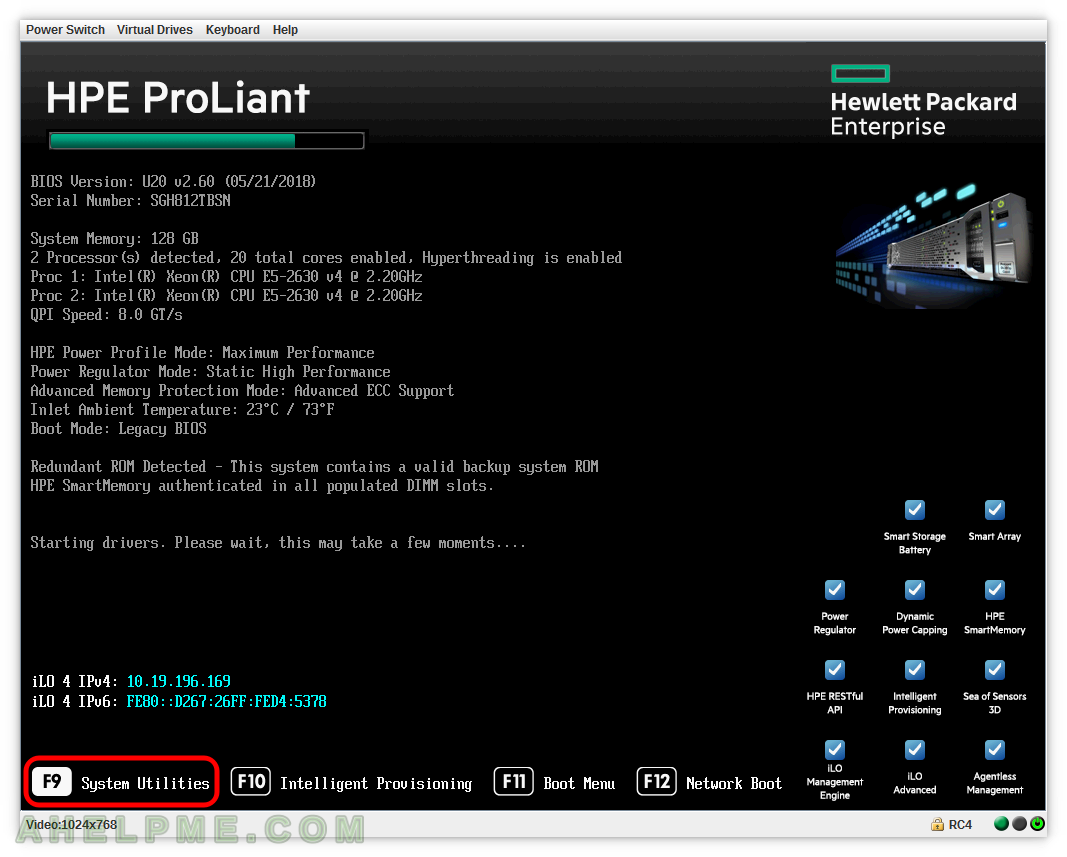
STEP 1) To enter the BIOS press F9 during the start-up of the HP server.
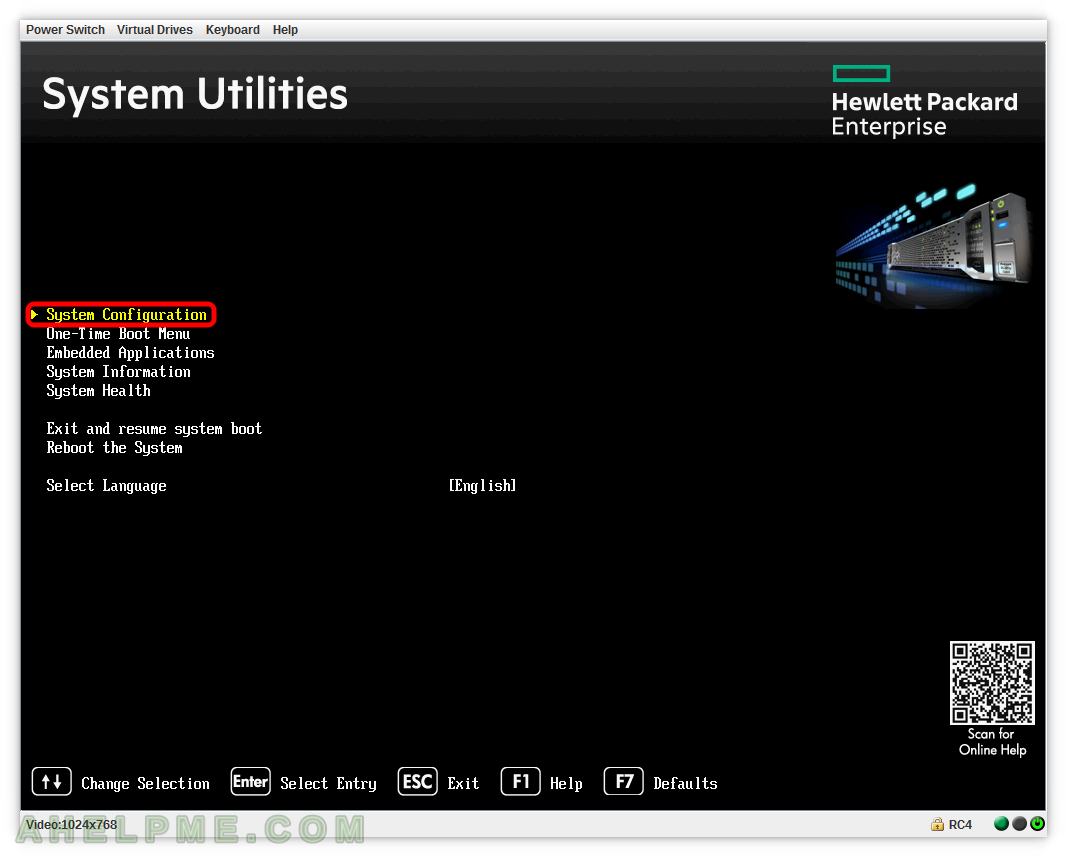
STEP 2) Select “System Configuration” and press “Enter” to enter the BIOS of the HP server.
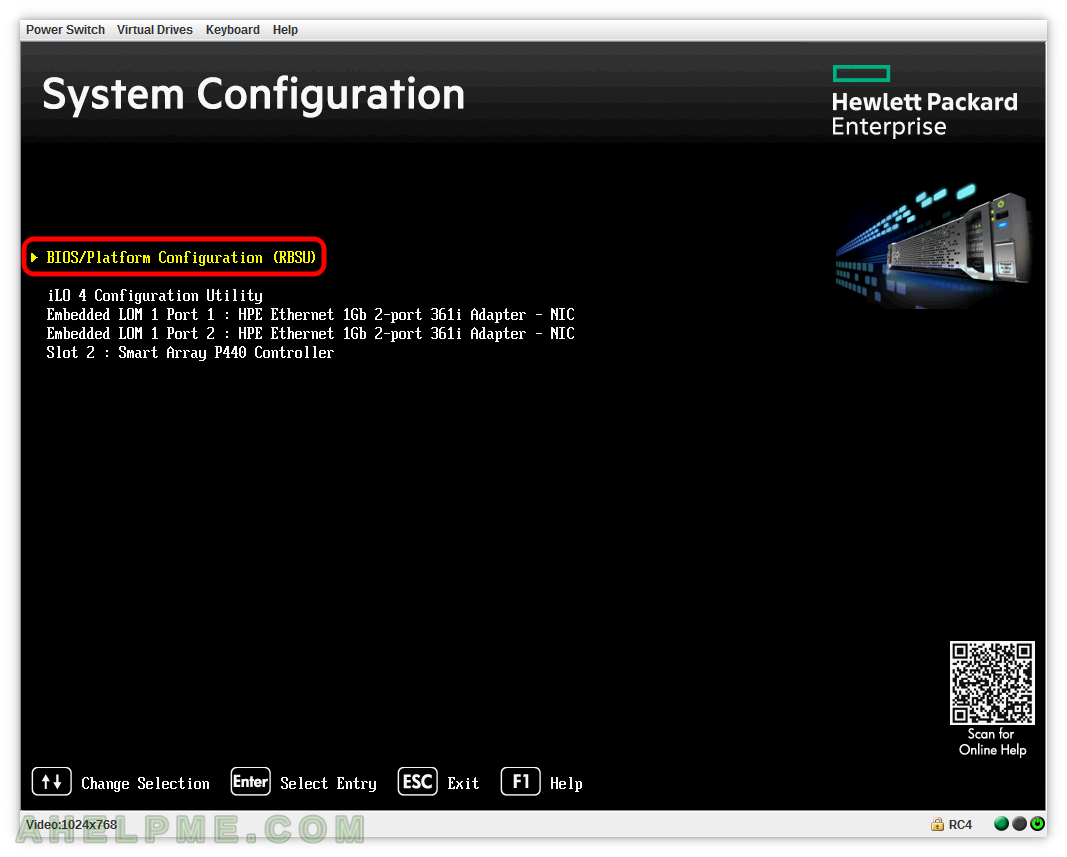
STEP 3) Select “BIOS/Platform Configuration (RBSU)” and press “Enter” to enter the BIOS of the HP server.
As you can see from this menu you can also enter “iLO 4 Configuration Utility”, the Configuration Utility for the two embedded network addapters and the GUI management utility for the hardware controller – “Smart Array P440 Controller”.
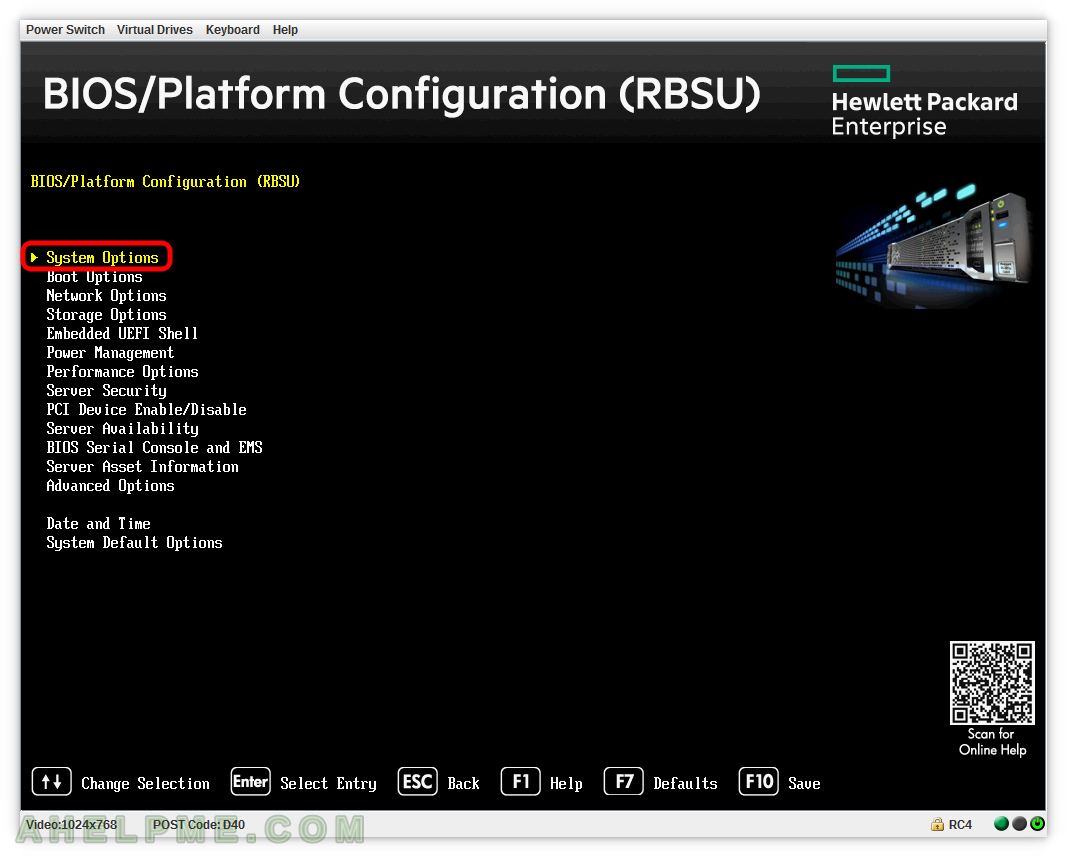
STEP 4) This is the BIOS main menu of a HPE ProLiant server GEN9.
Select “System Options” and press “Enter”.
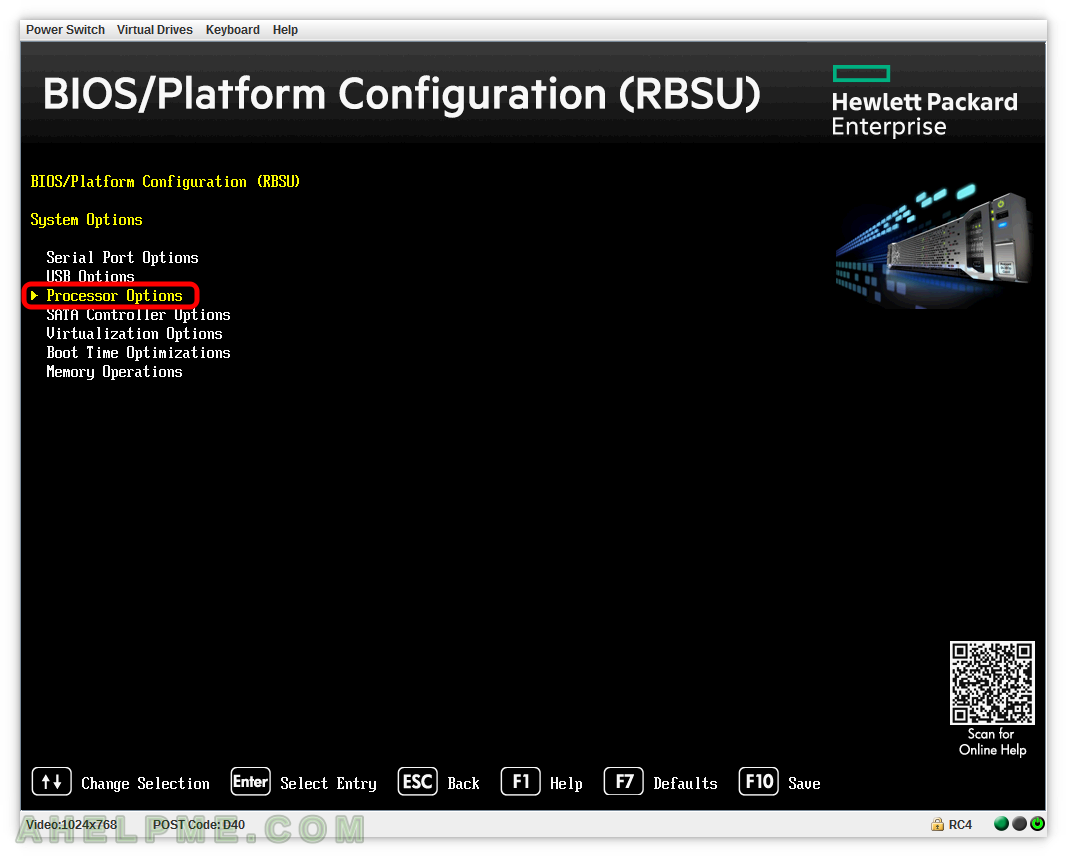
STEP 5) Select “Processor Options” and press “Enter” to enter the specific processor features.
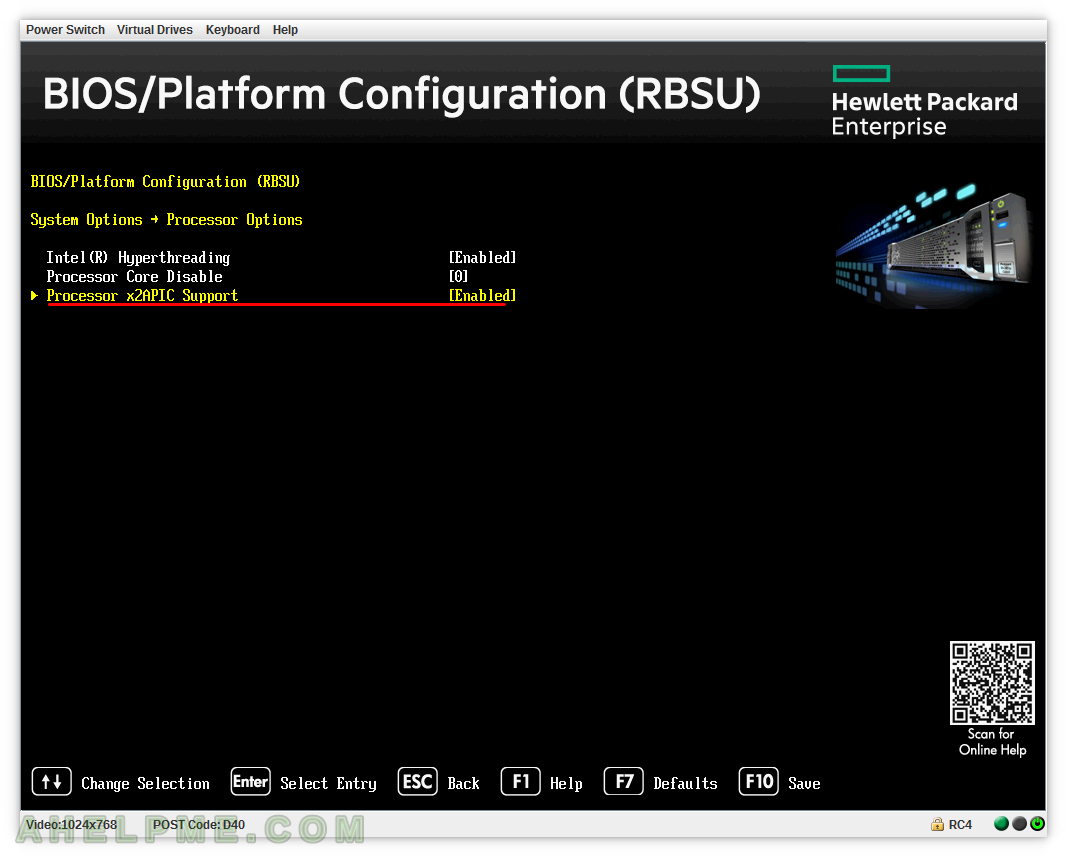
STEP 6) Select “Processor x2APIC Support” and press “Enter” to pop up the context menu with the options available.
STEP 7) The options of “Processor x2APIC Support” are “Enable”, “Force Enable”, “Disable”. Select “Disable” and press “Enter”.
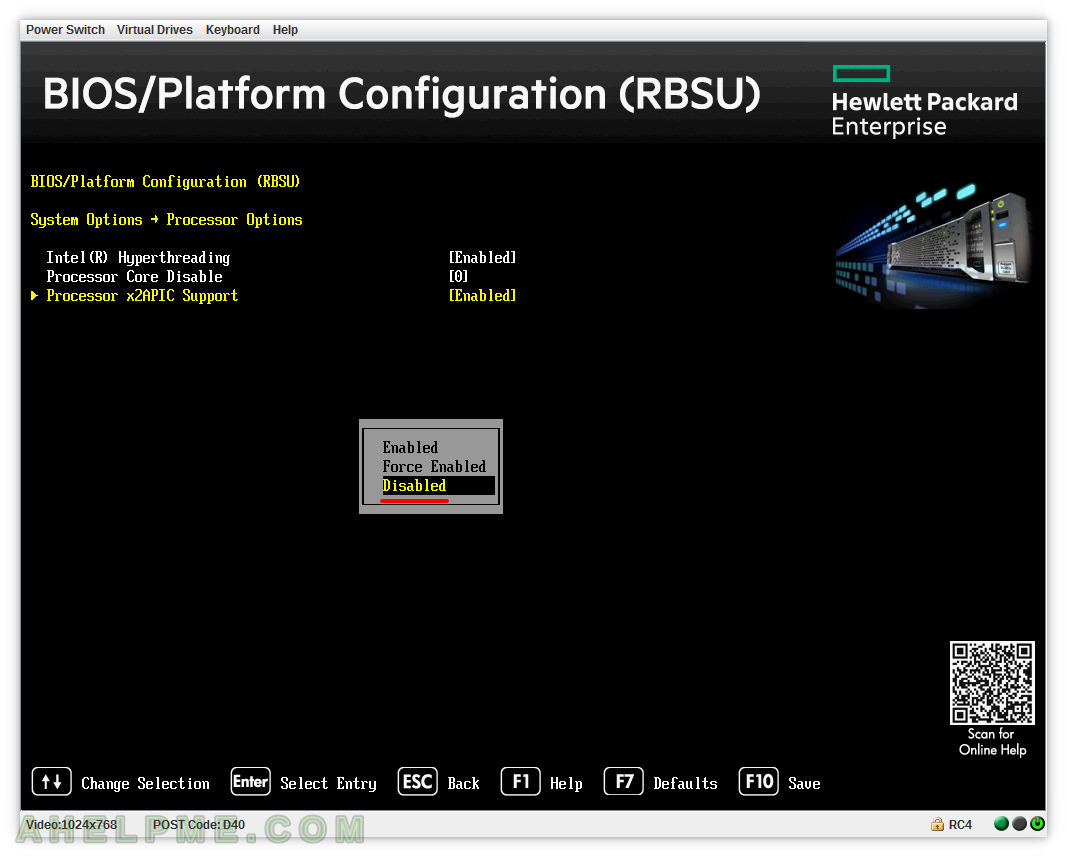
STEP 8) The option against the “Processor x2APIC Support” will change to “[Disabled]”.
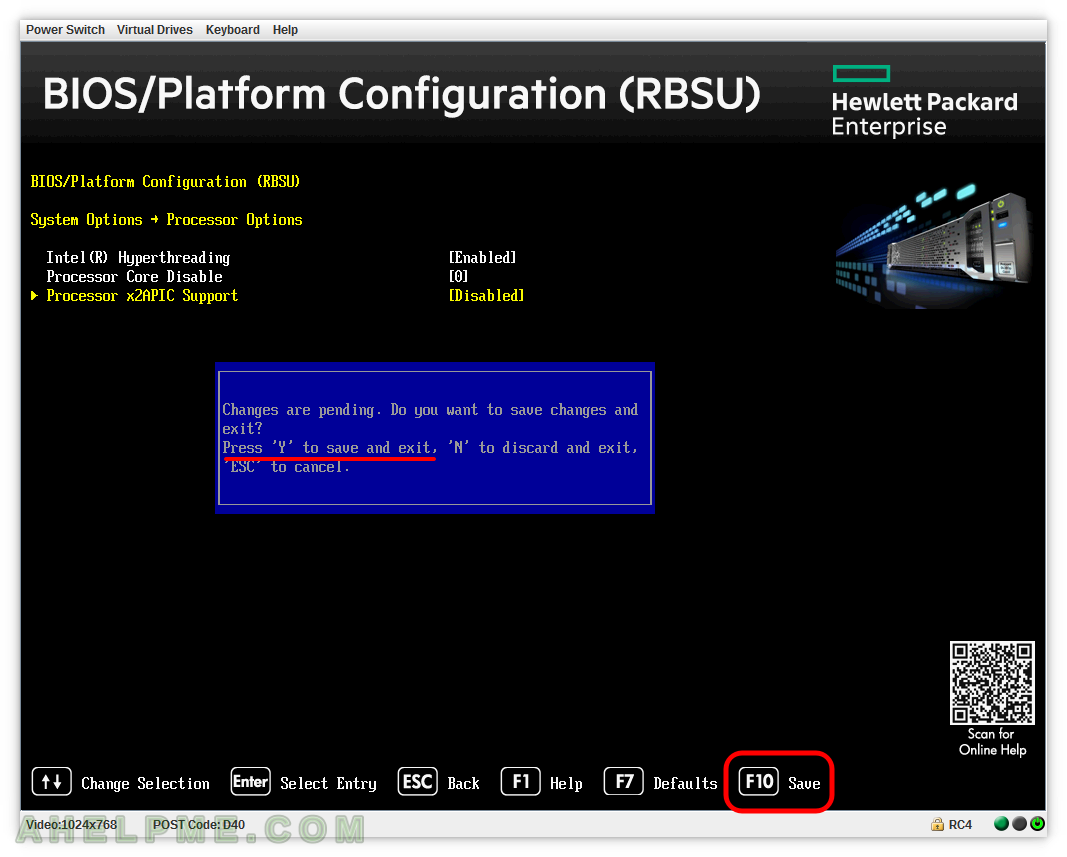
To save the changes you must press “F10” and then the key “Y” to save.
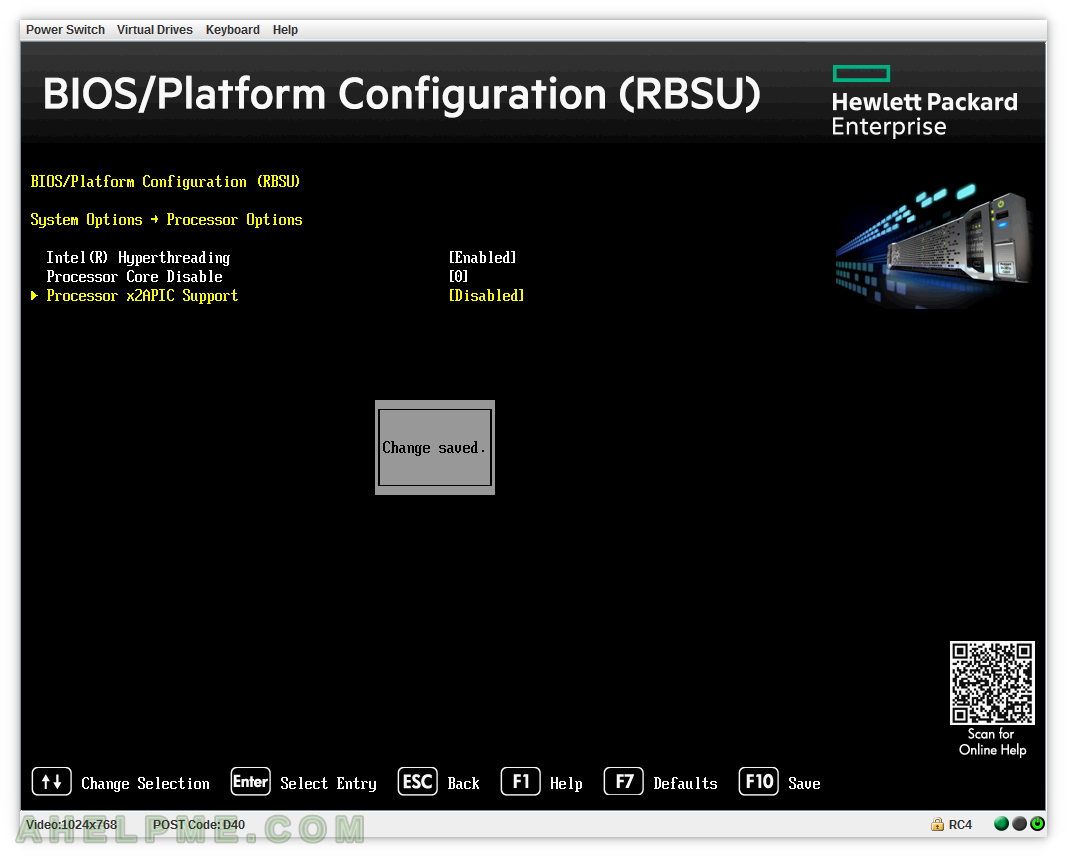
STEP 9) The BIOS reports the changes are saved successfully.
And you probably should hit couple of “ESC” till the next step.
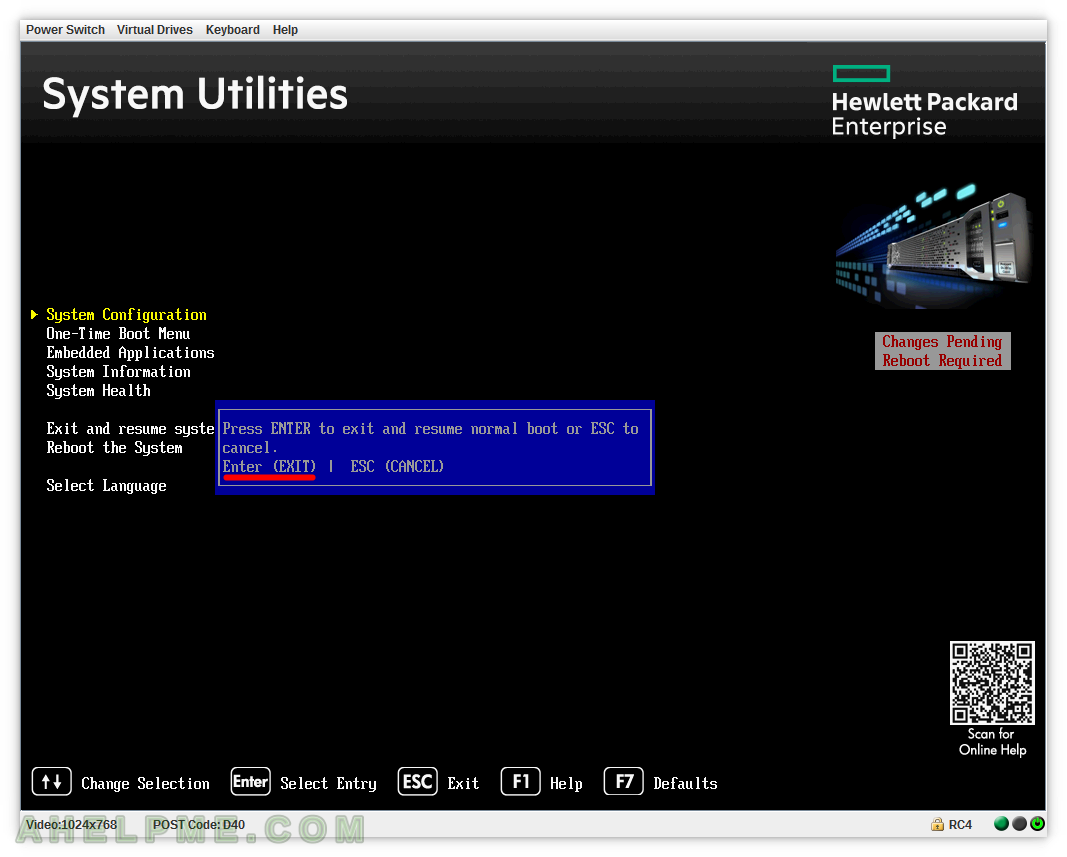
STEP 10) Exit by pressing “Enter”.
